Well once again I am quite delinquent in my blog updates. The past several months since graduation have been much busier than I anticipated, but I guess thats life for you. There was a surprisingly large amount of things I had to take care of as a result of not being a student anymore, along with lots of traveling to visit people I hadn’t seen for a while, and so on. Fortunately, things have been settling down and I really am getting into the swing of things. Also, even though I haven’t been blogging I’ve been working on the car since graduating, so I have quite a bit of updates to report!
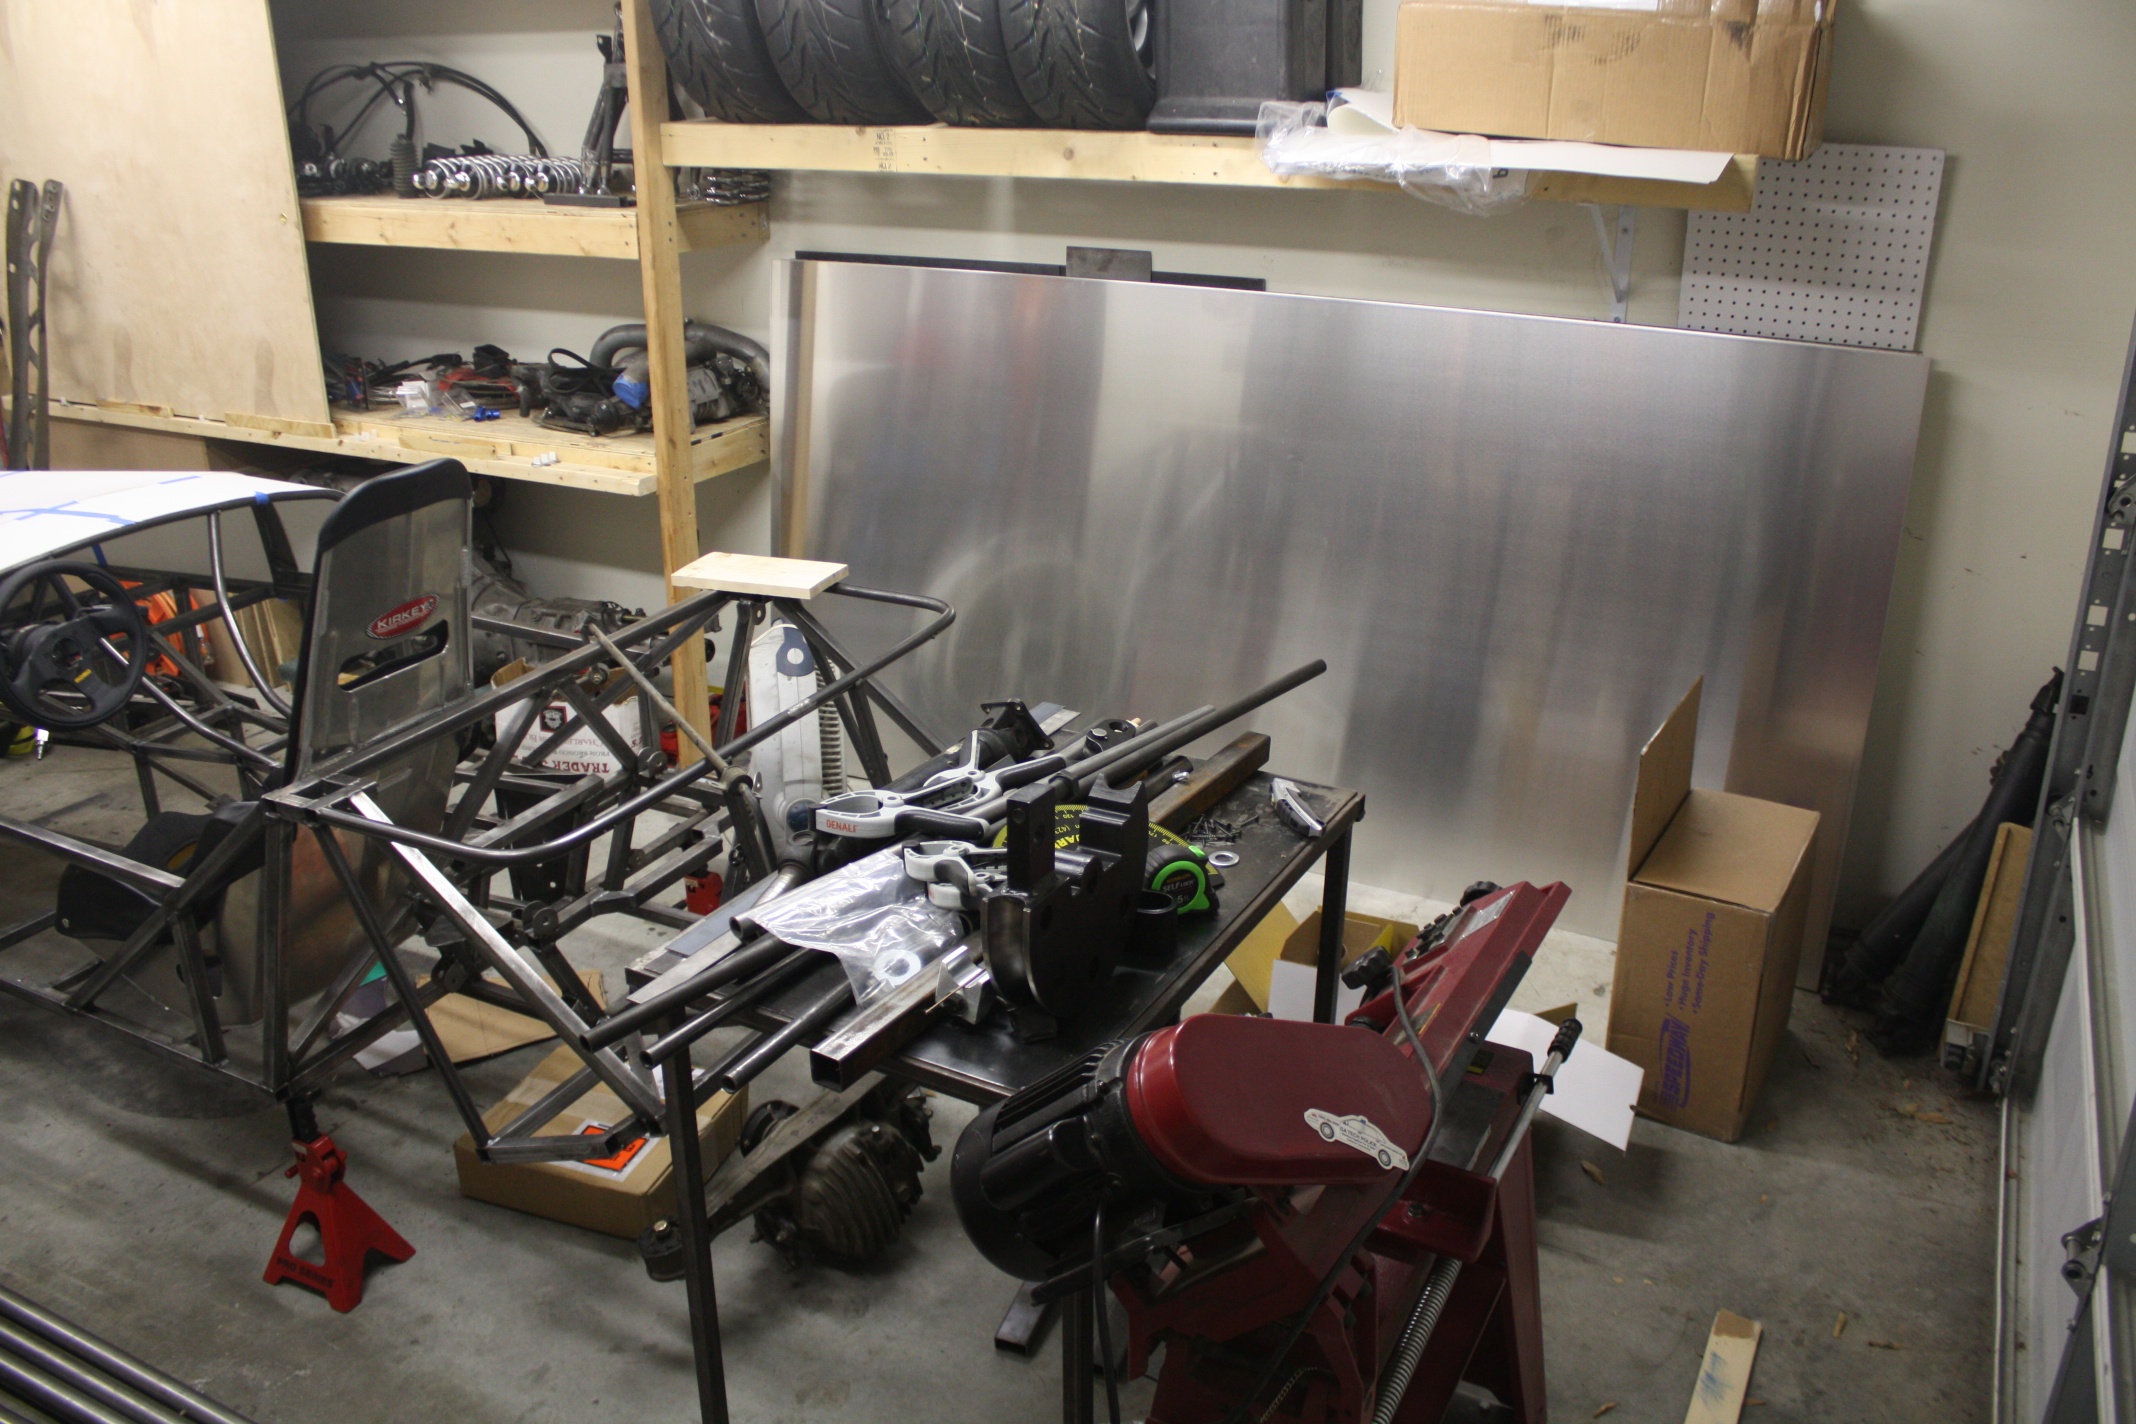
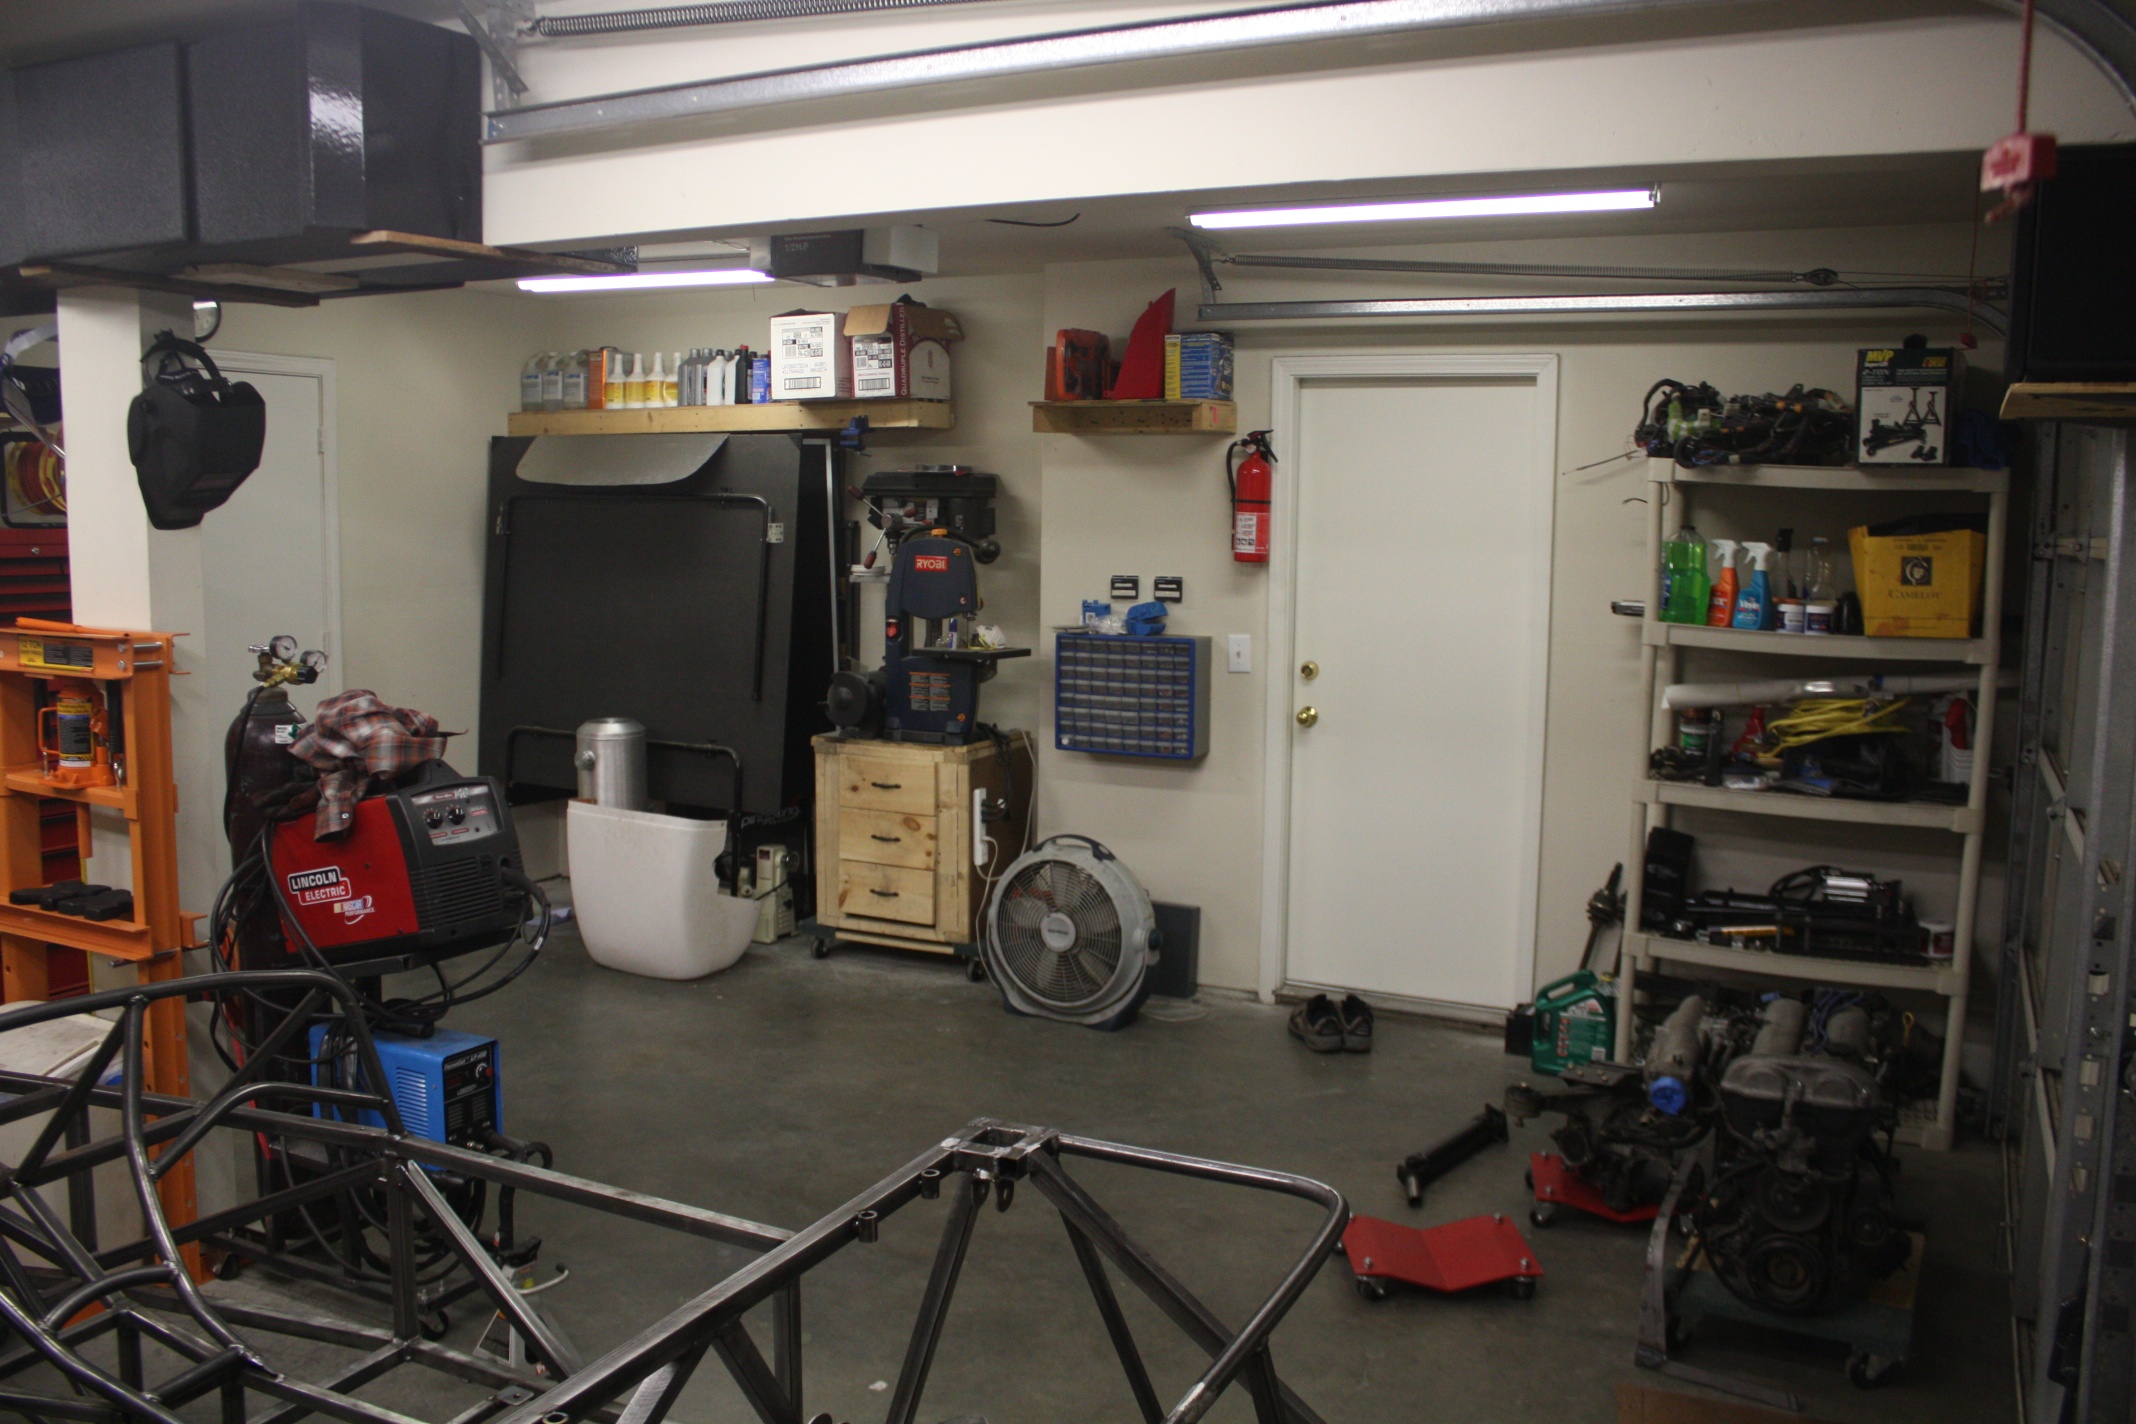
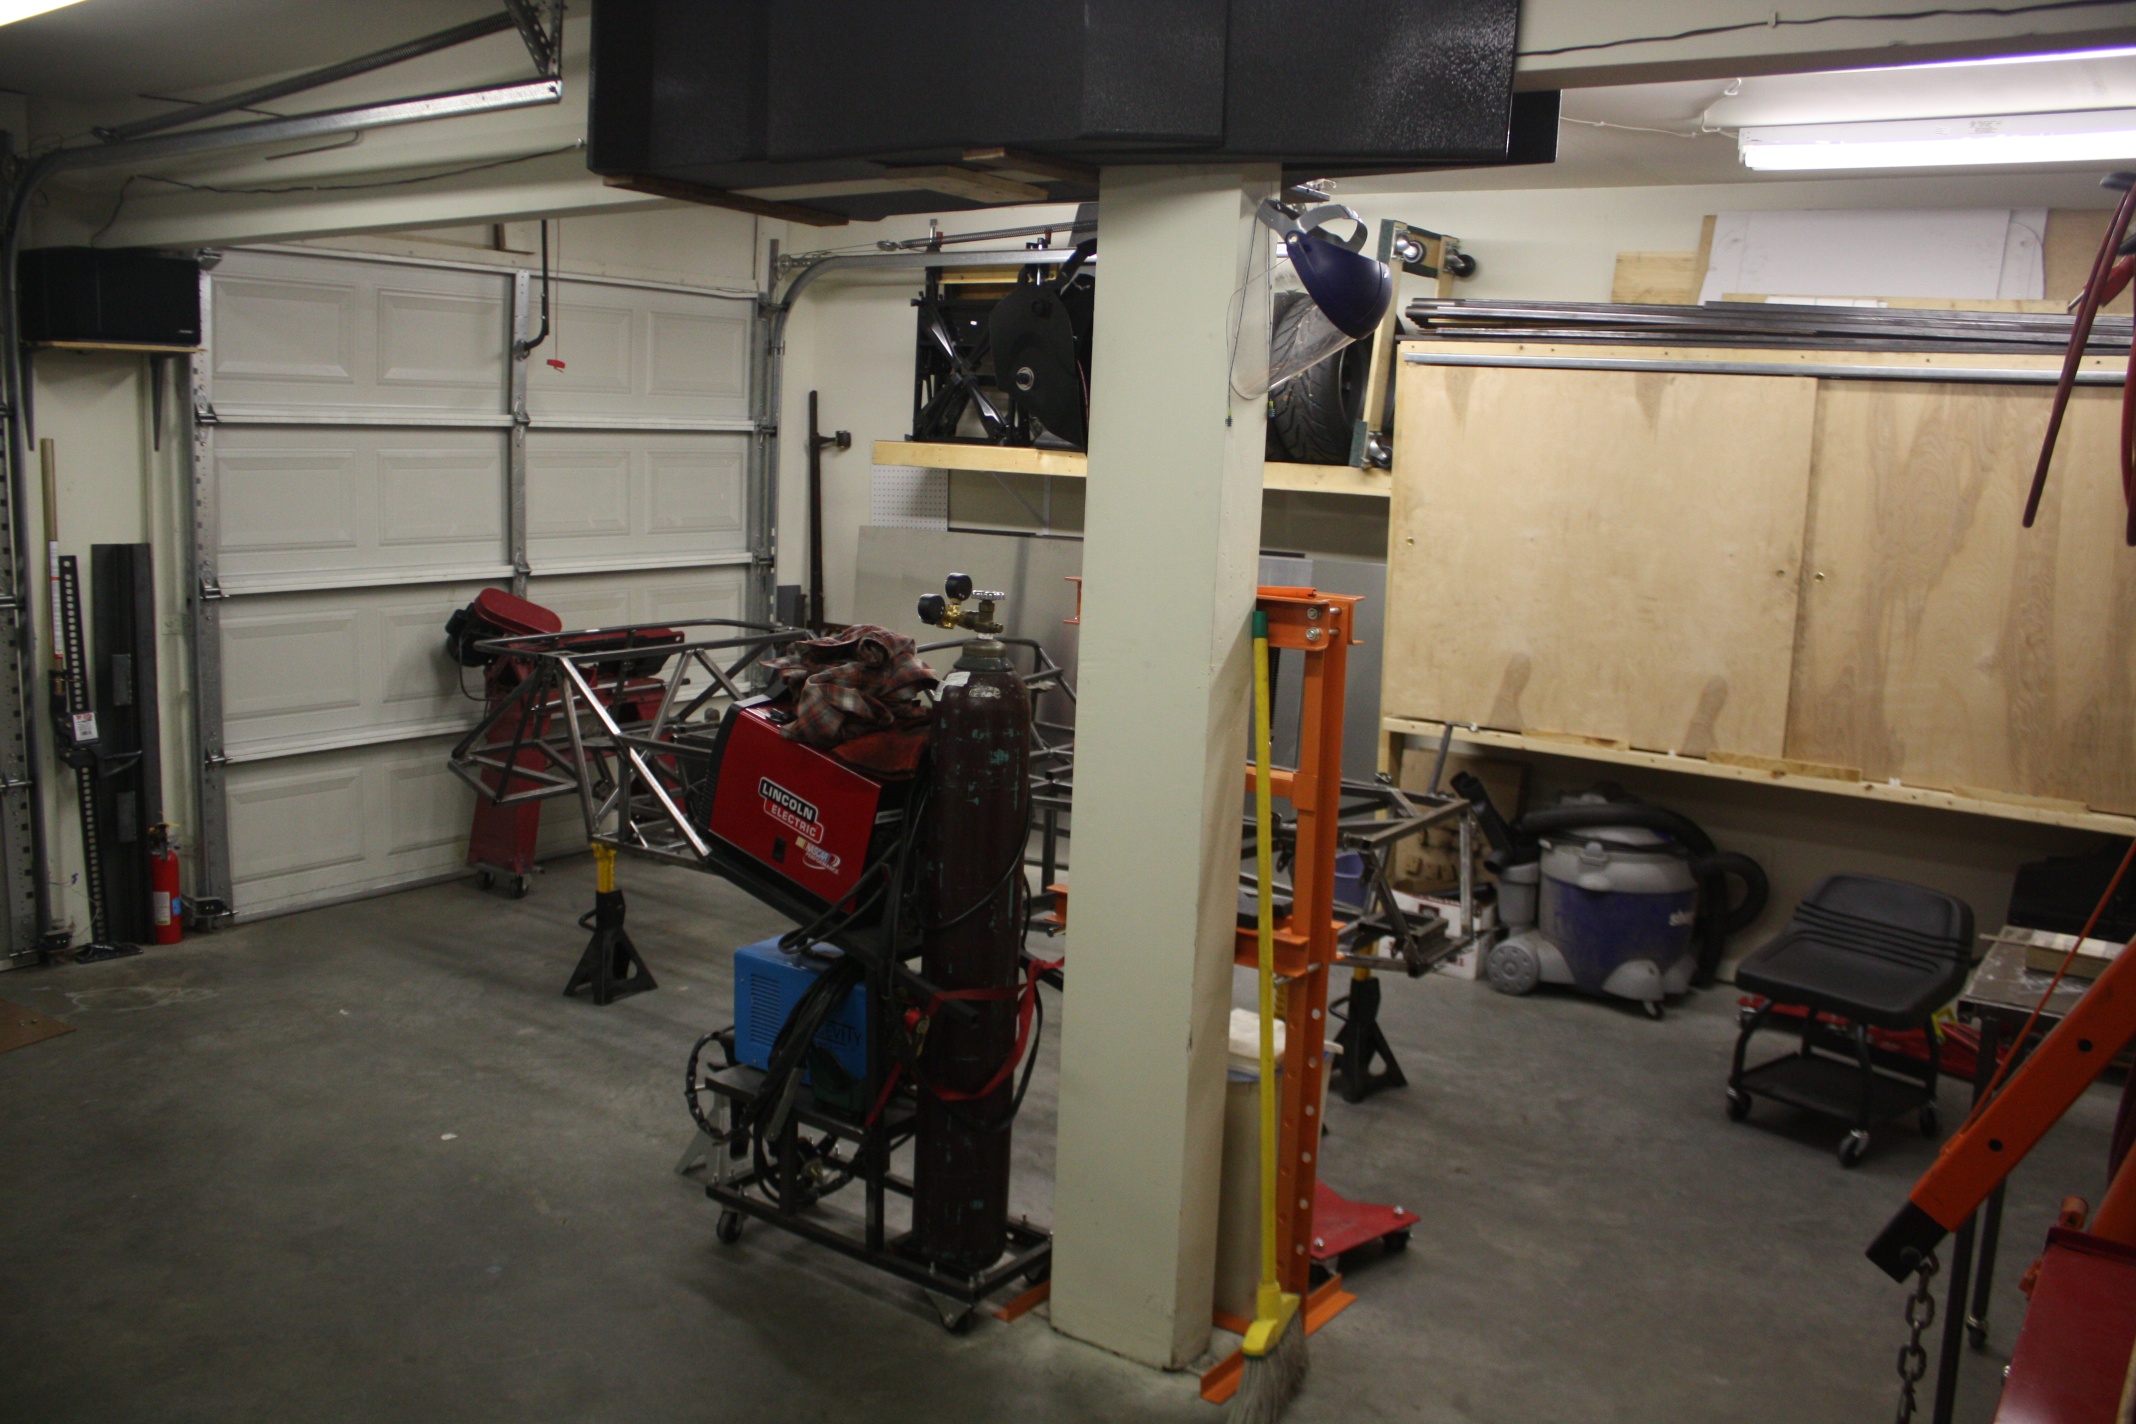
First of all I’m happy to report that back in July I moved (yet again). This served as another delay to build progress, but it has been well worthwhile since I upsized. I’m back in a 2 car garage, and have all of the space to myself which has been terrific. Its amazing how cramped it can be to work on a car project with a 1 car garage, plus its really nice to be able to pull in a second car for service. There are a handful of photos showing off the new digs.
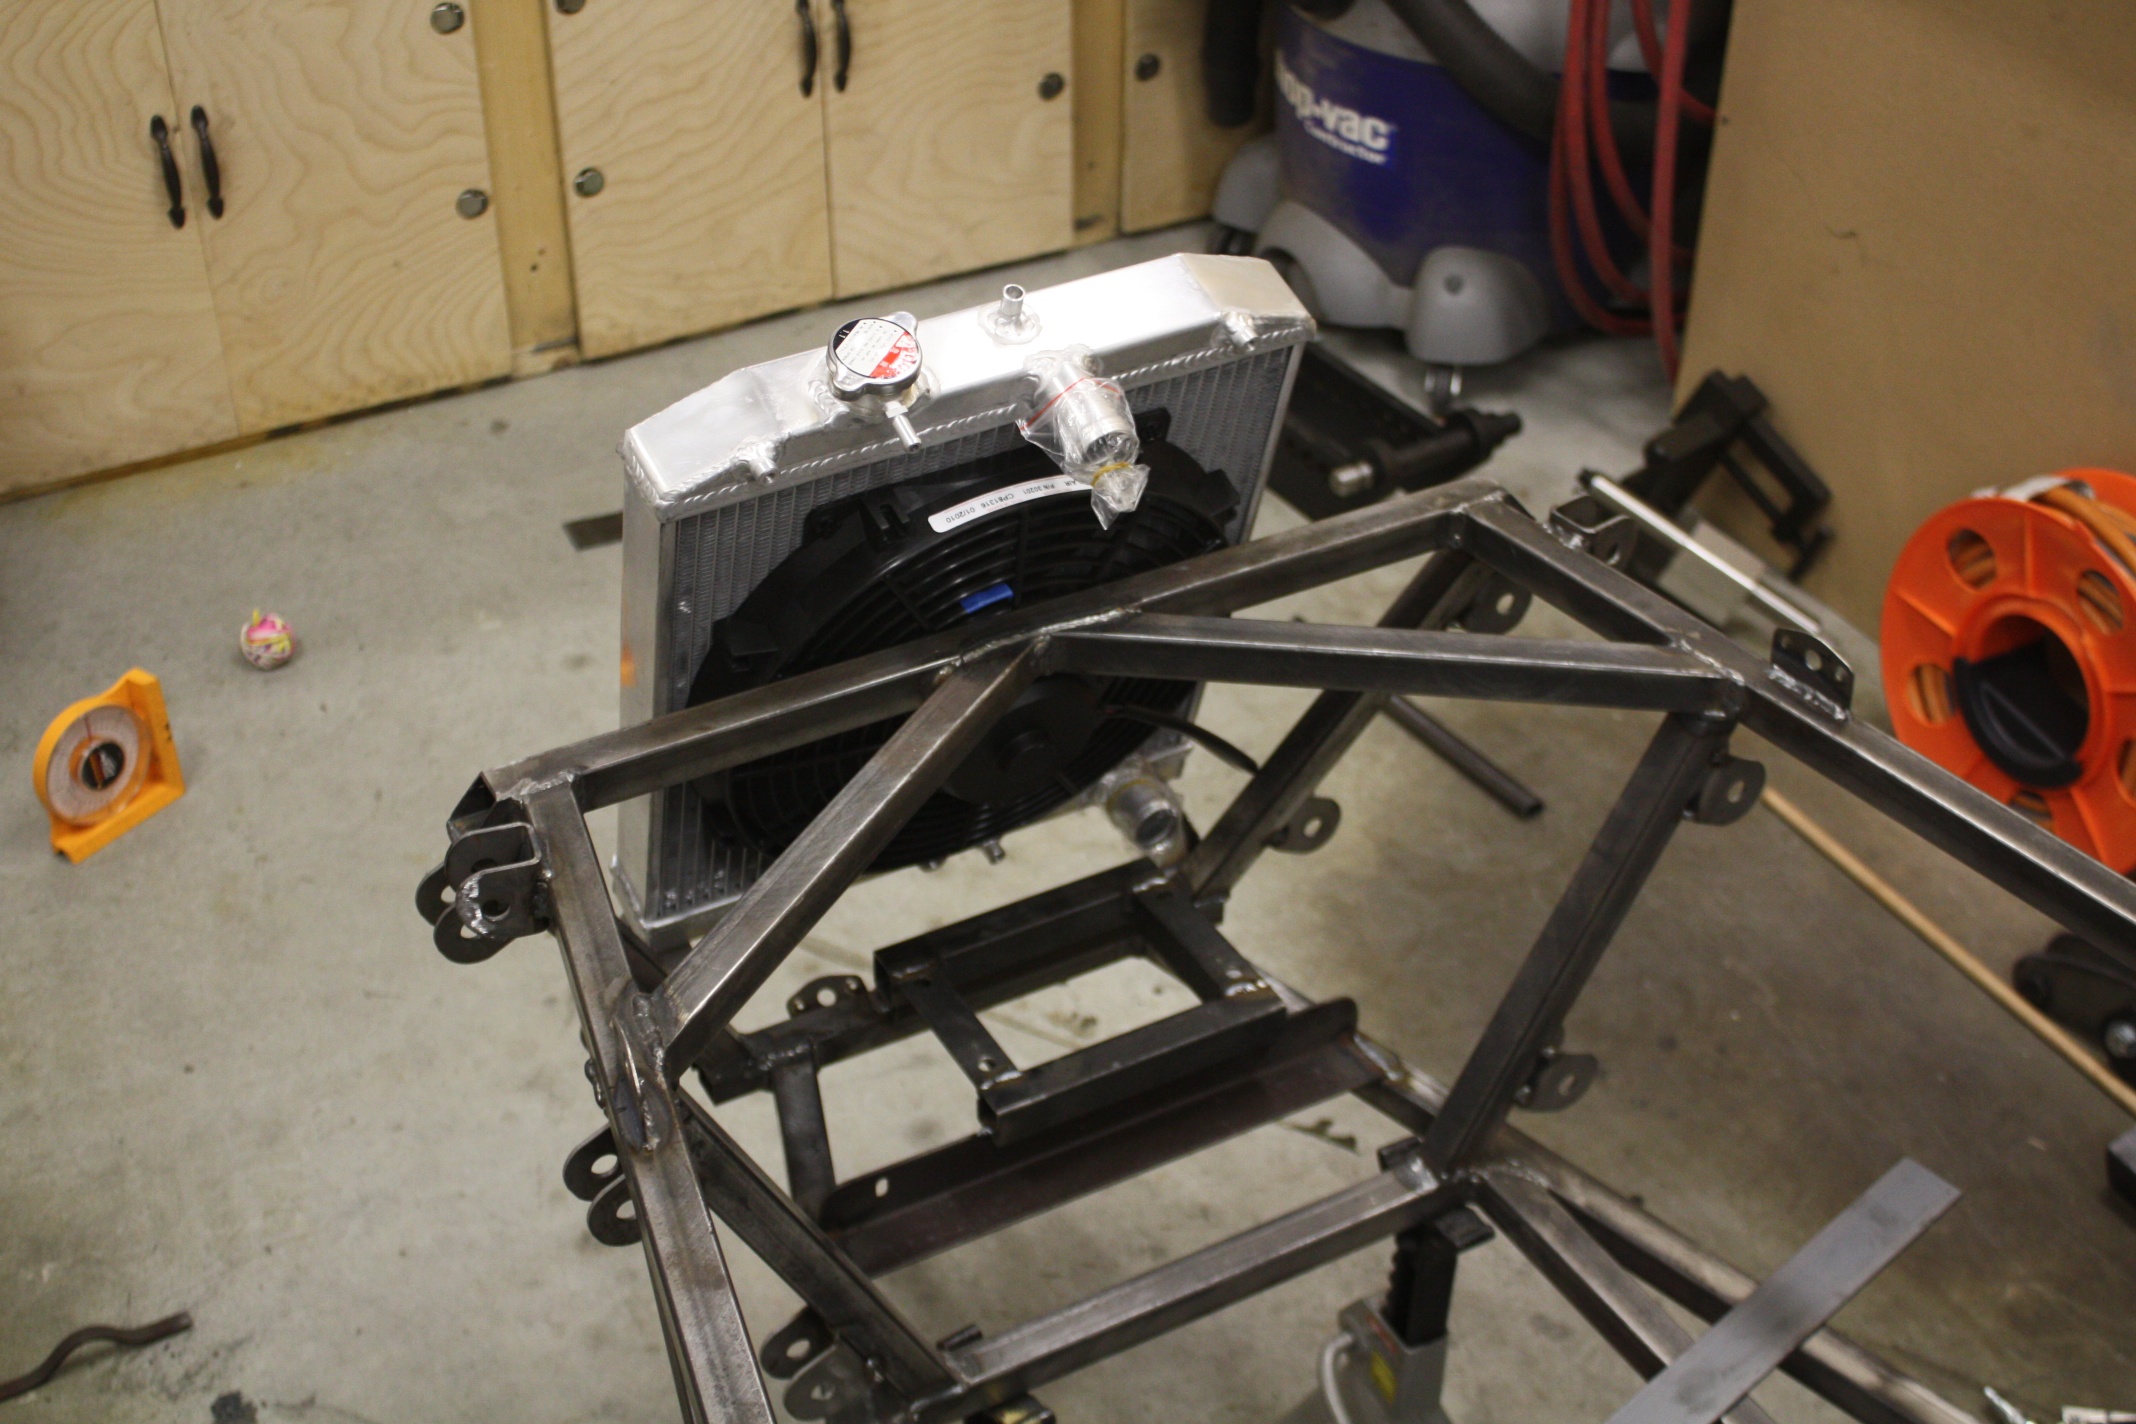
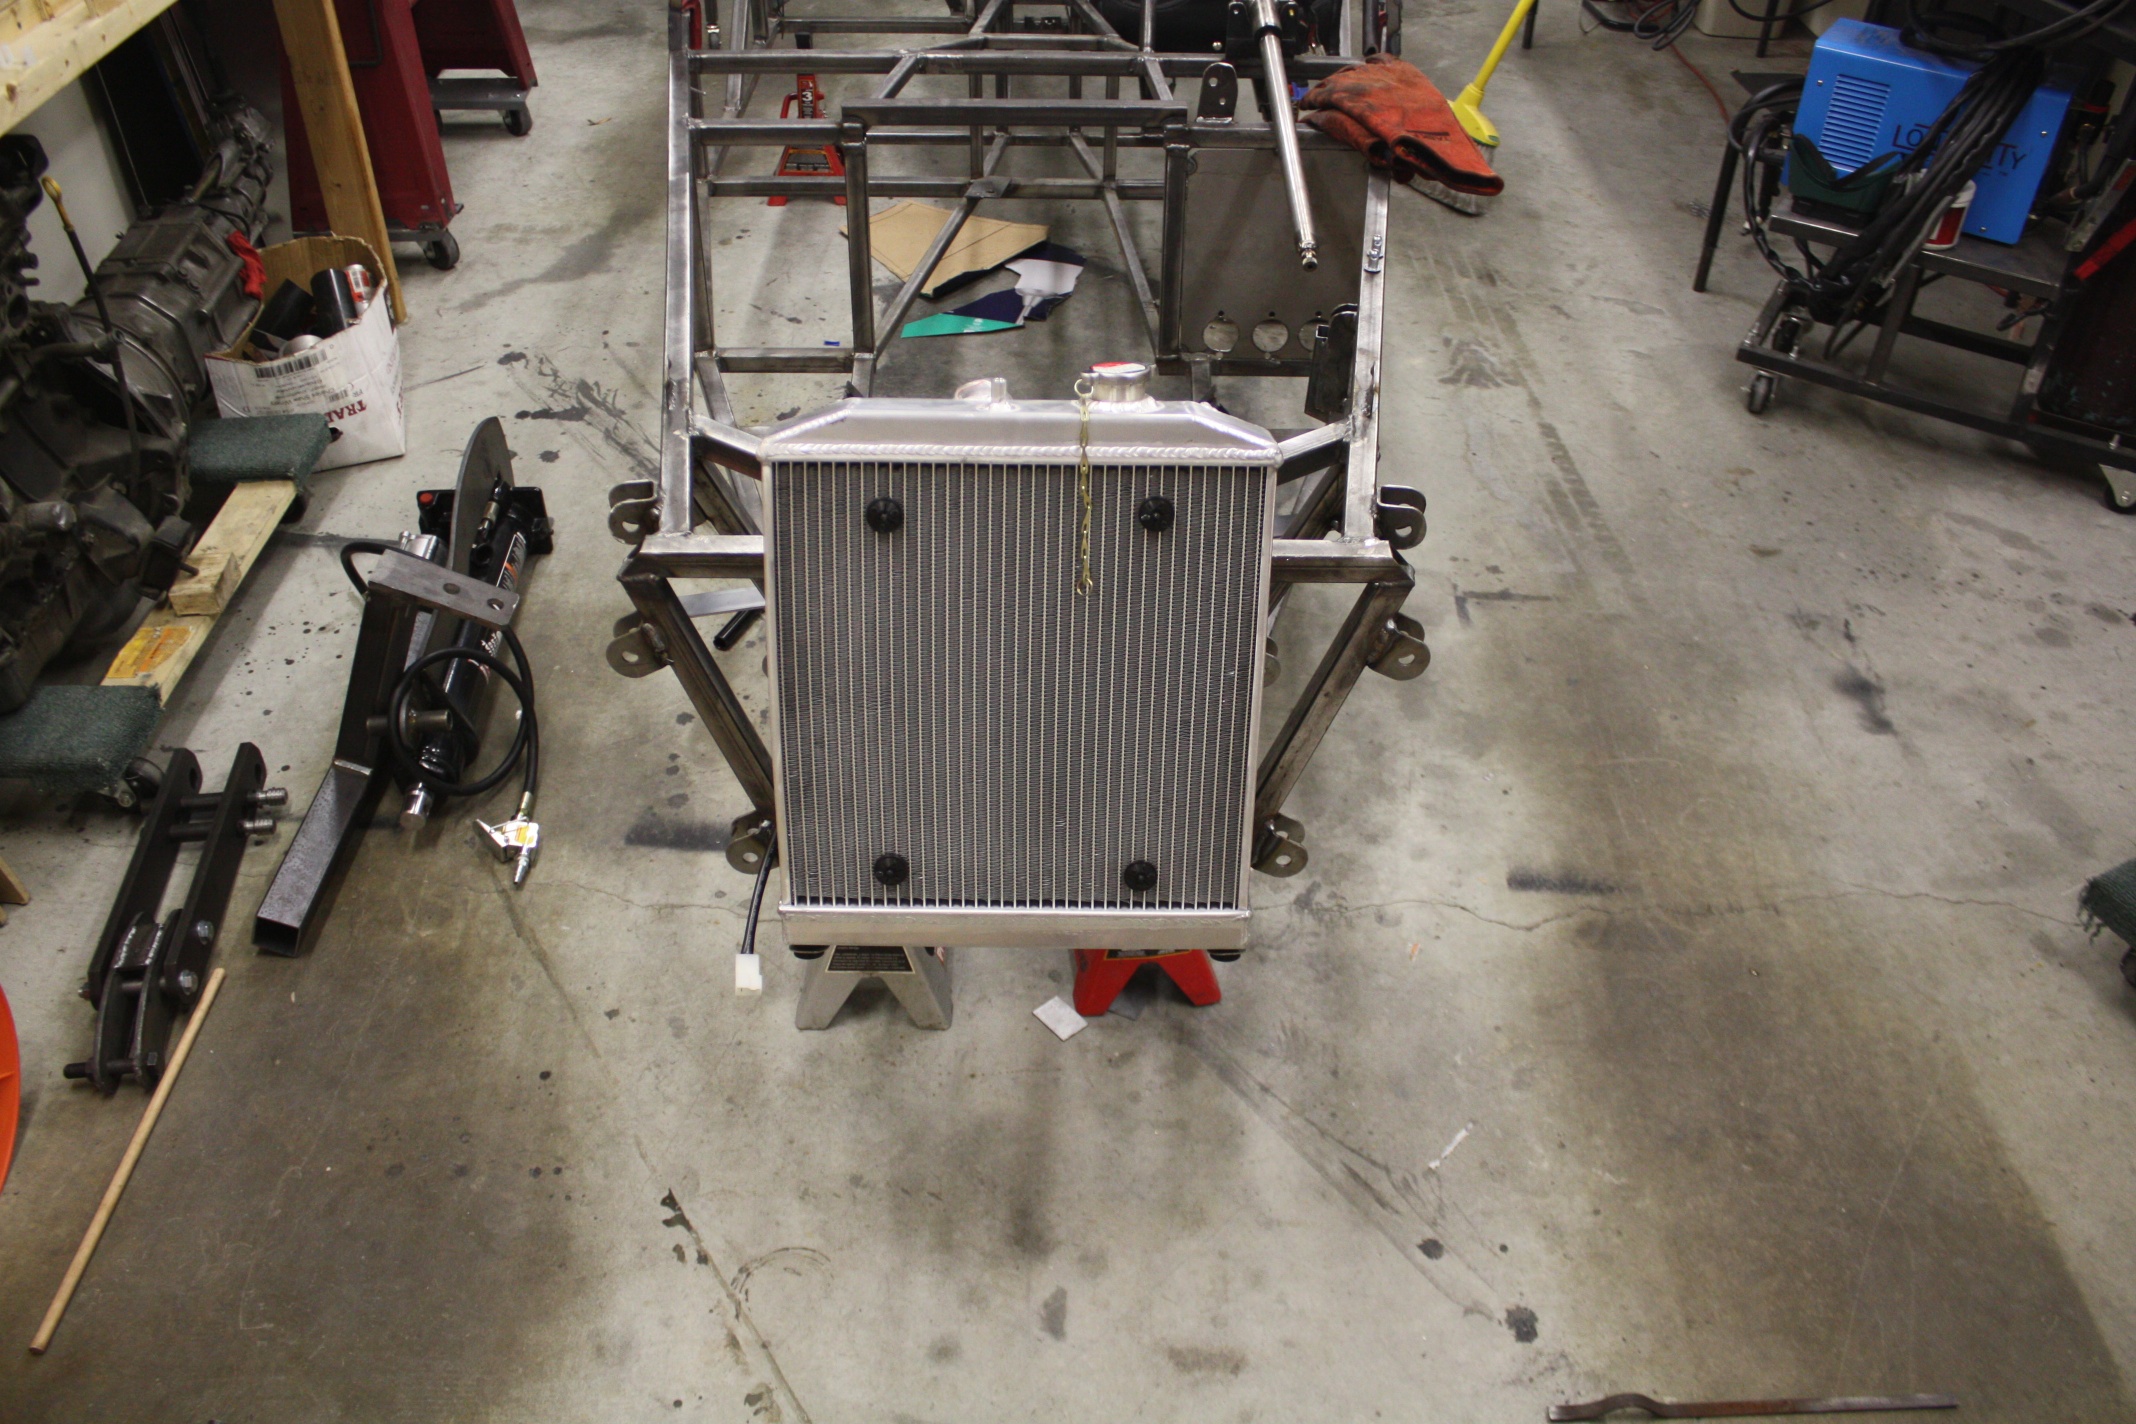
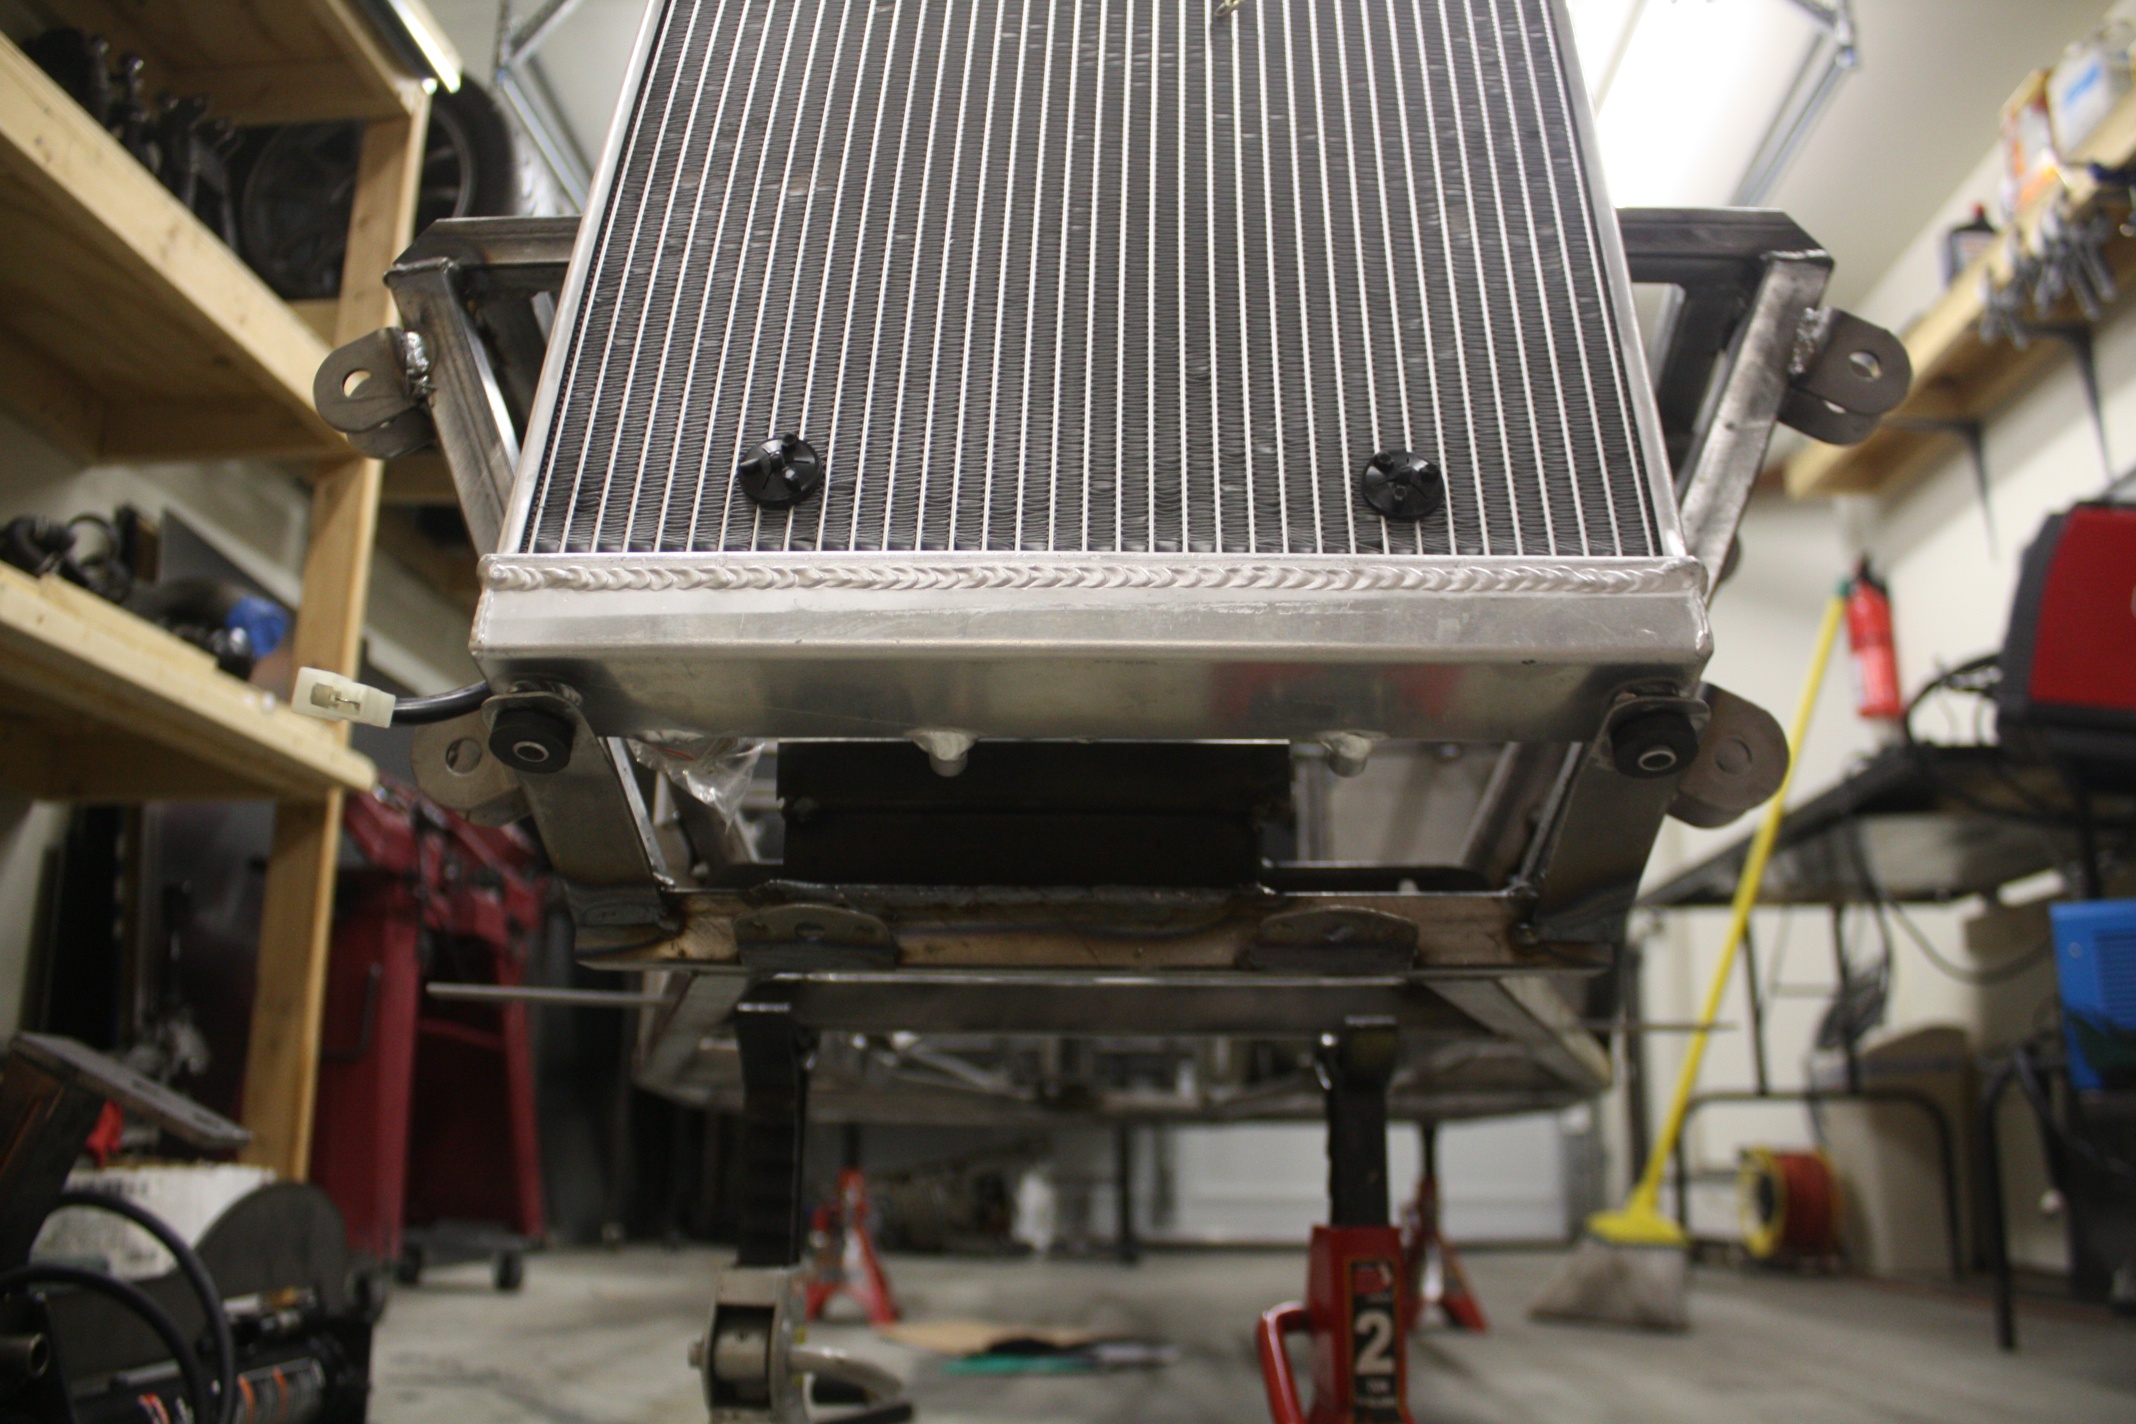
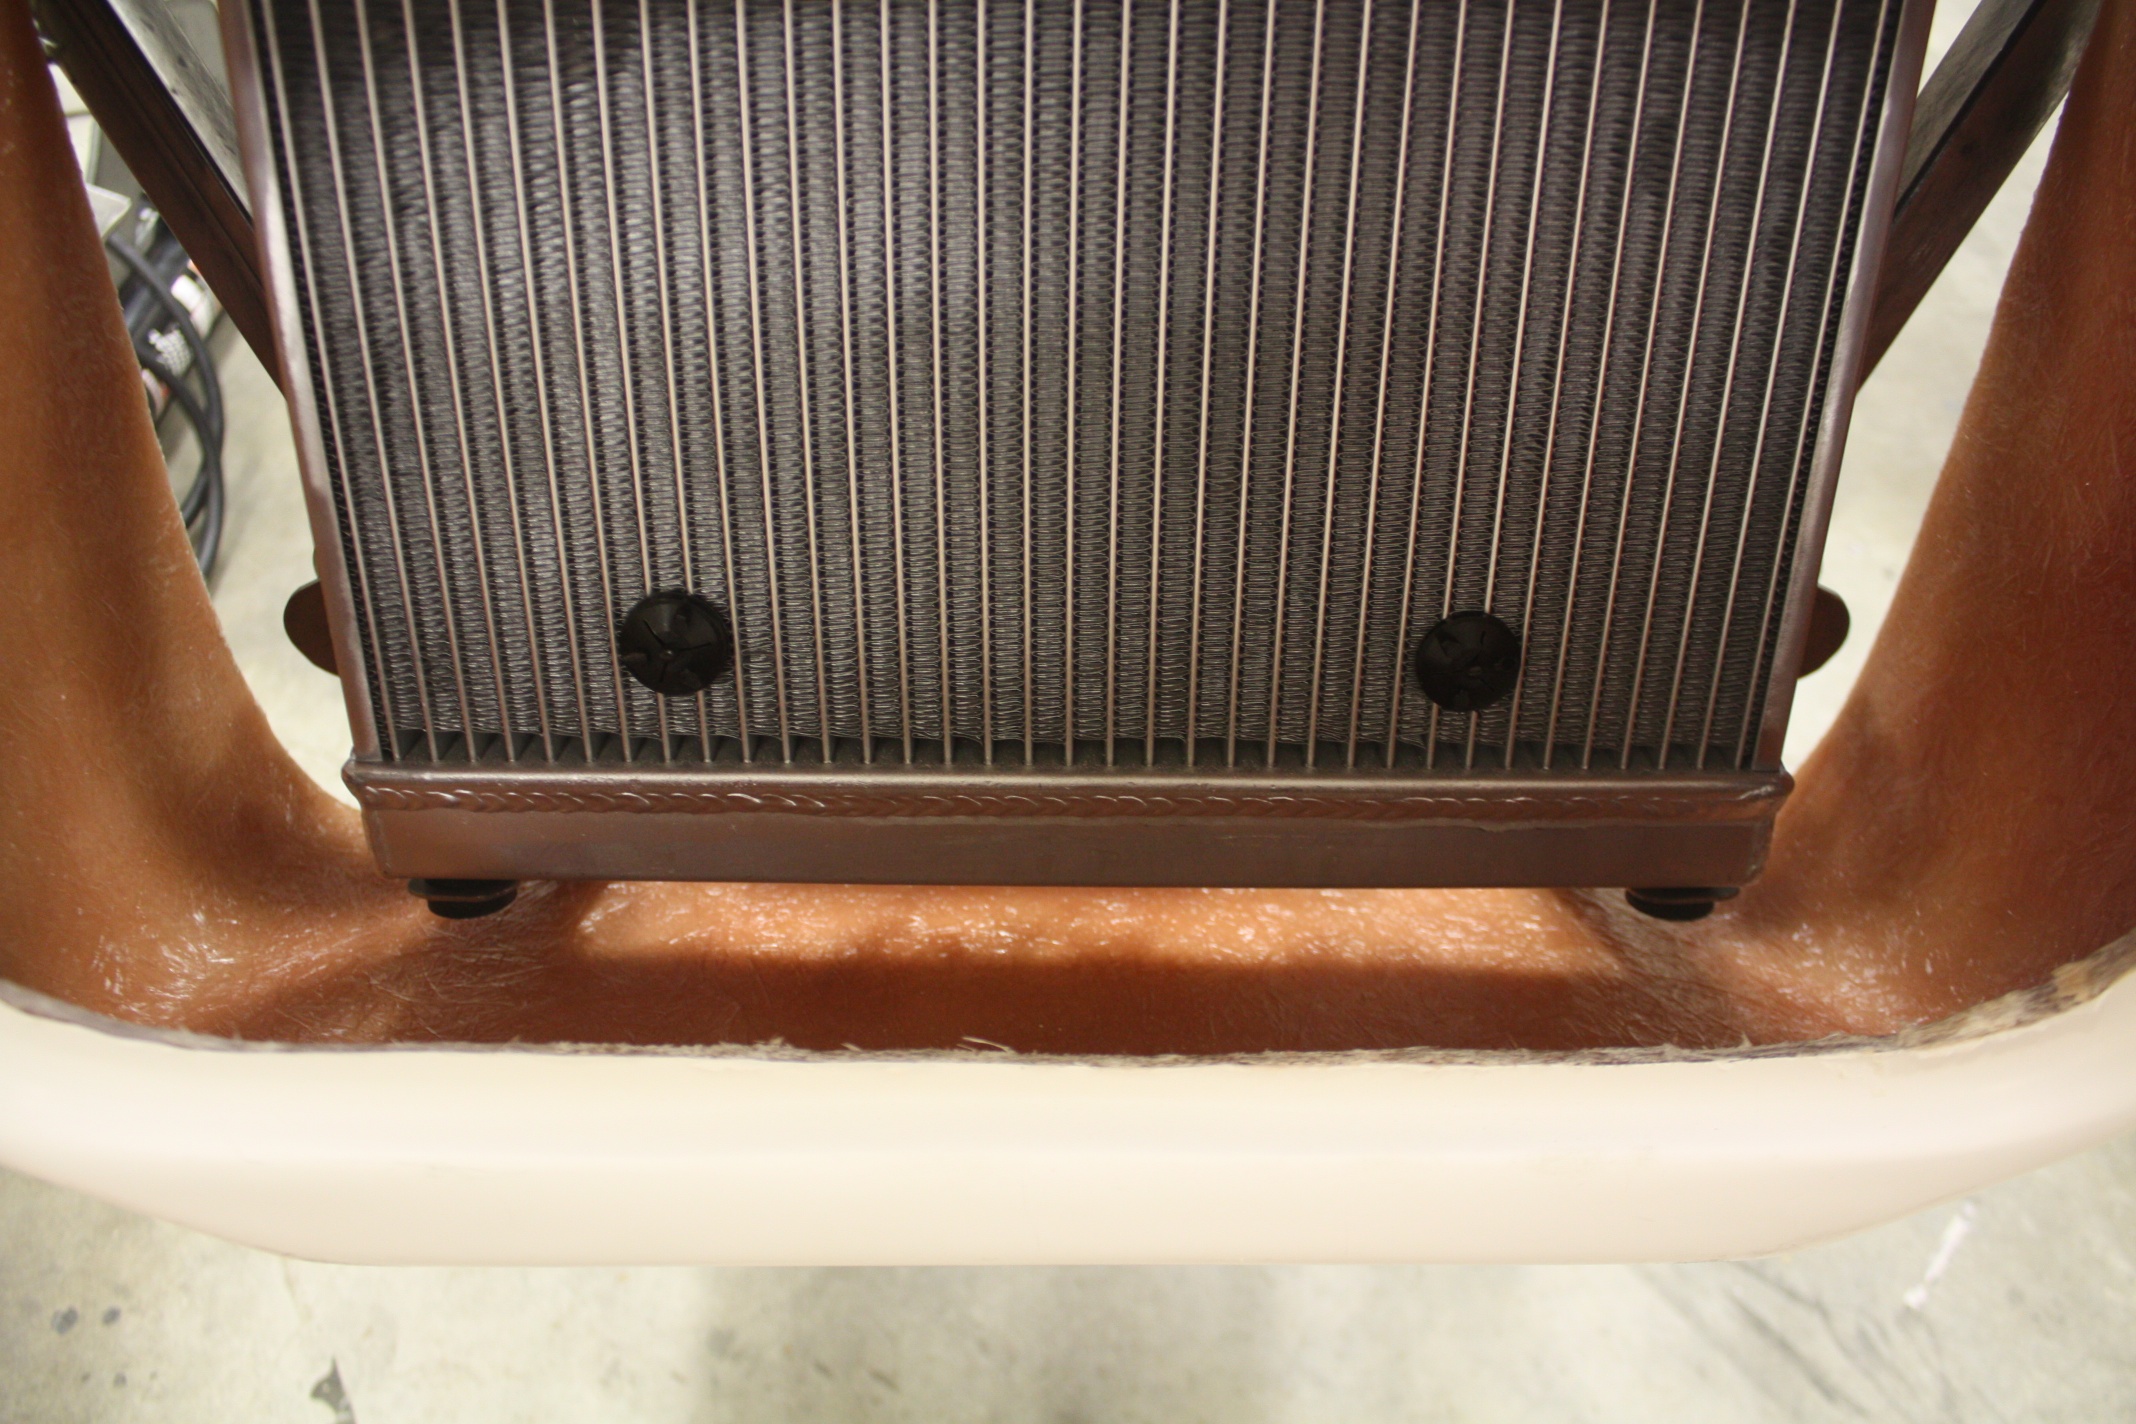
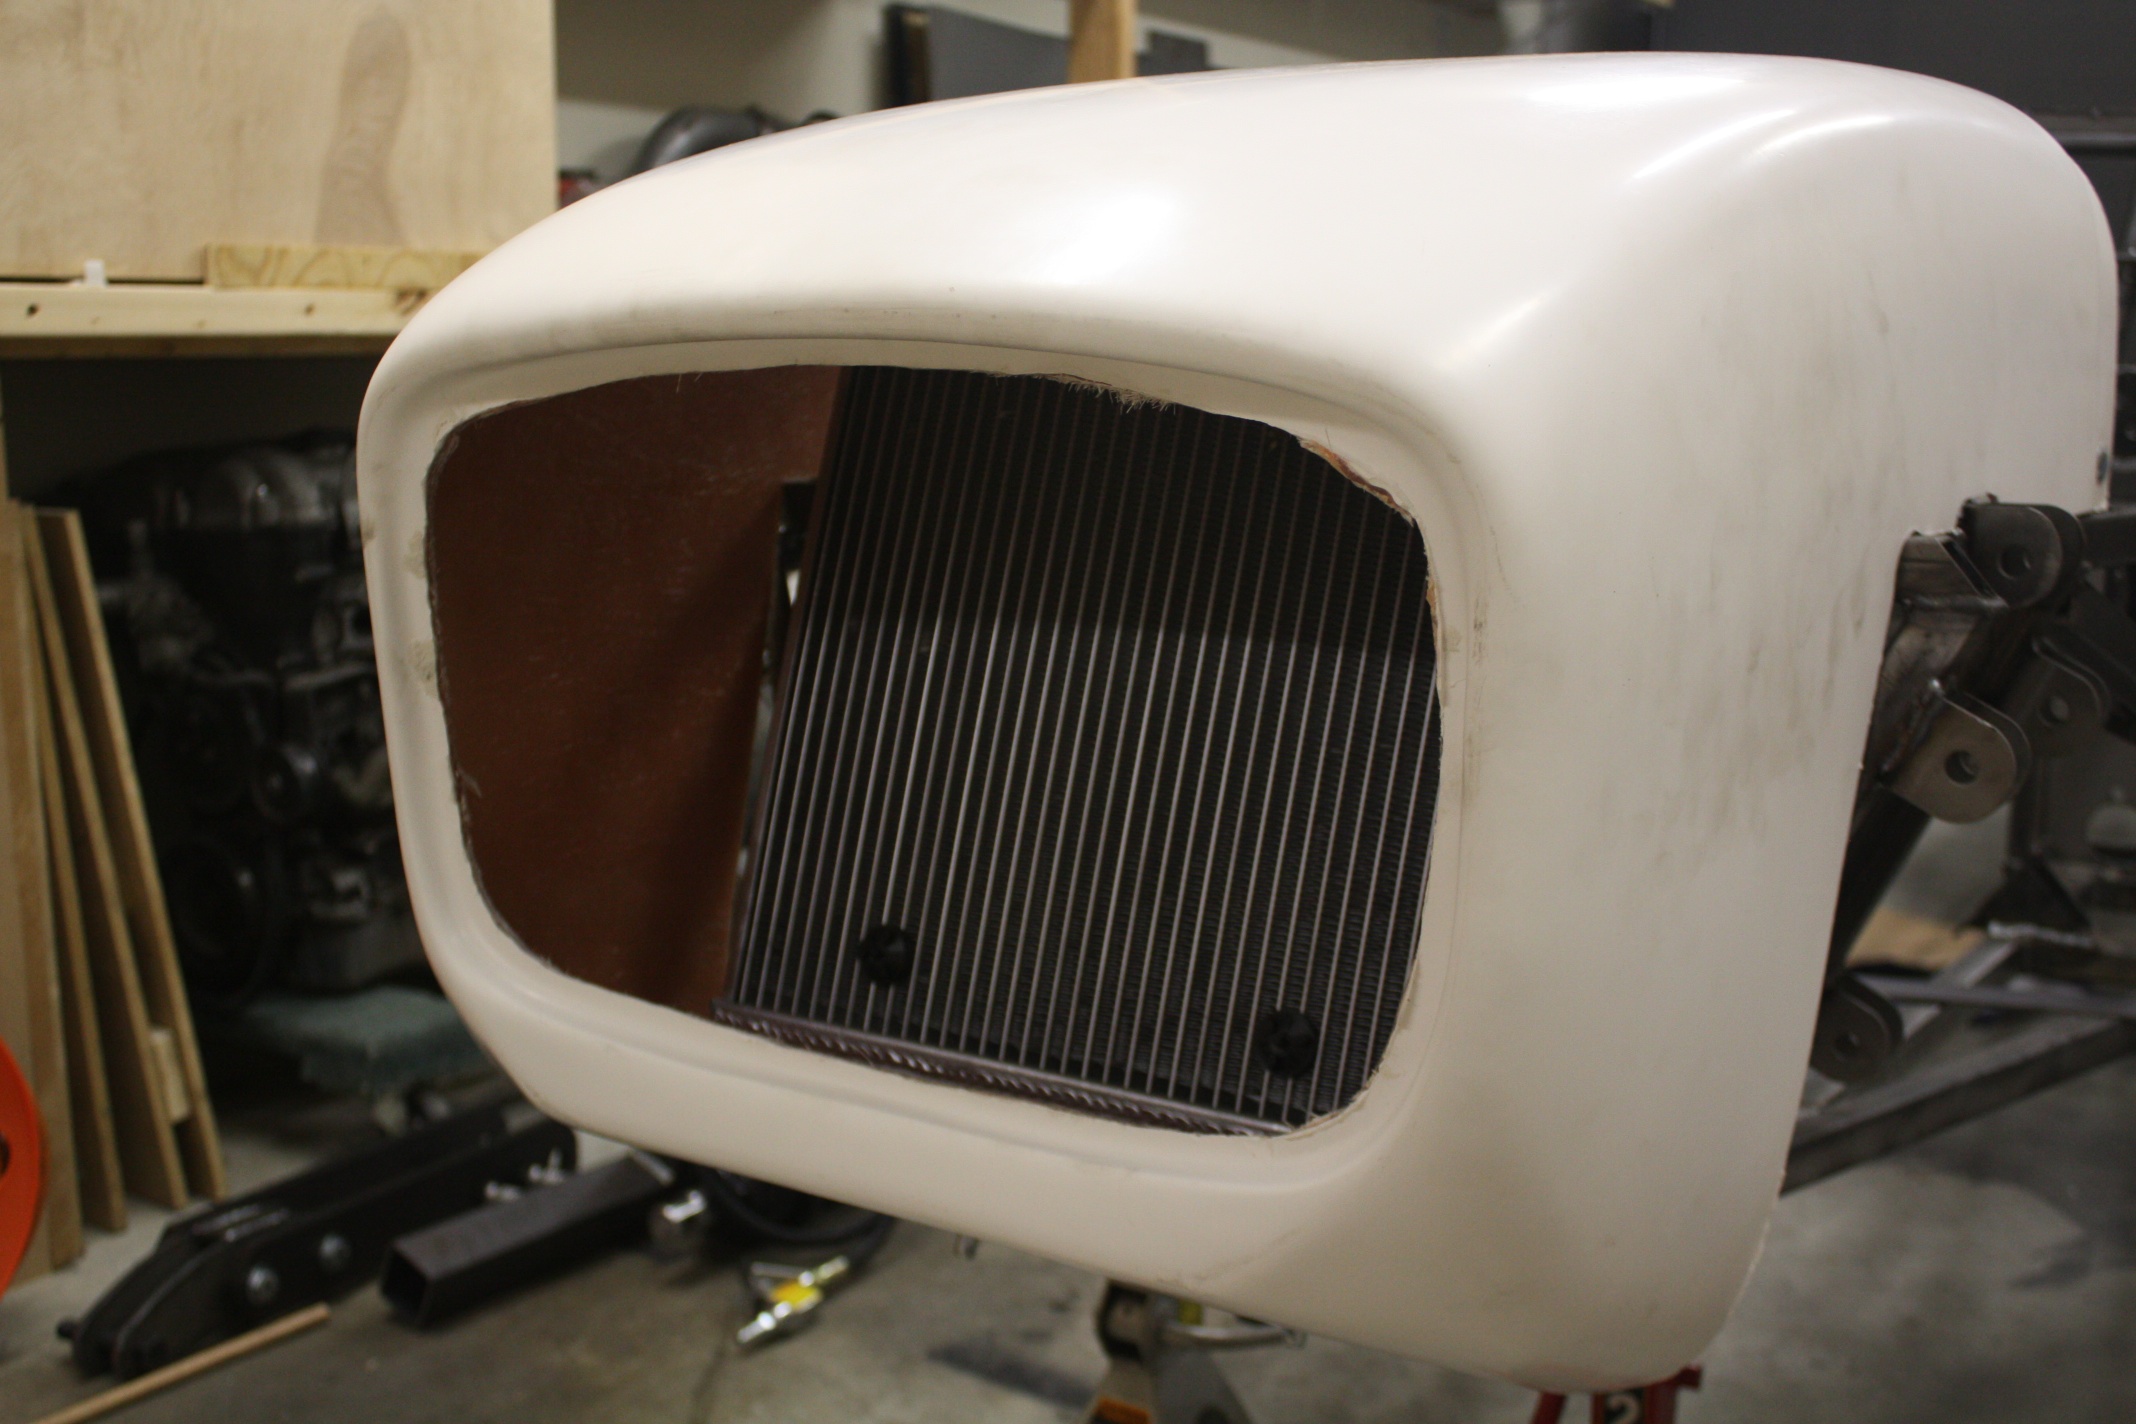
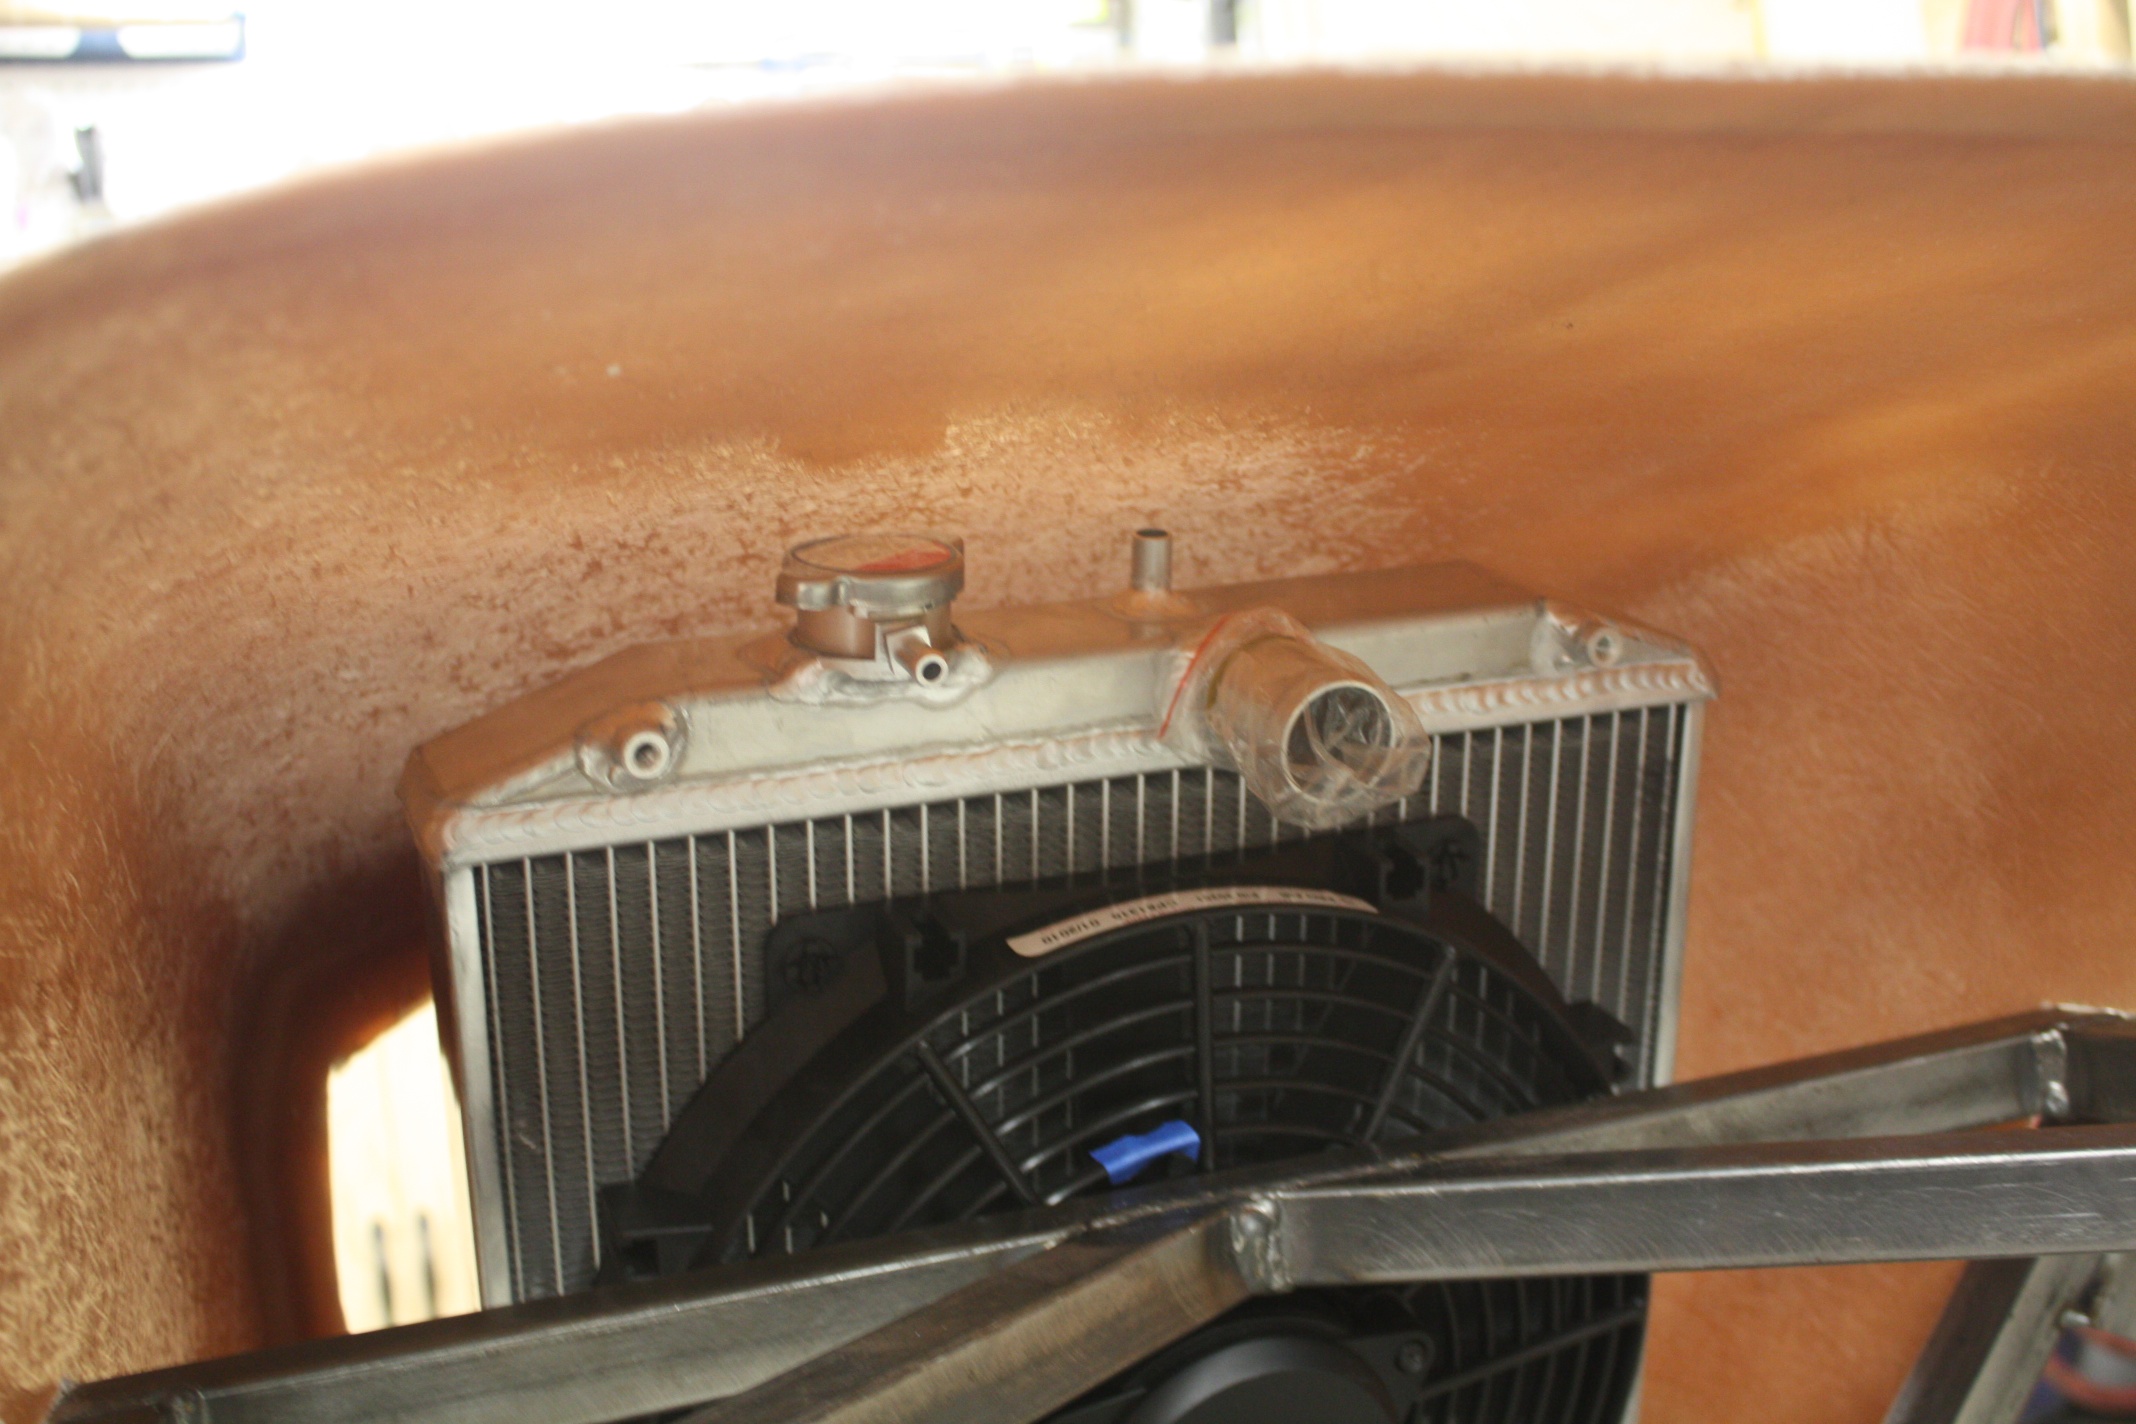
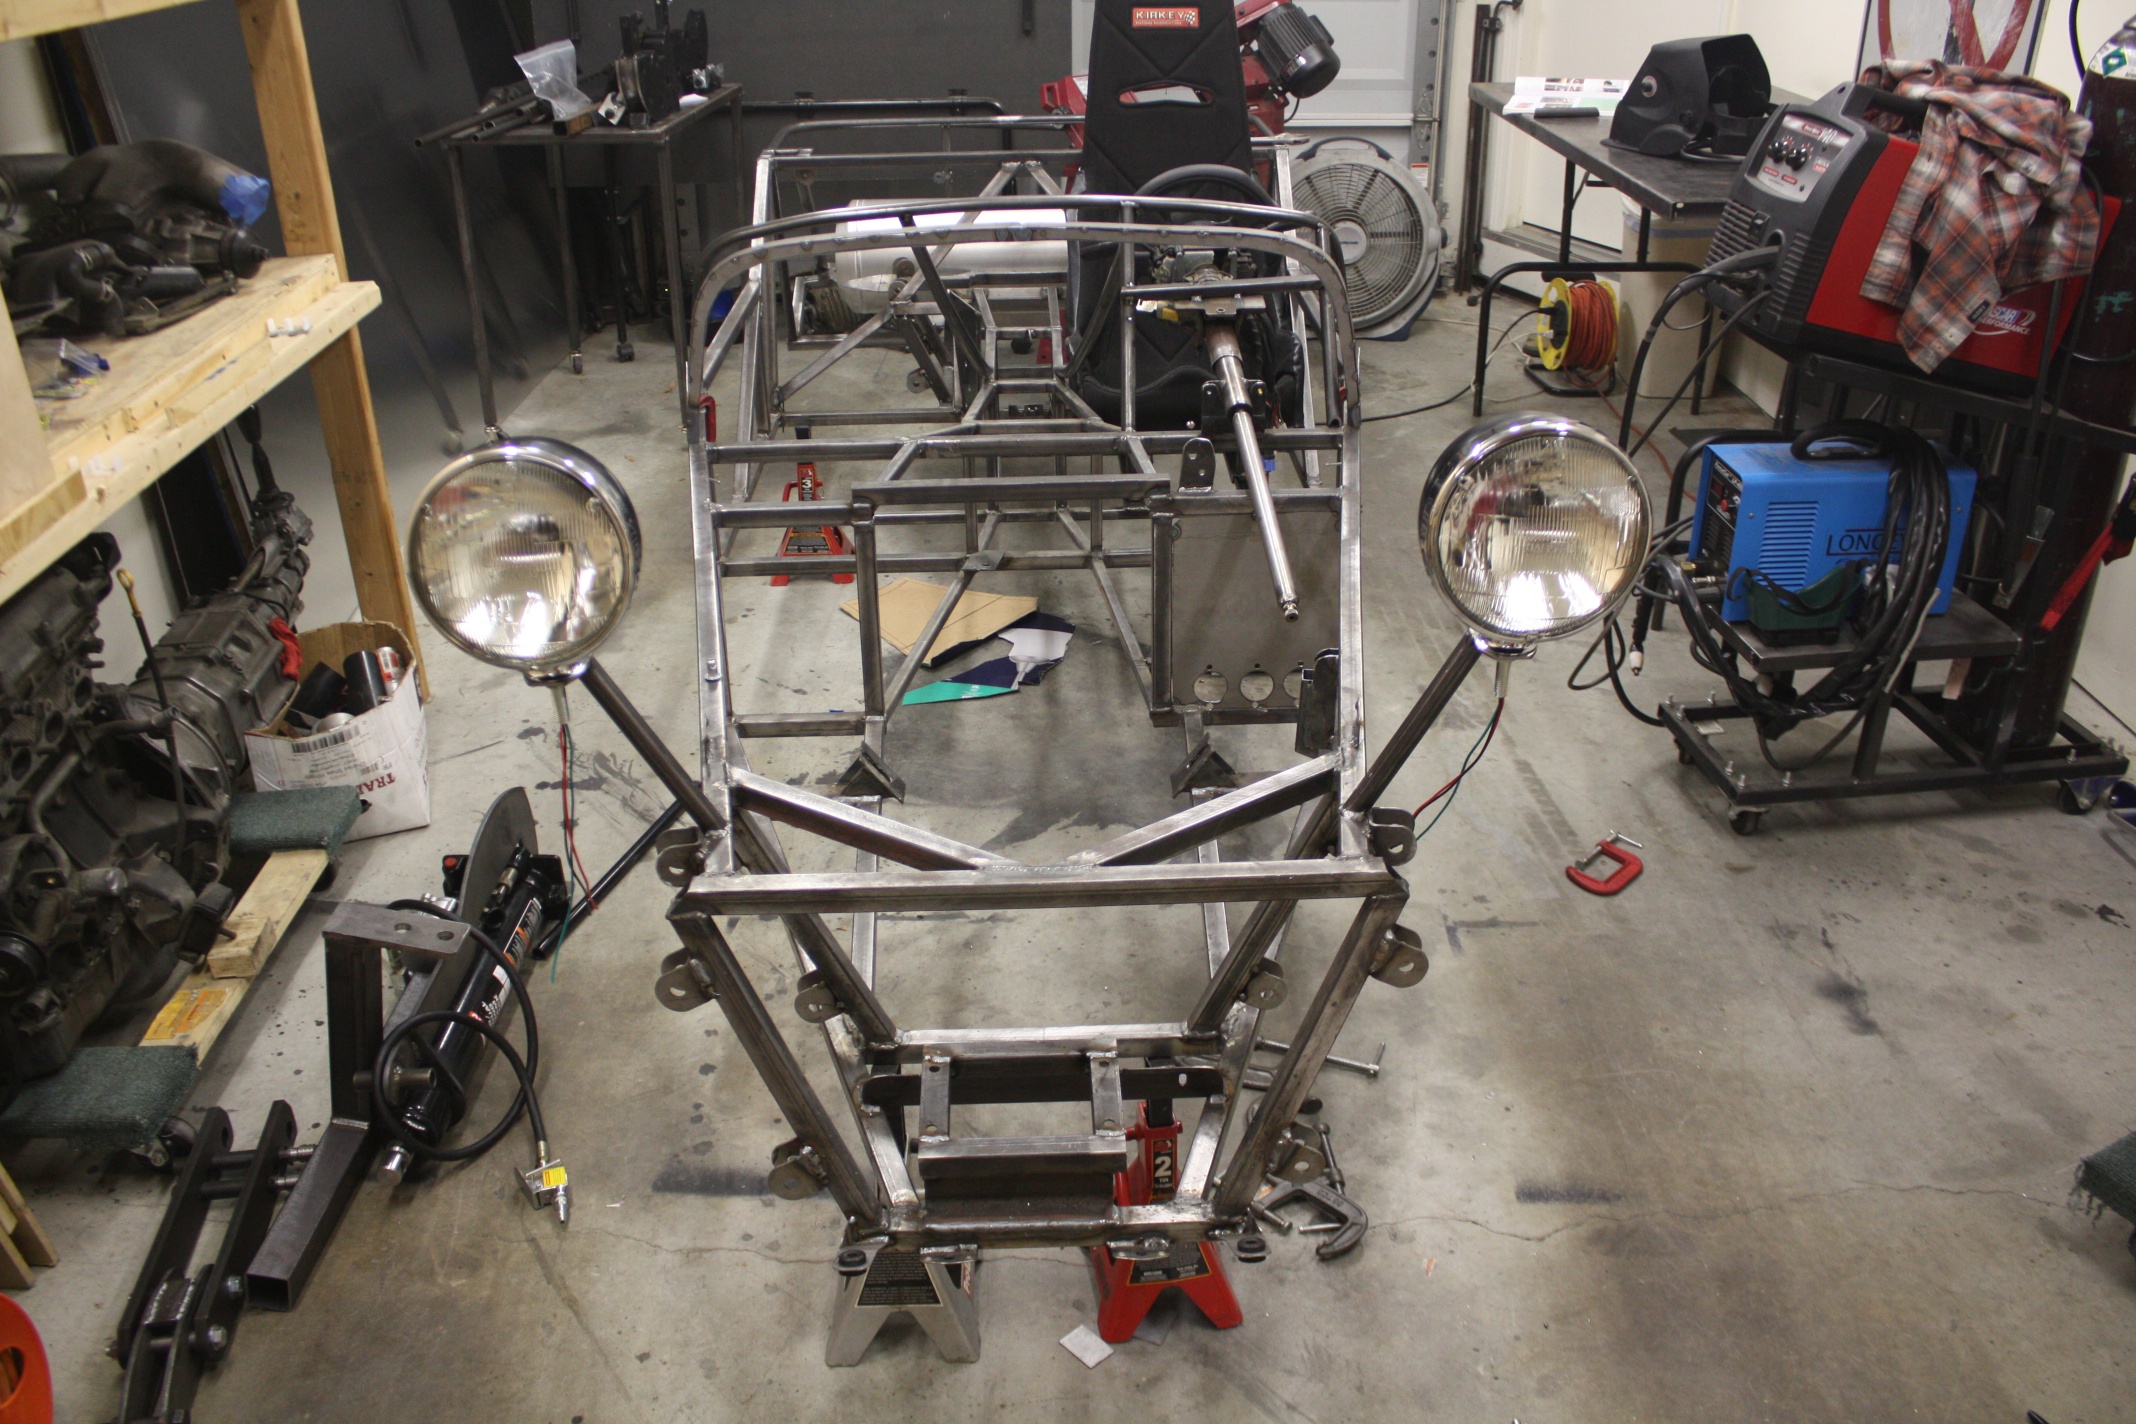
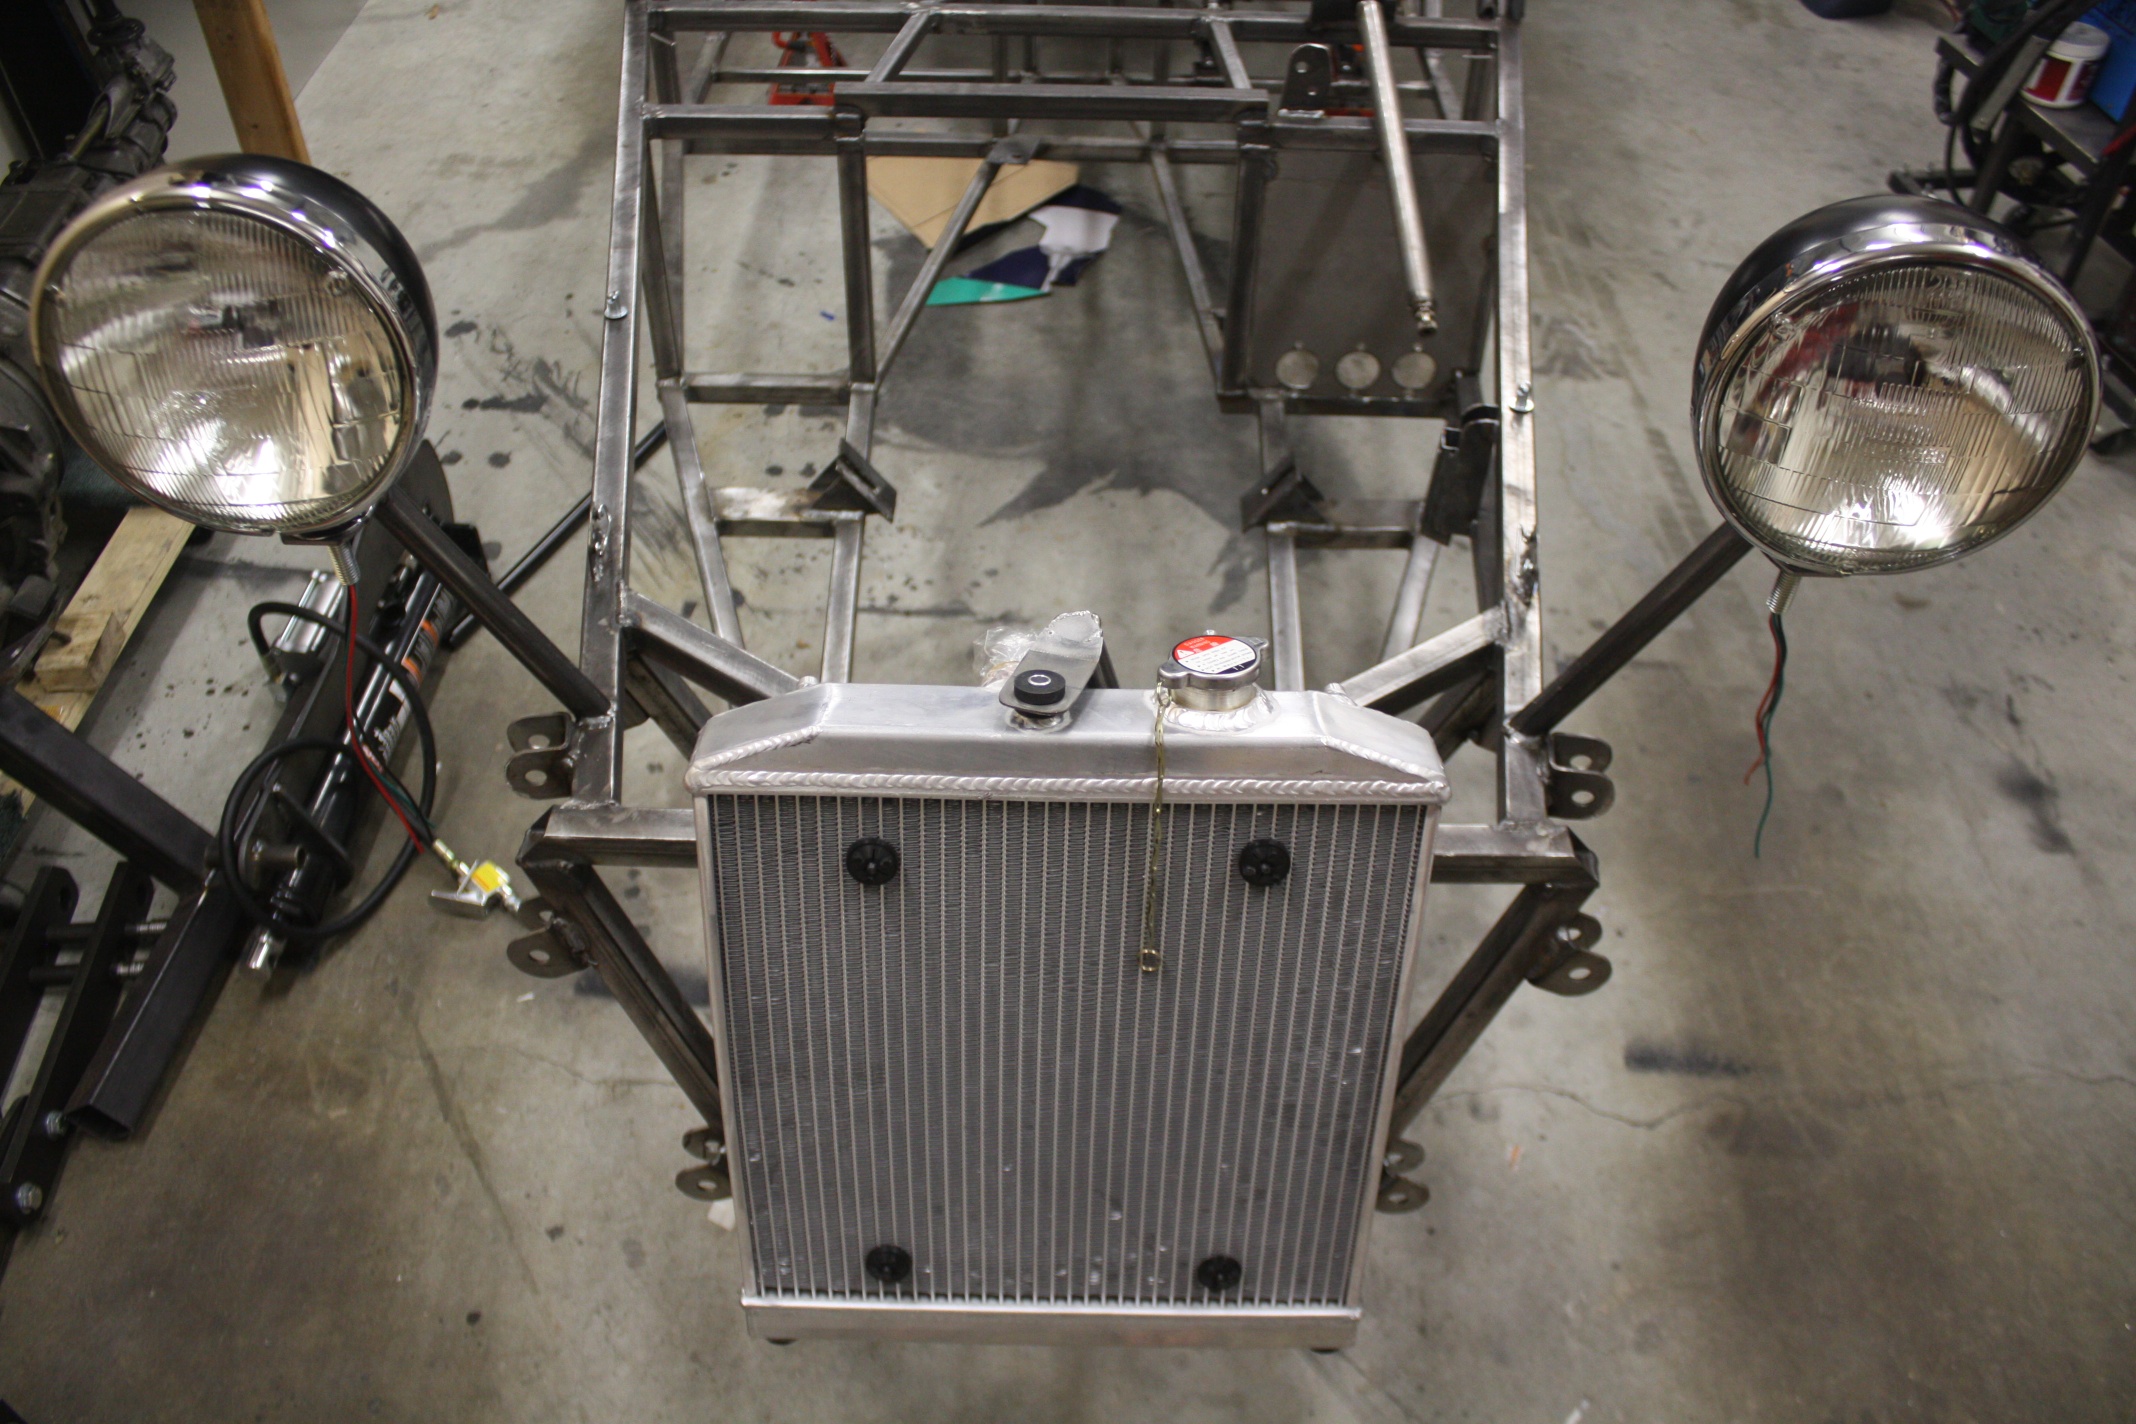
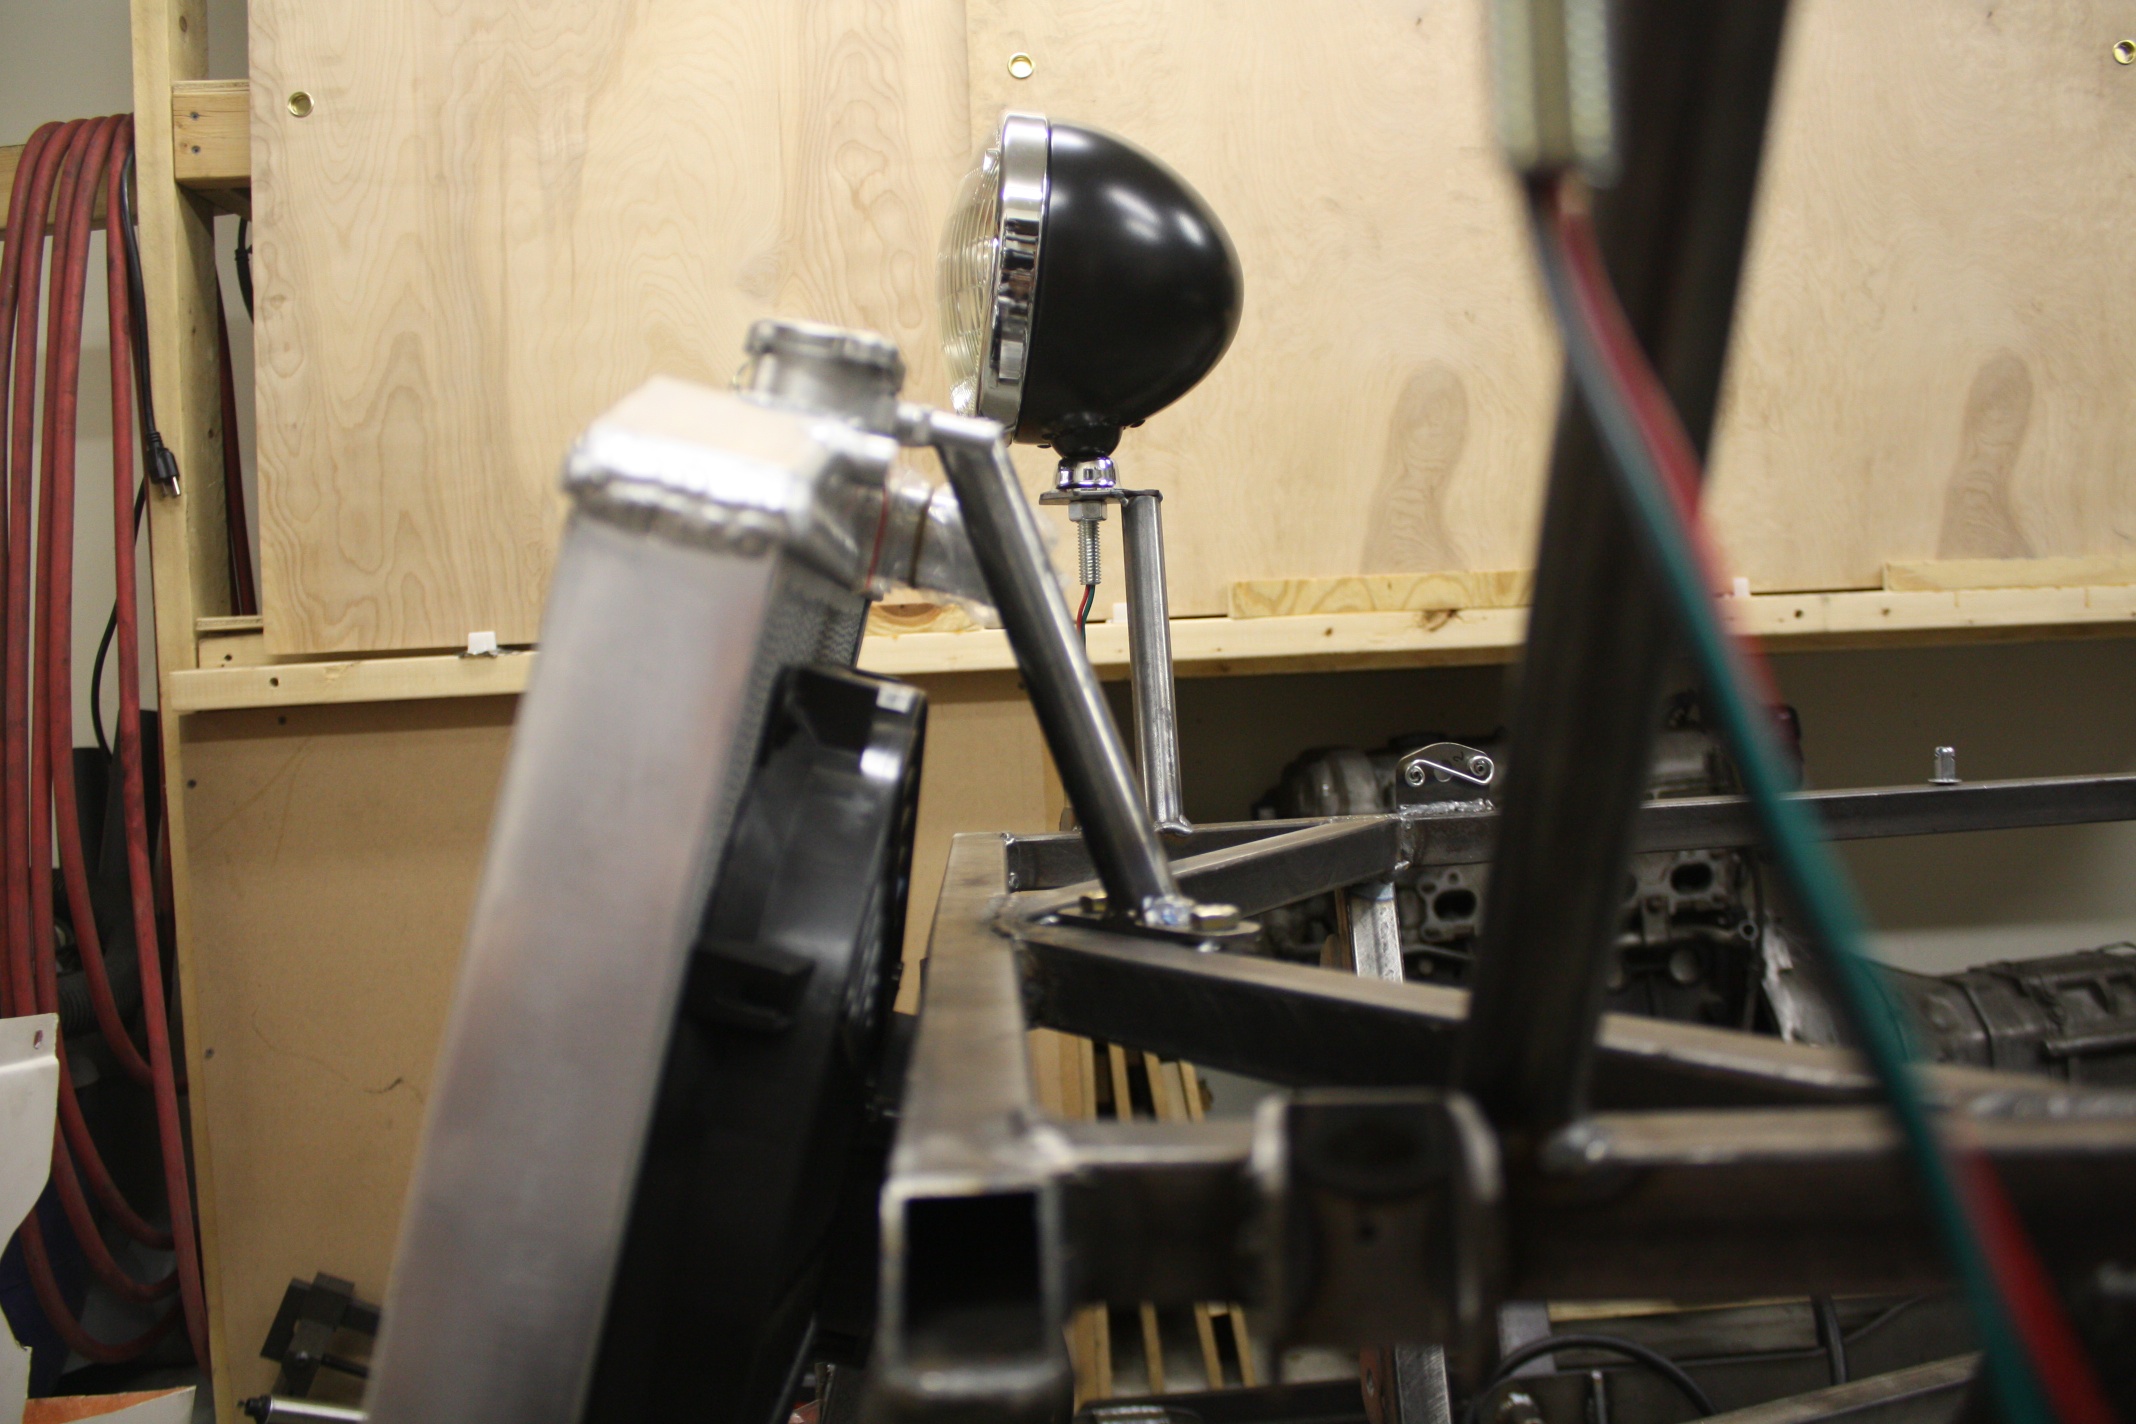
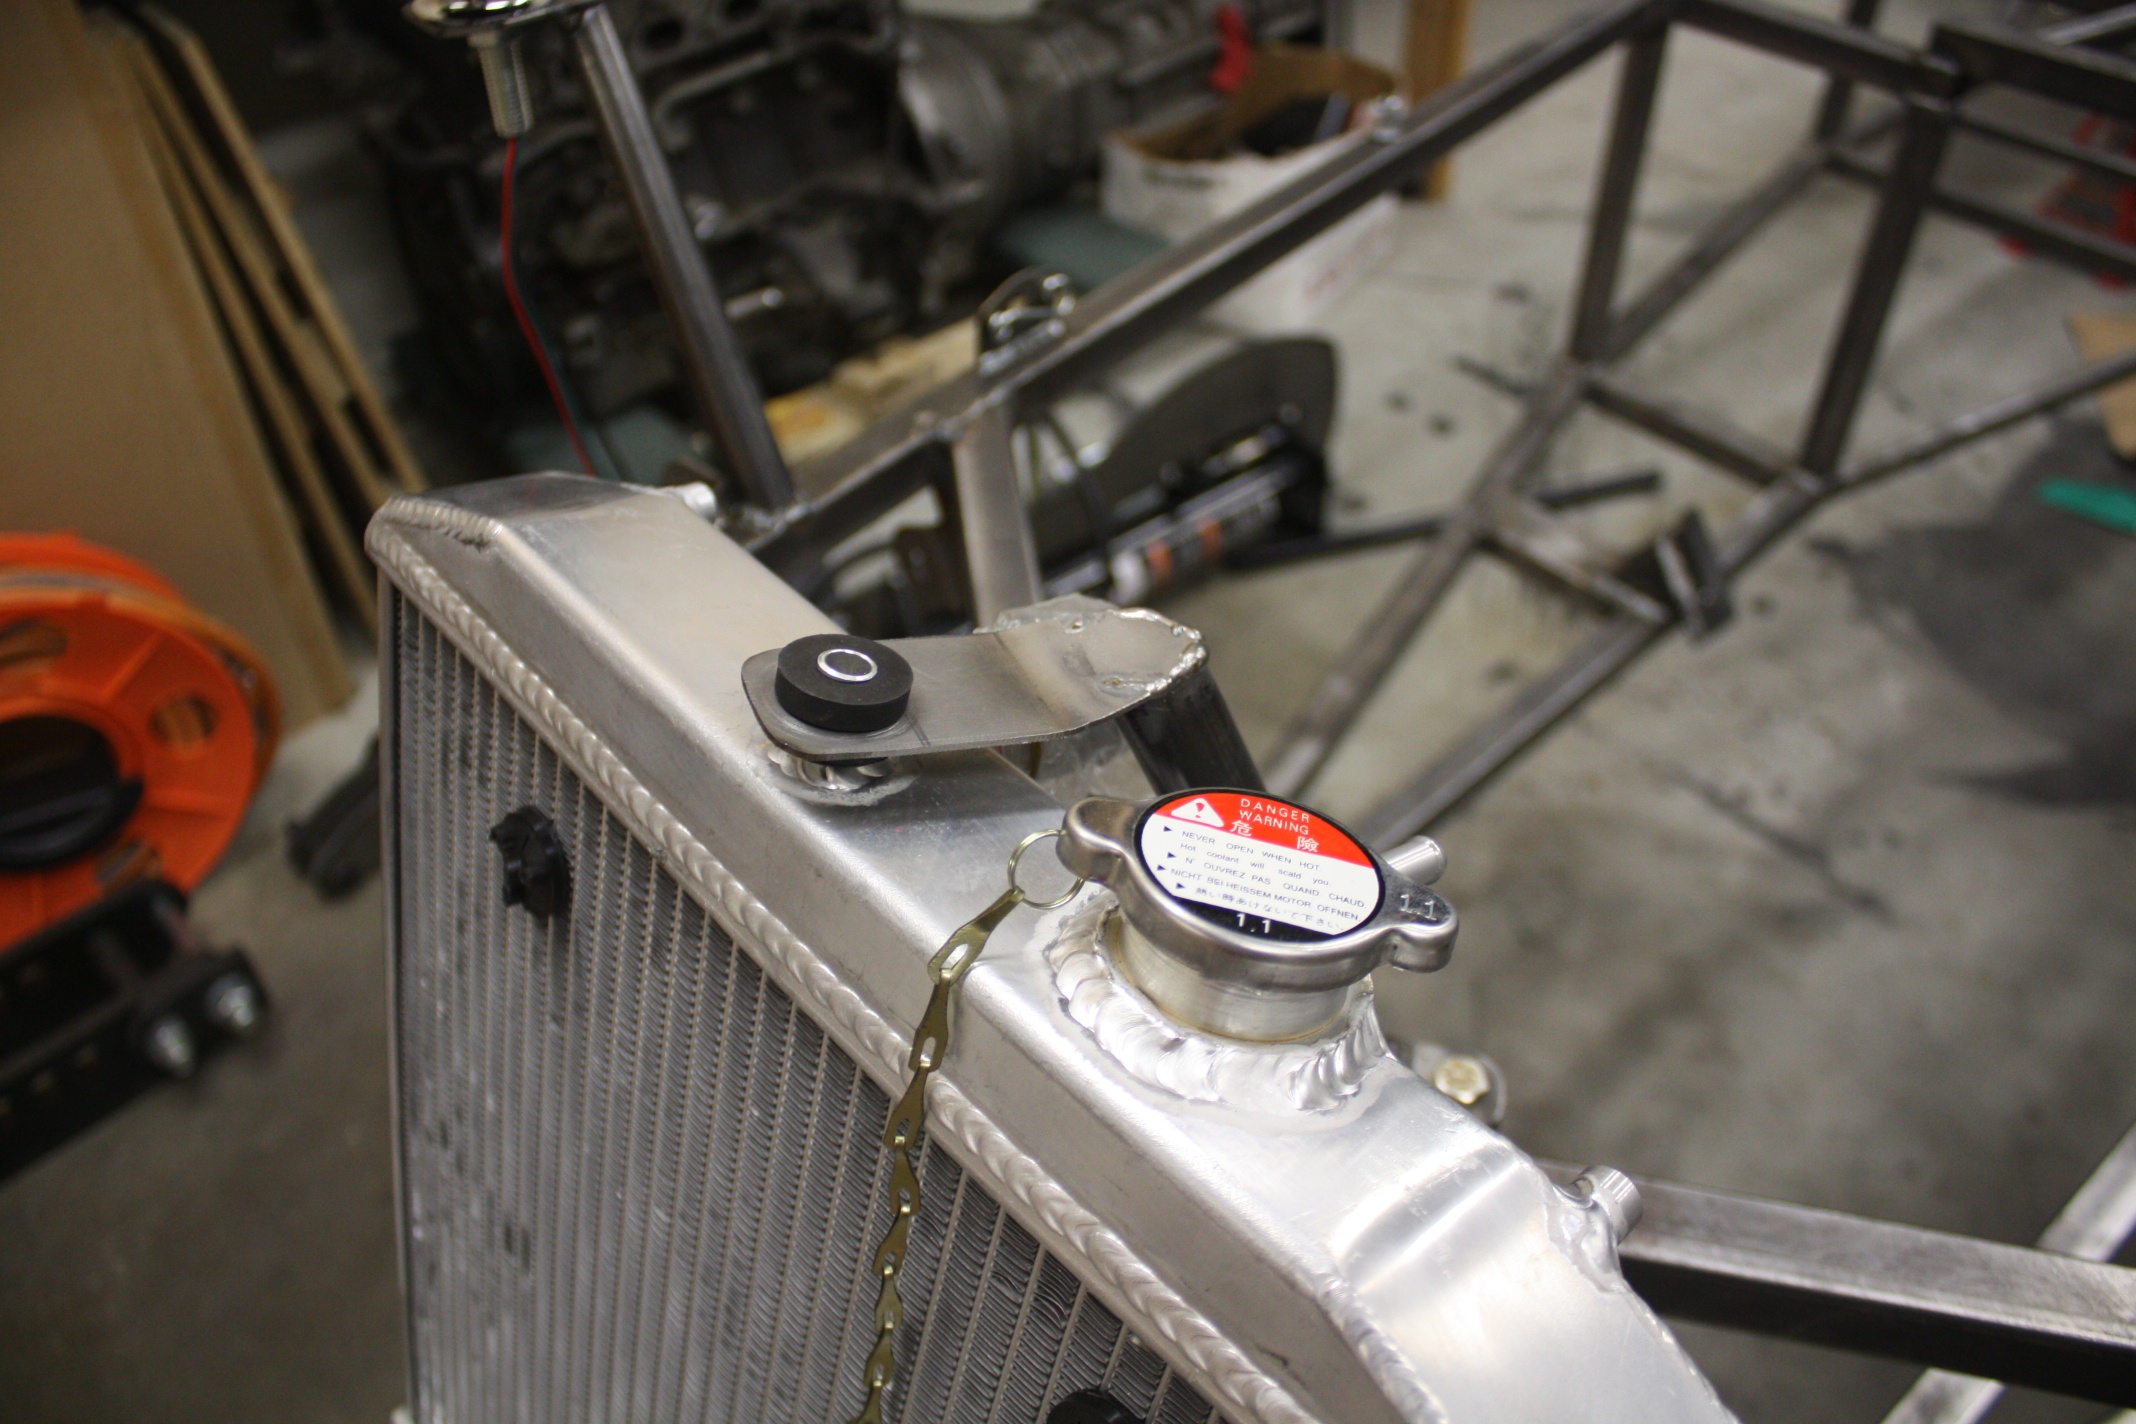
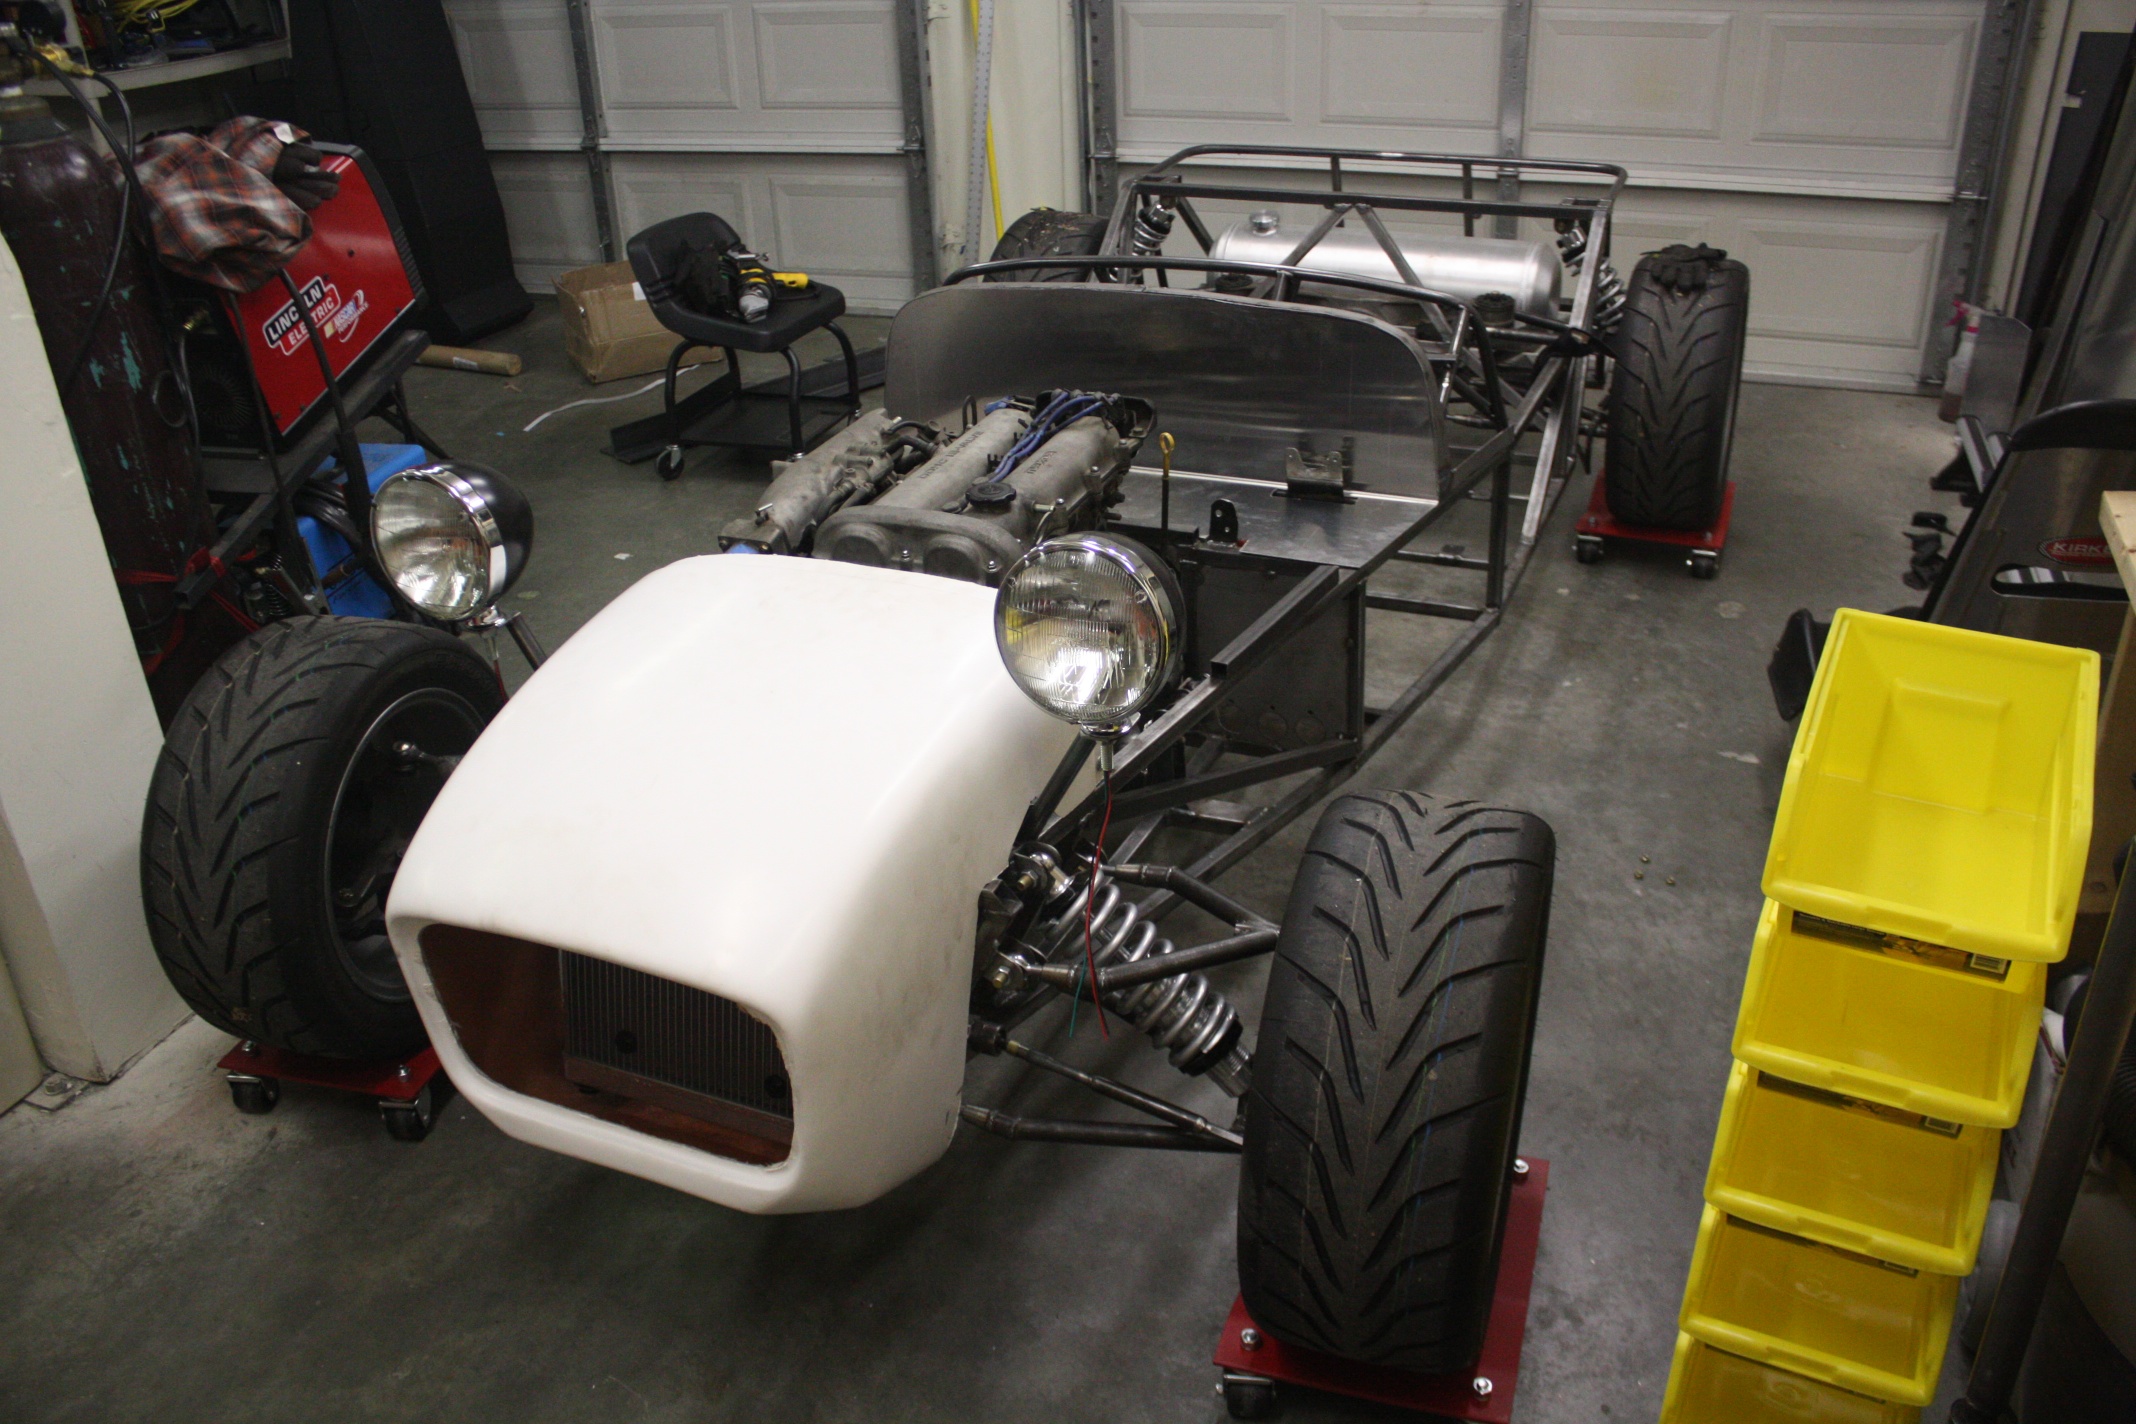
On to the build updates. When I last wrote I had just finished up the scuttle frame and mounted the nosecone. Soon after that I received my 5 sheets of 4′x8′ 16 gauge aluminum. I expect to have some left over but thats fine. I’ll be using it for the floor in addition to various other body panels, including the scuttle. I also managed to mount the honda civic radiator successfully, and gave the car headlights to boot. I’m really happy with the way the radiator mount turned out, and the radiator itself fits nicely within the nosecone.
Around this point I moved into the bigger space and there was a fair amount of time where my work in the garage was related to setting up the workspace. Eventually I got back to the car though and decided to build the firewall aluminum piece that sits between the scuttle and the engine bay. For this I decided to make my own sheet metal brake out of 1/4″ thick 4″x4″ angle iron (two 4′ long sections held together with a piano hinge). That was a fun experiment and it worked reasonably well for this piece, though I probably won’t be using it again soon.
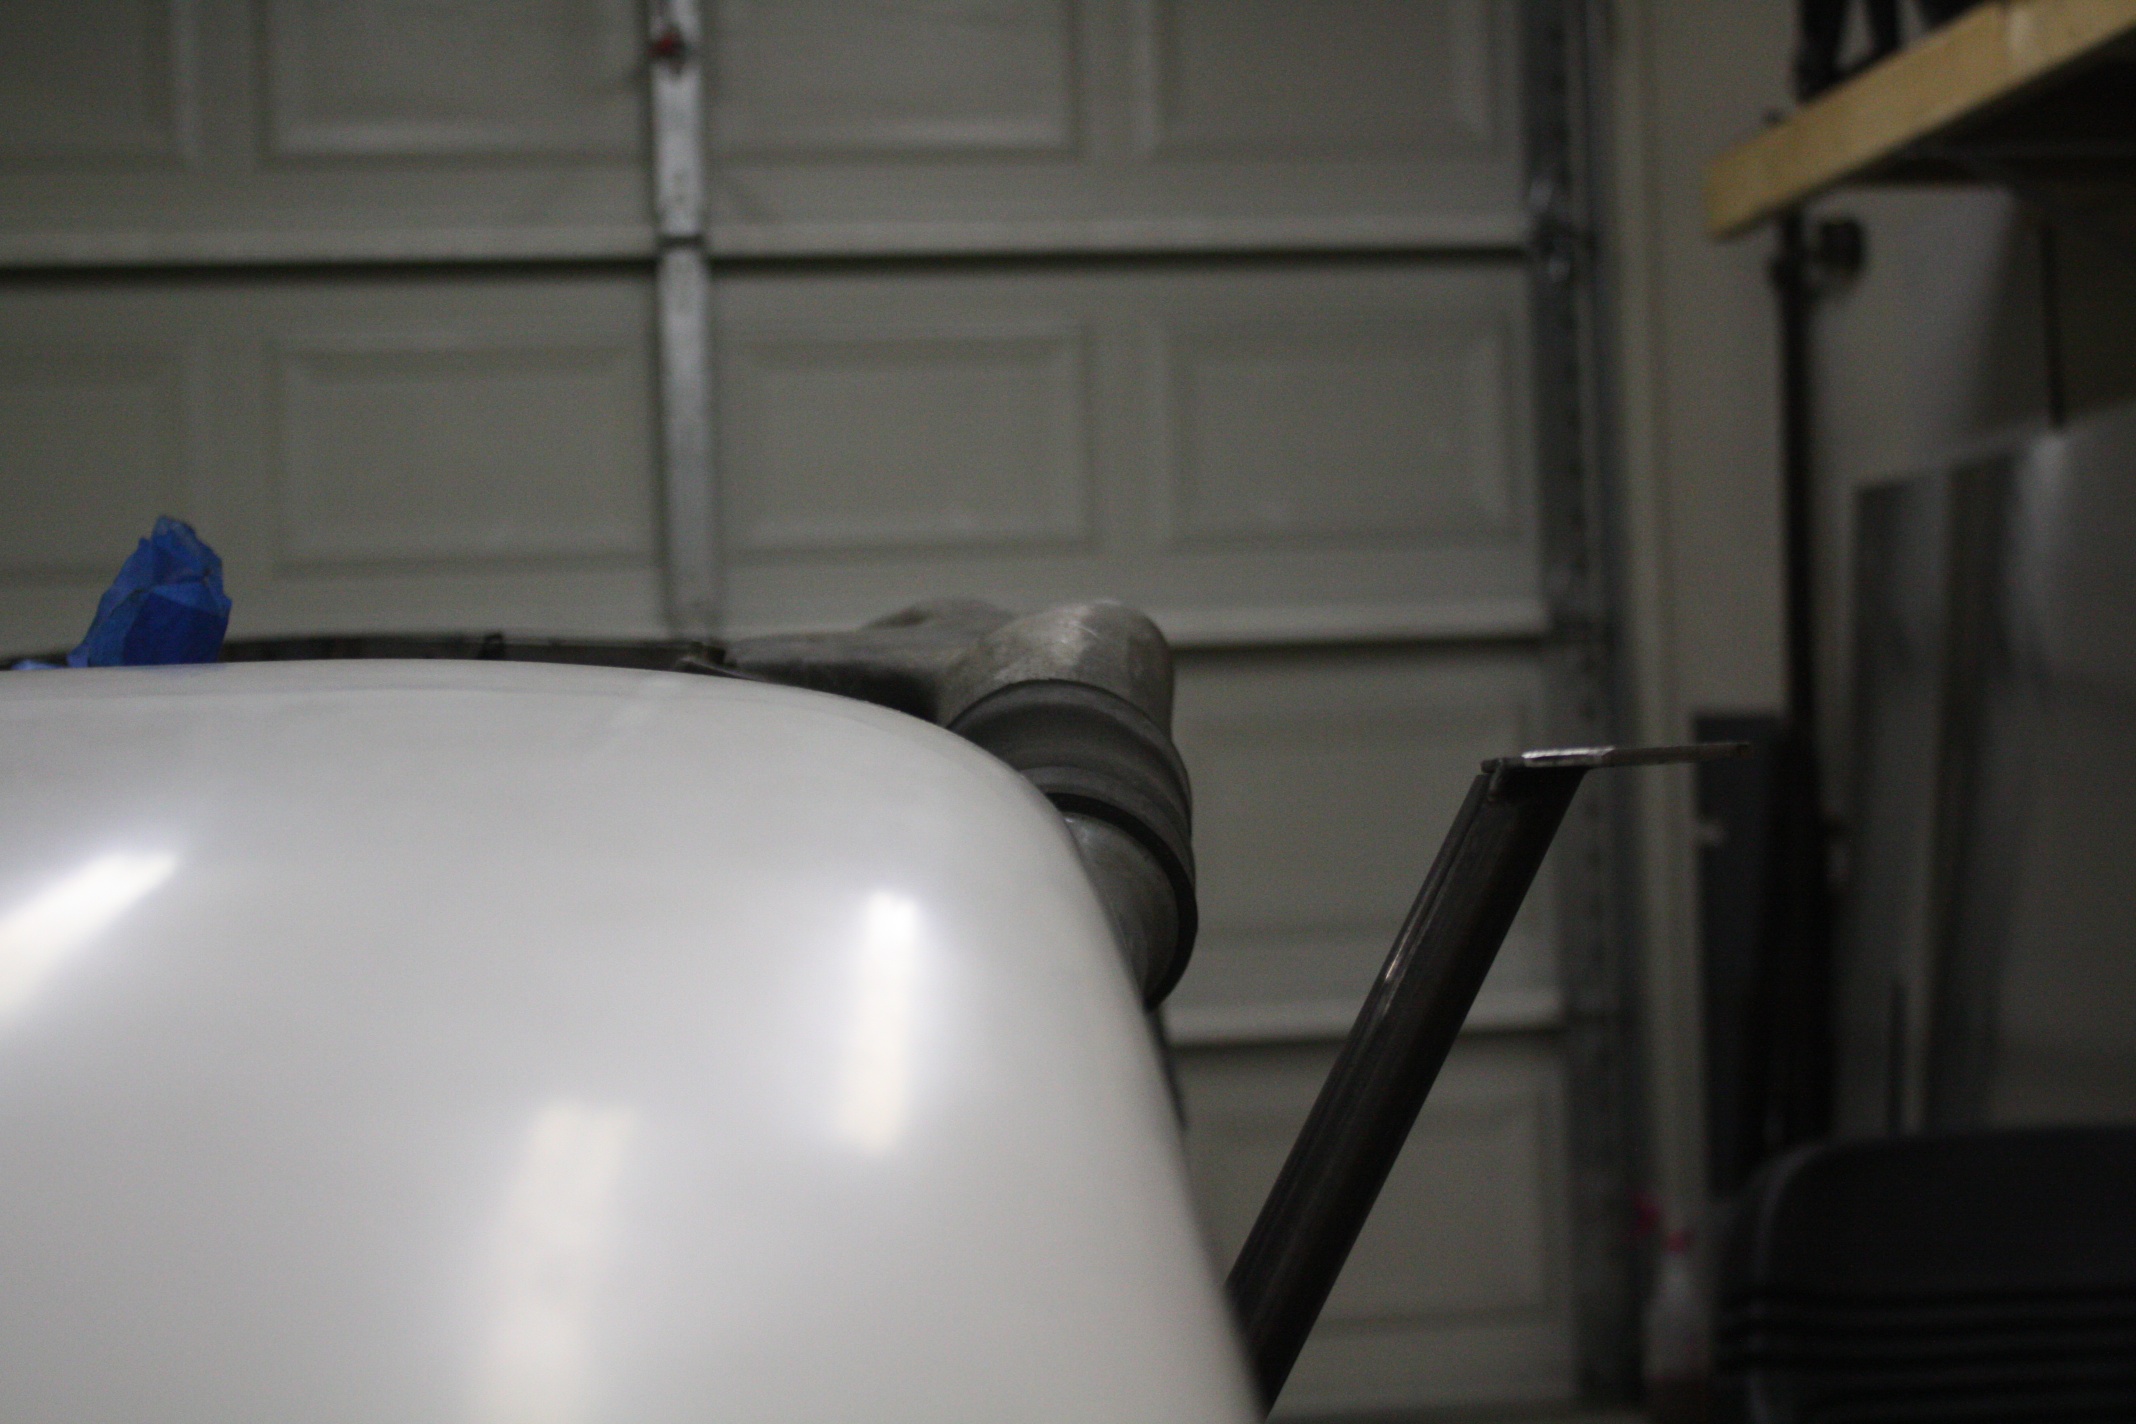
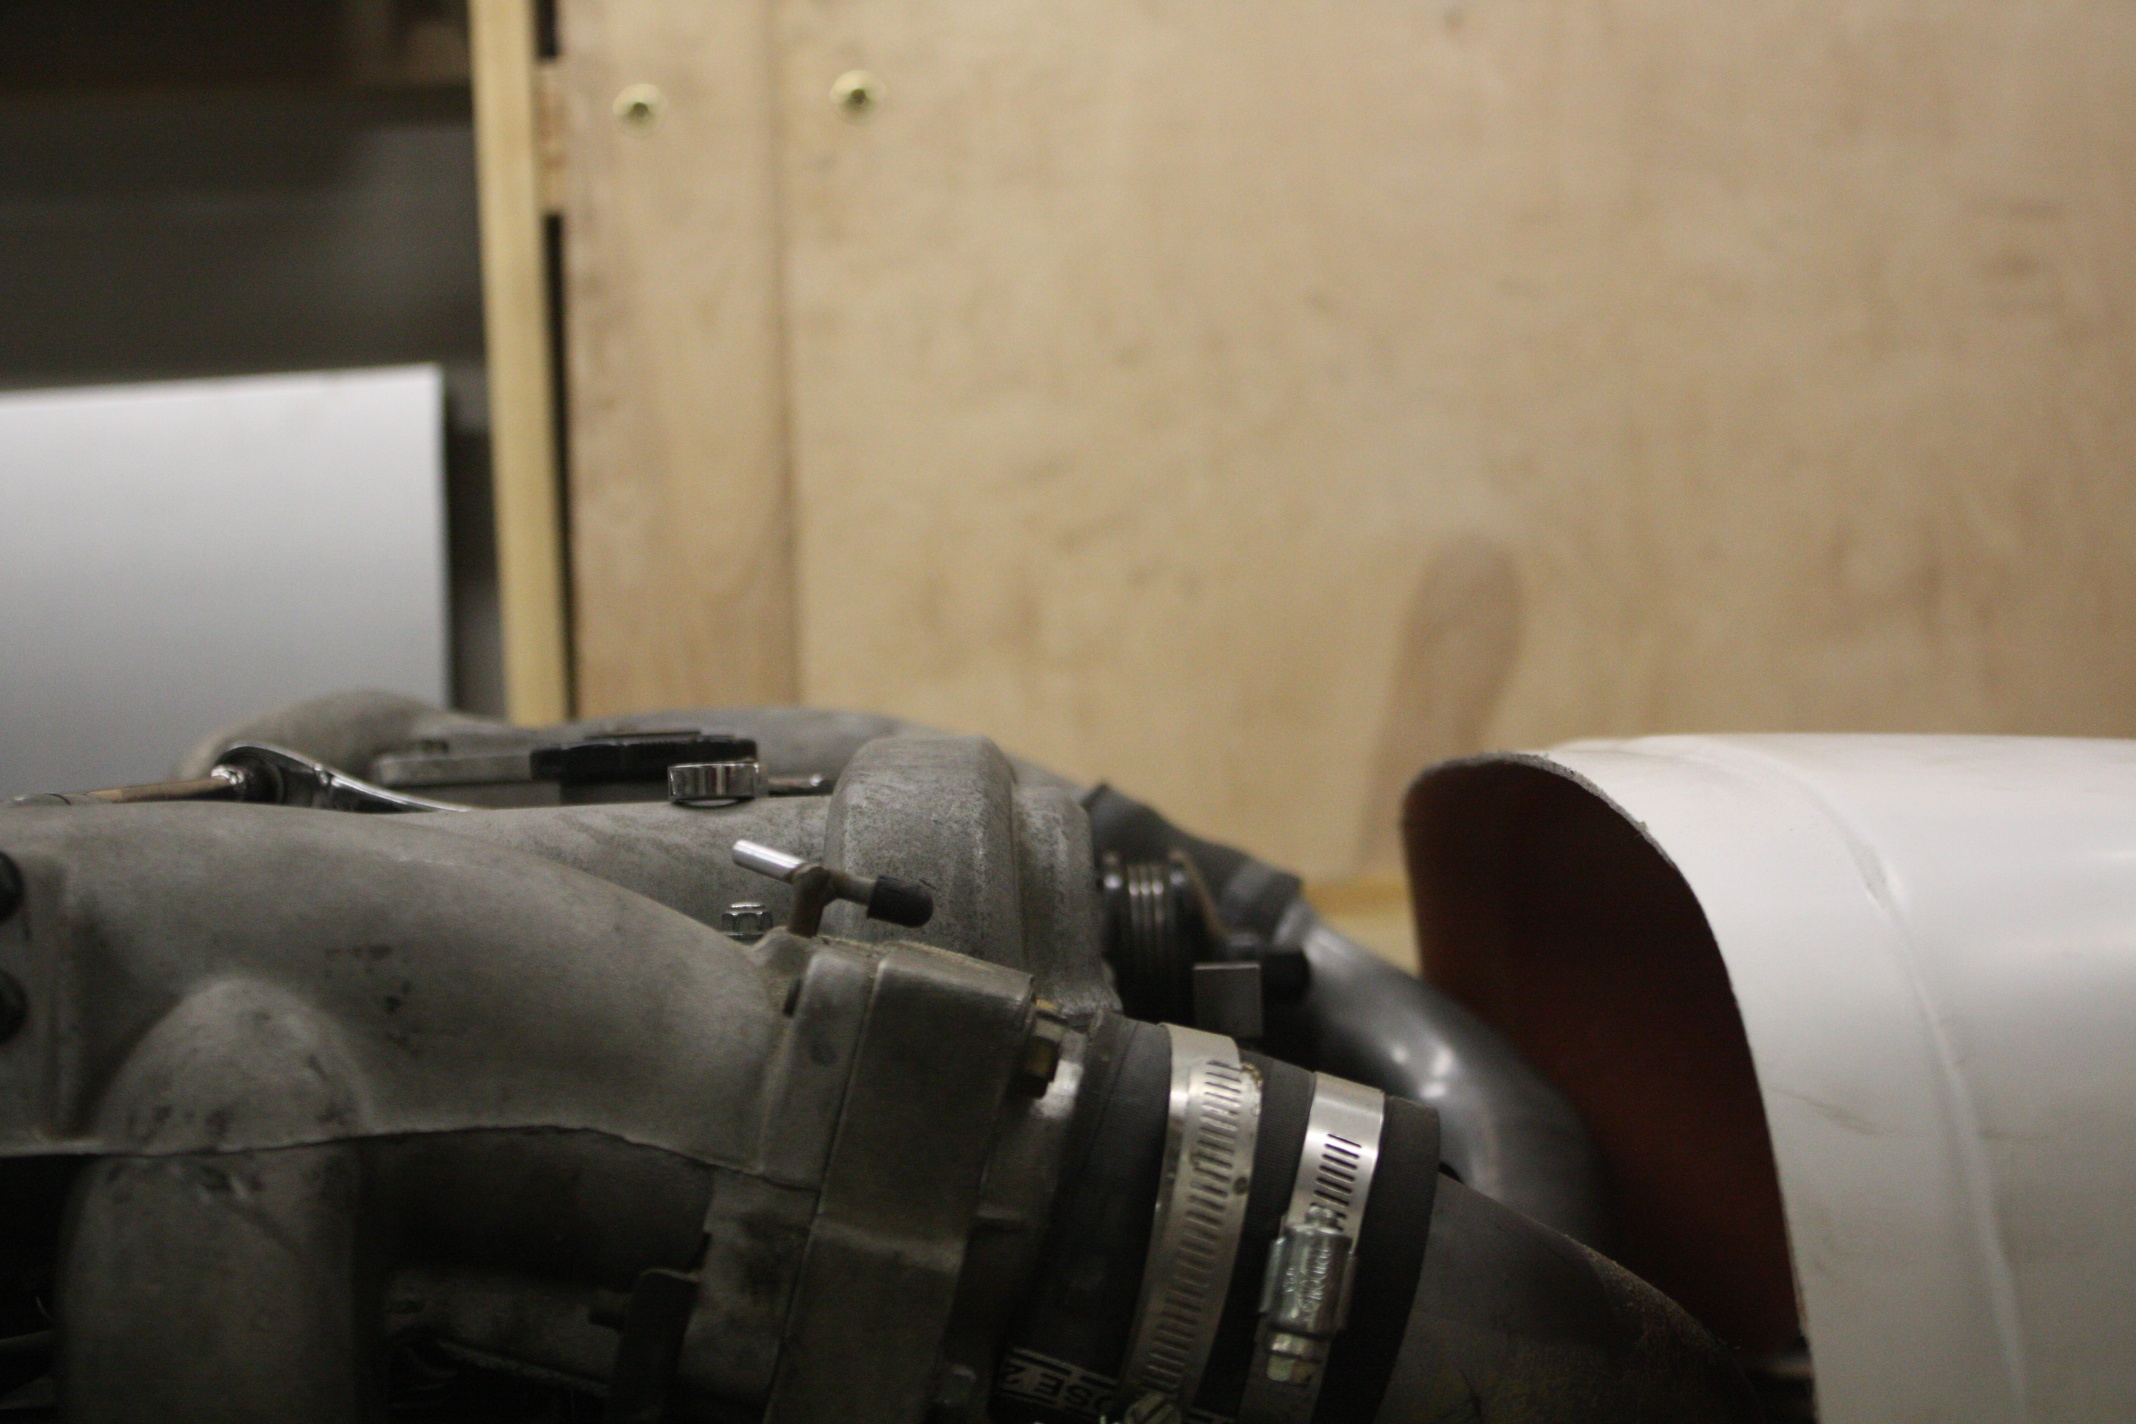
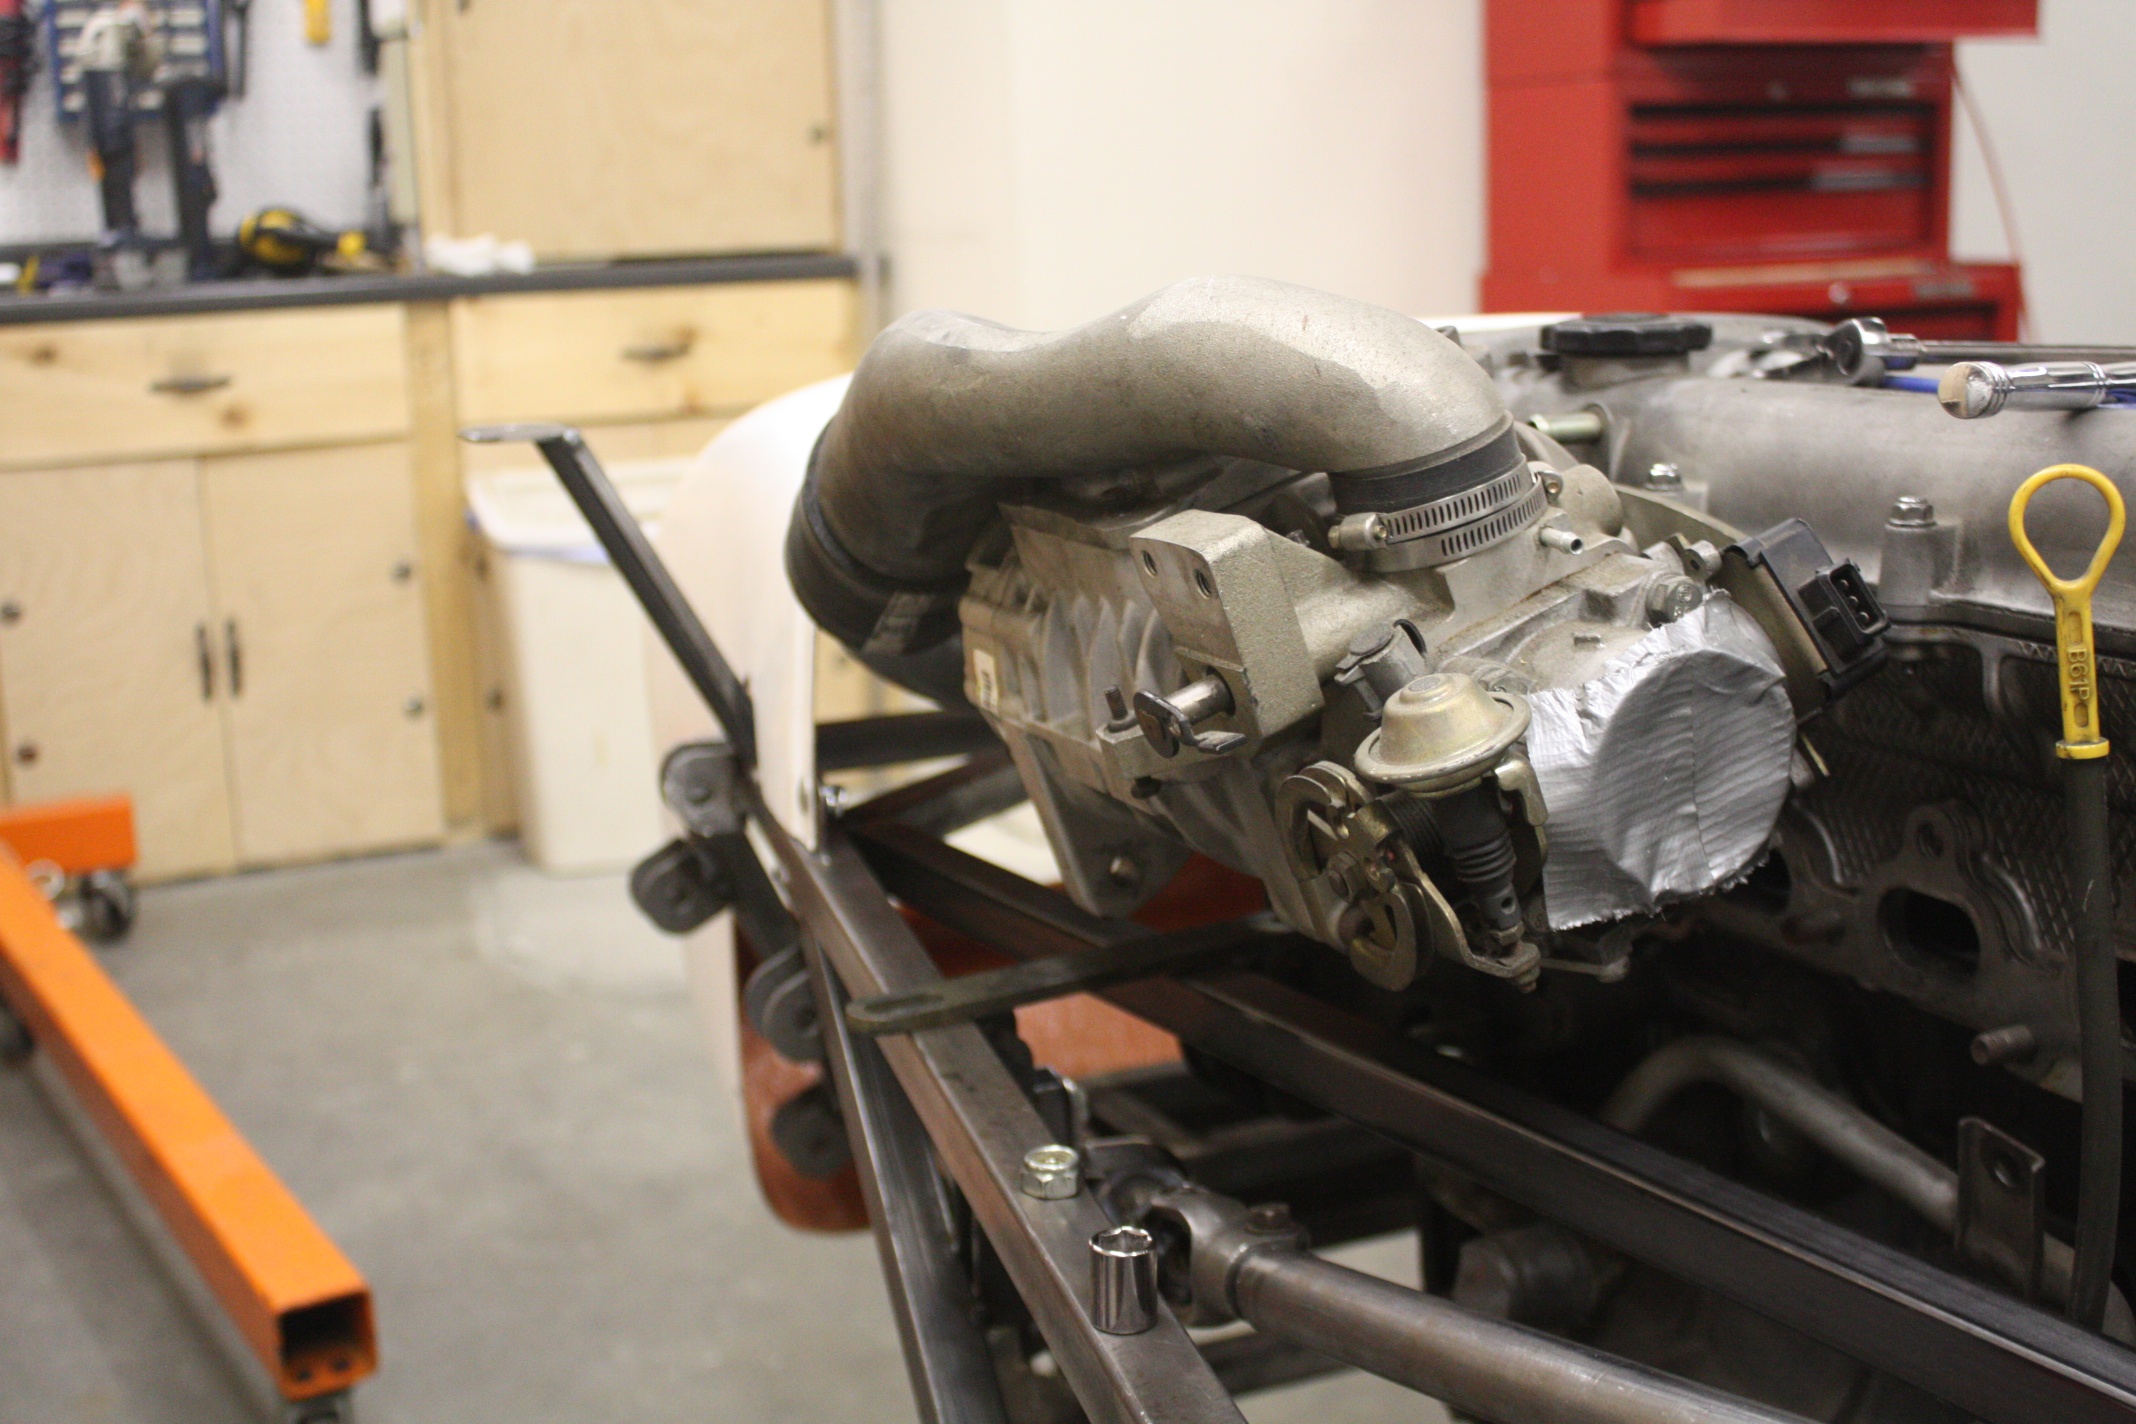
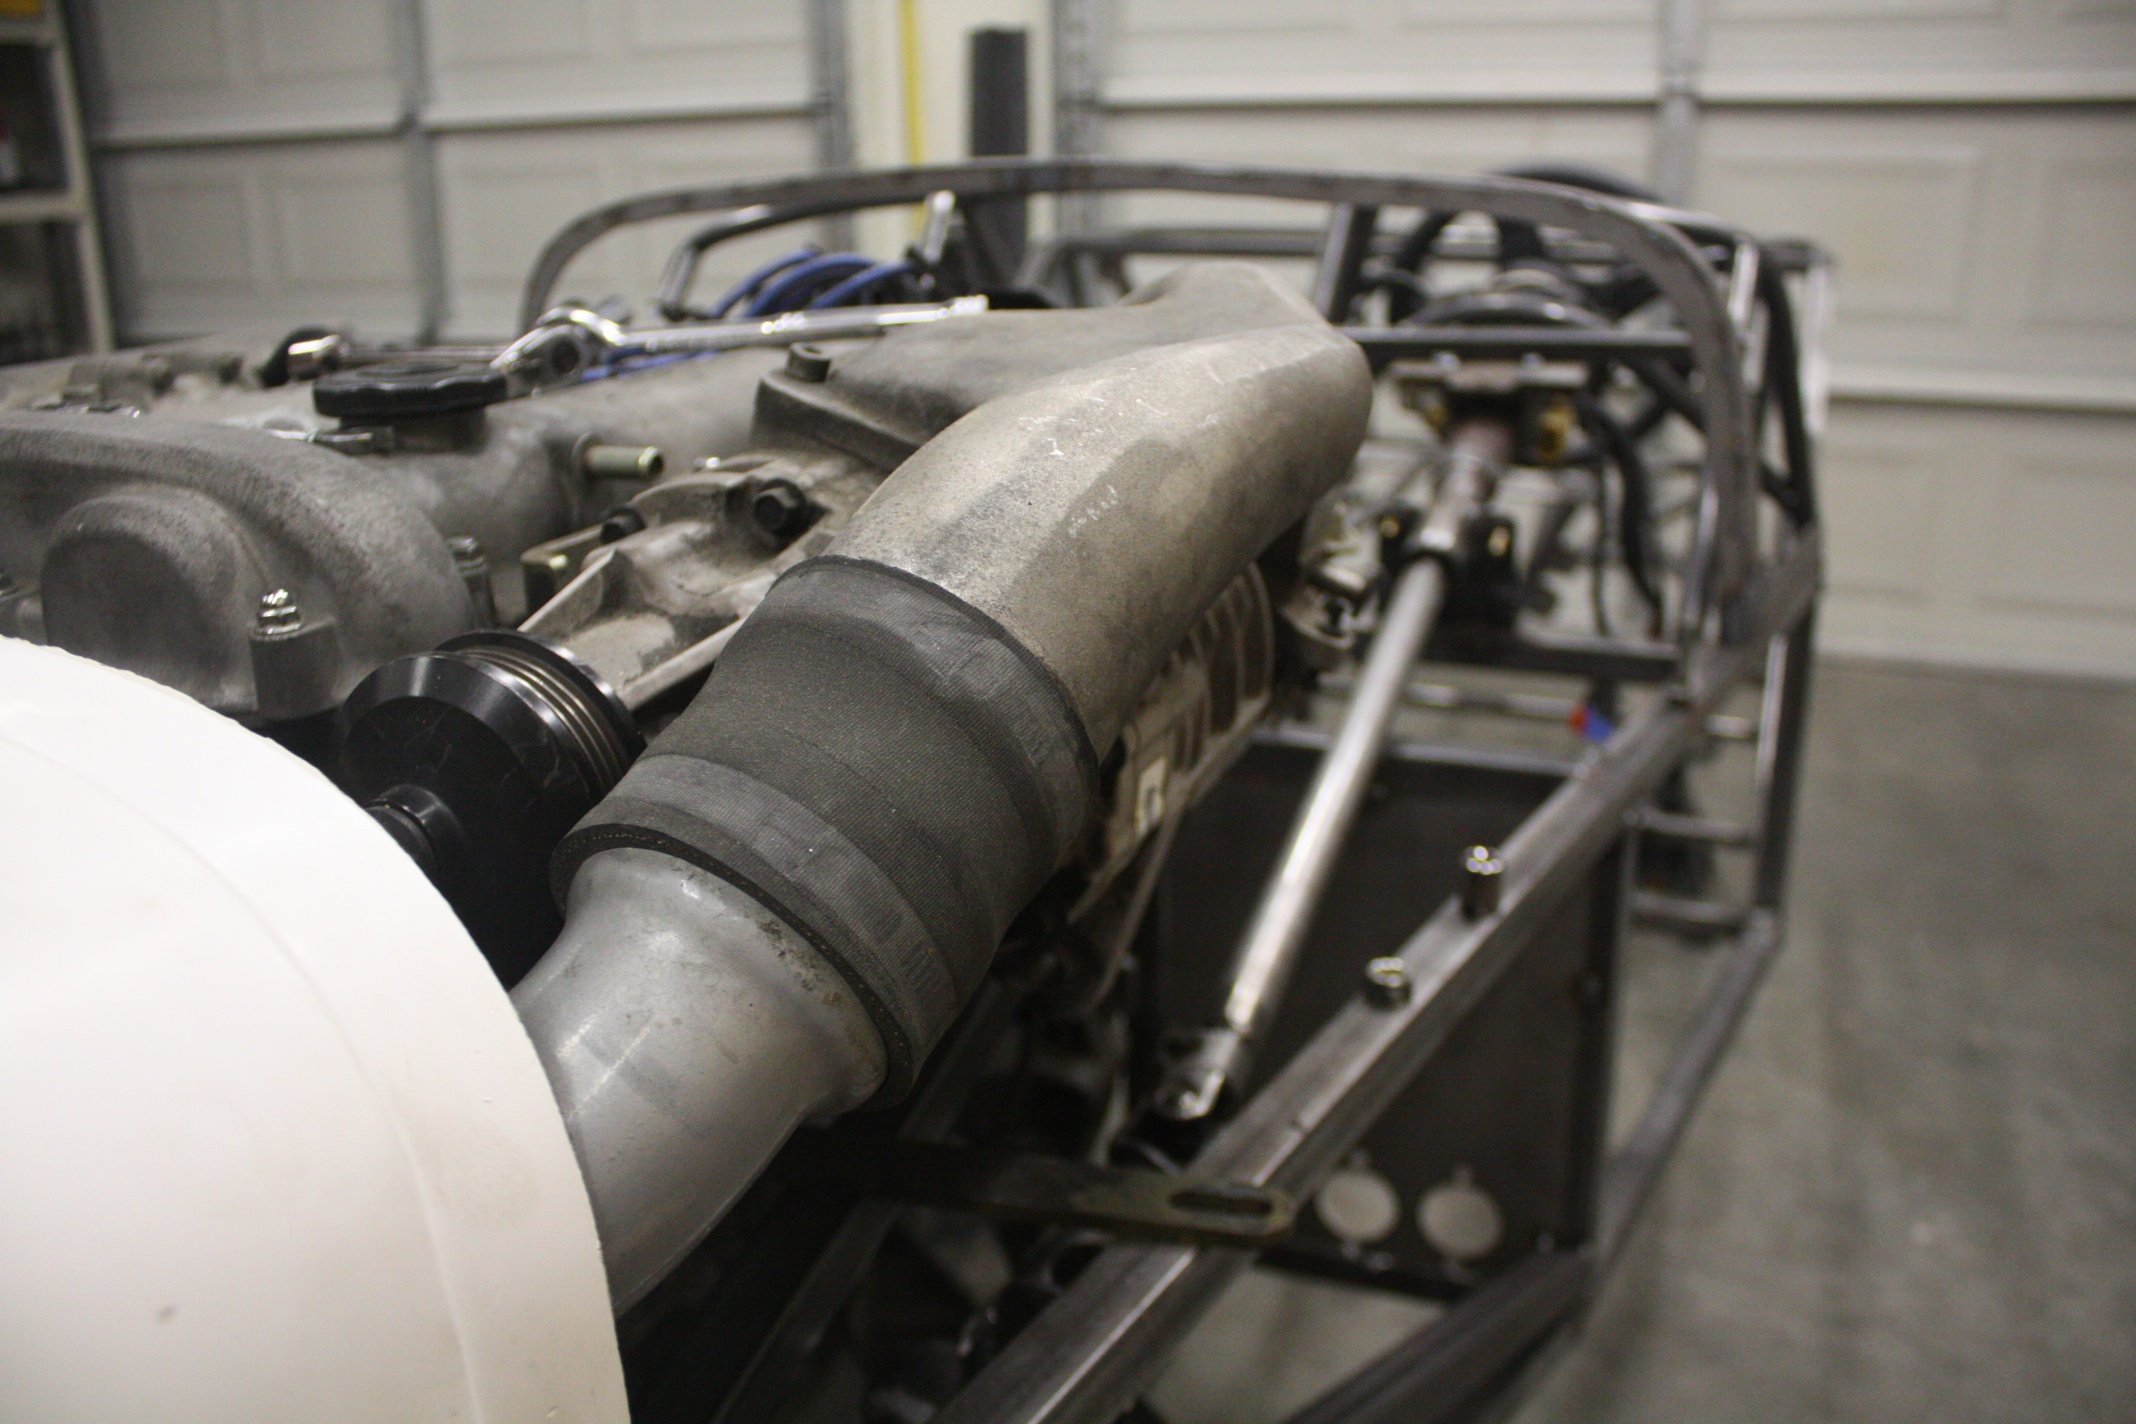
One thing the photos show off a bit is the supercharger mounted; this was the first time I put the supercharger on with the nosecone and the scuttle frame both mounted to the car.. it became obvious to me that I am going to have serious fitment issues with the supercharger.. The handful of supercharger shots are from a garage session wherein I simply stared at the car for a couple of hours trying to figure out what to do. In the end I think I will build the car without the supercharger for now, and possibly re-add it or a turbo later on. I’m just trying to make steady progress and not get too bogged down in that kind of thing until the car is driving.
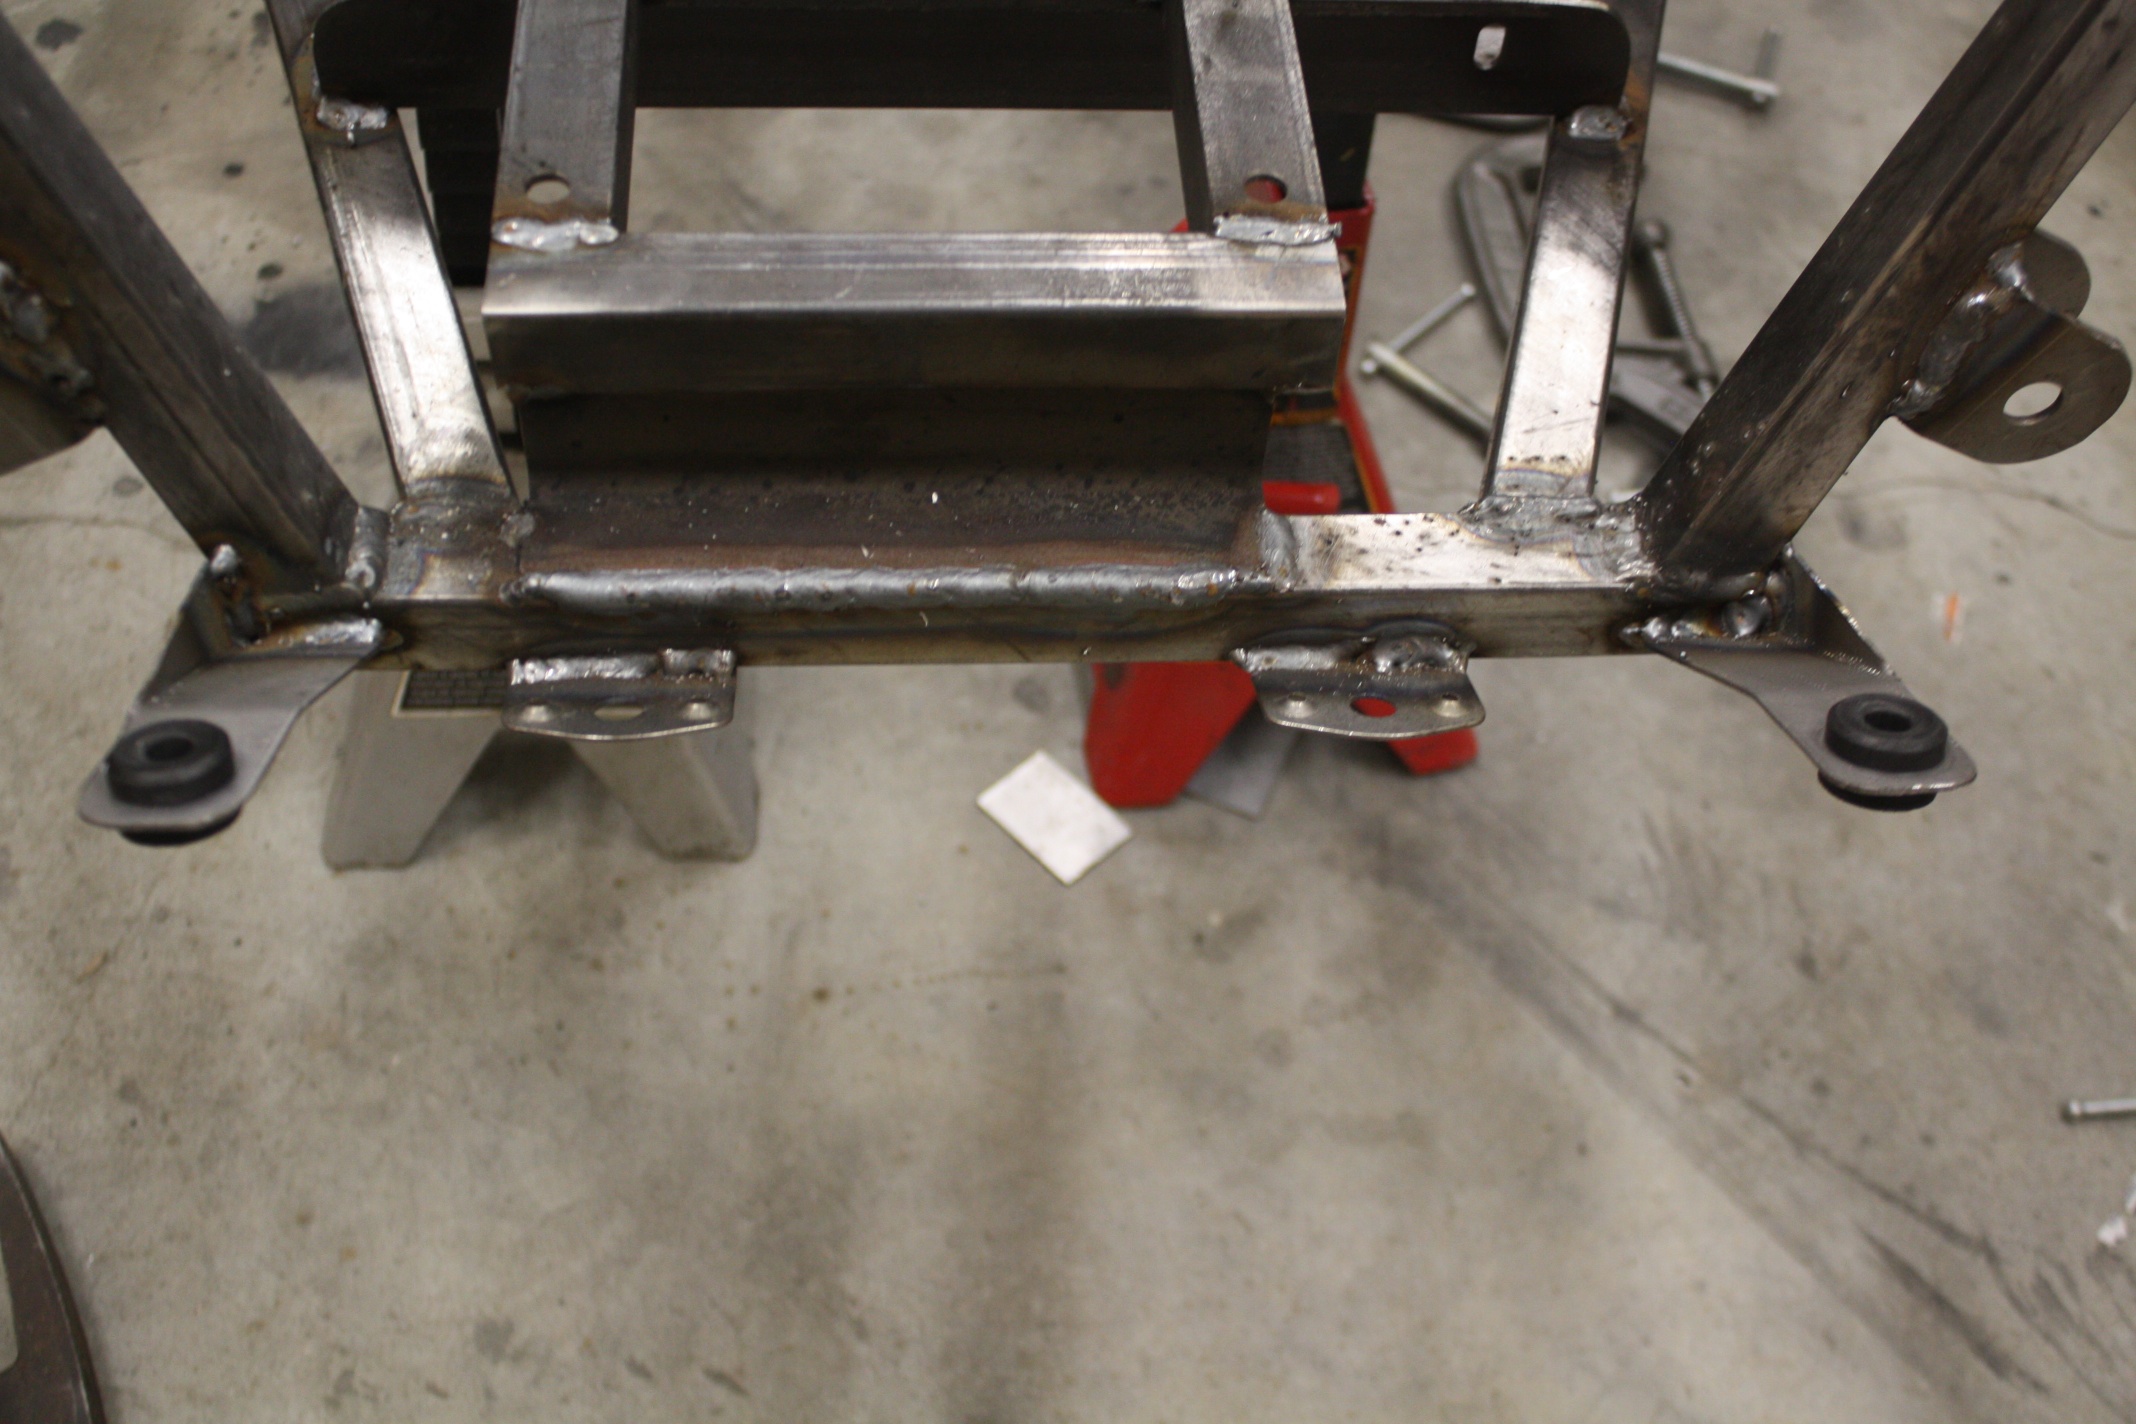
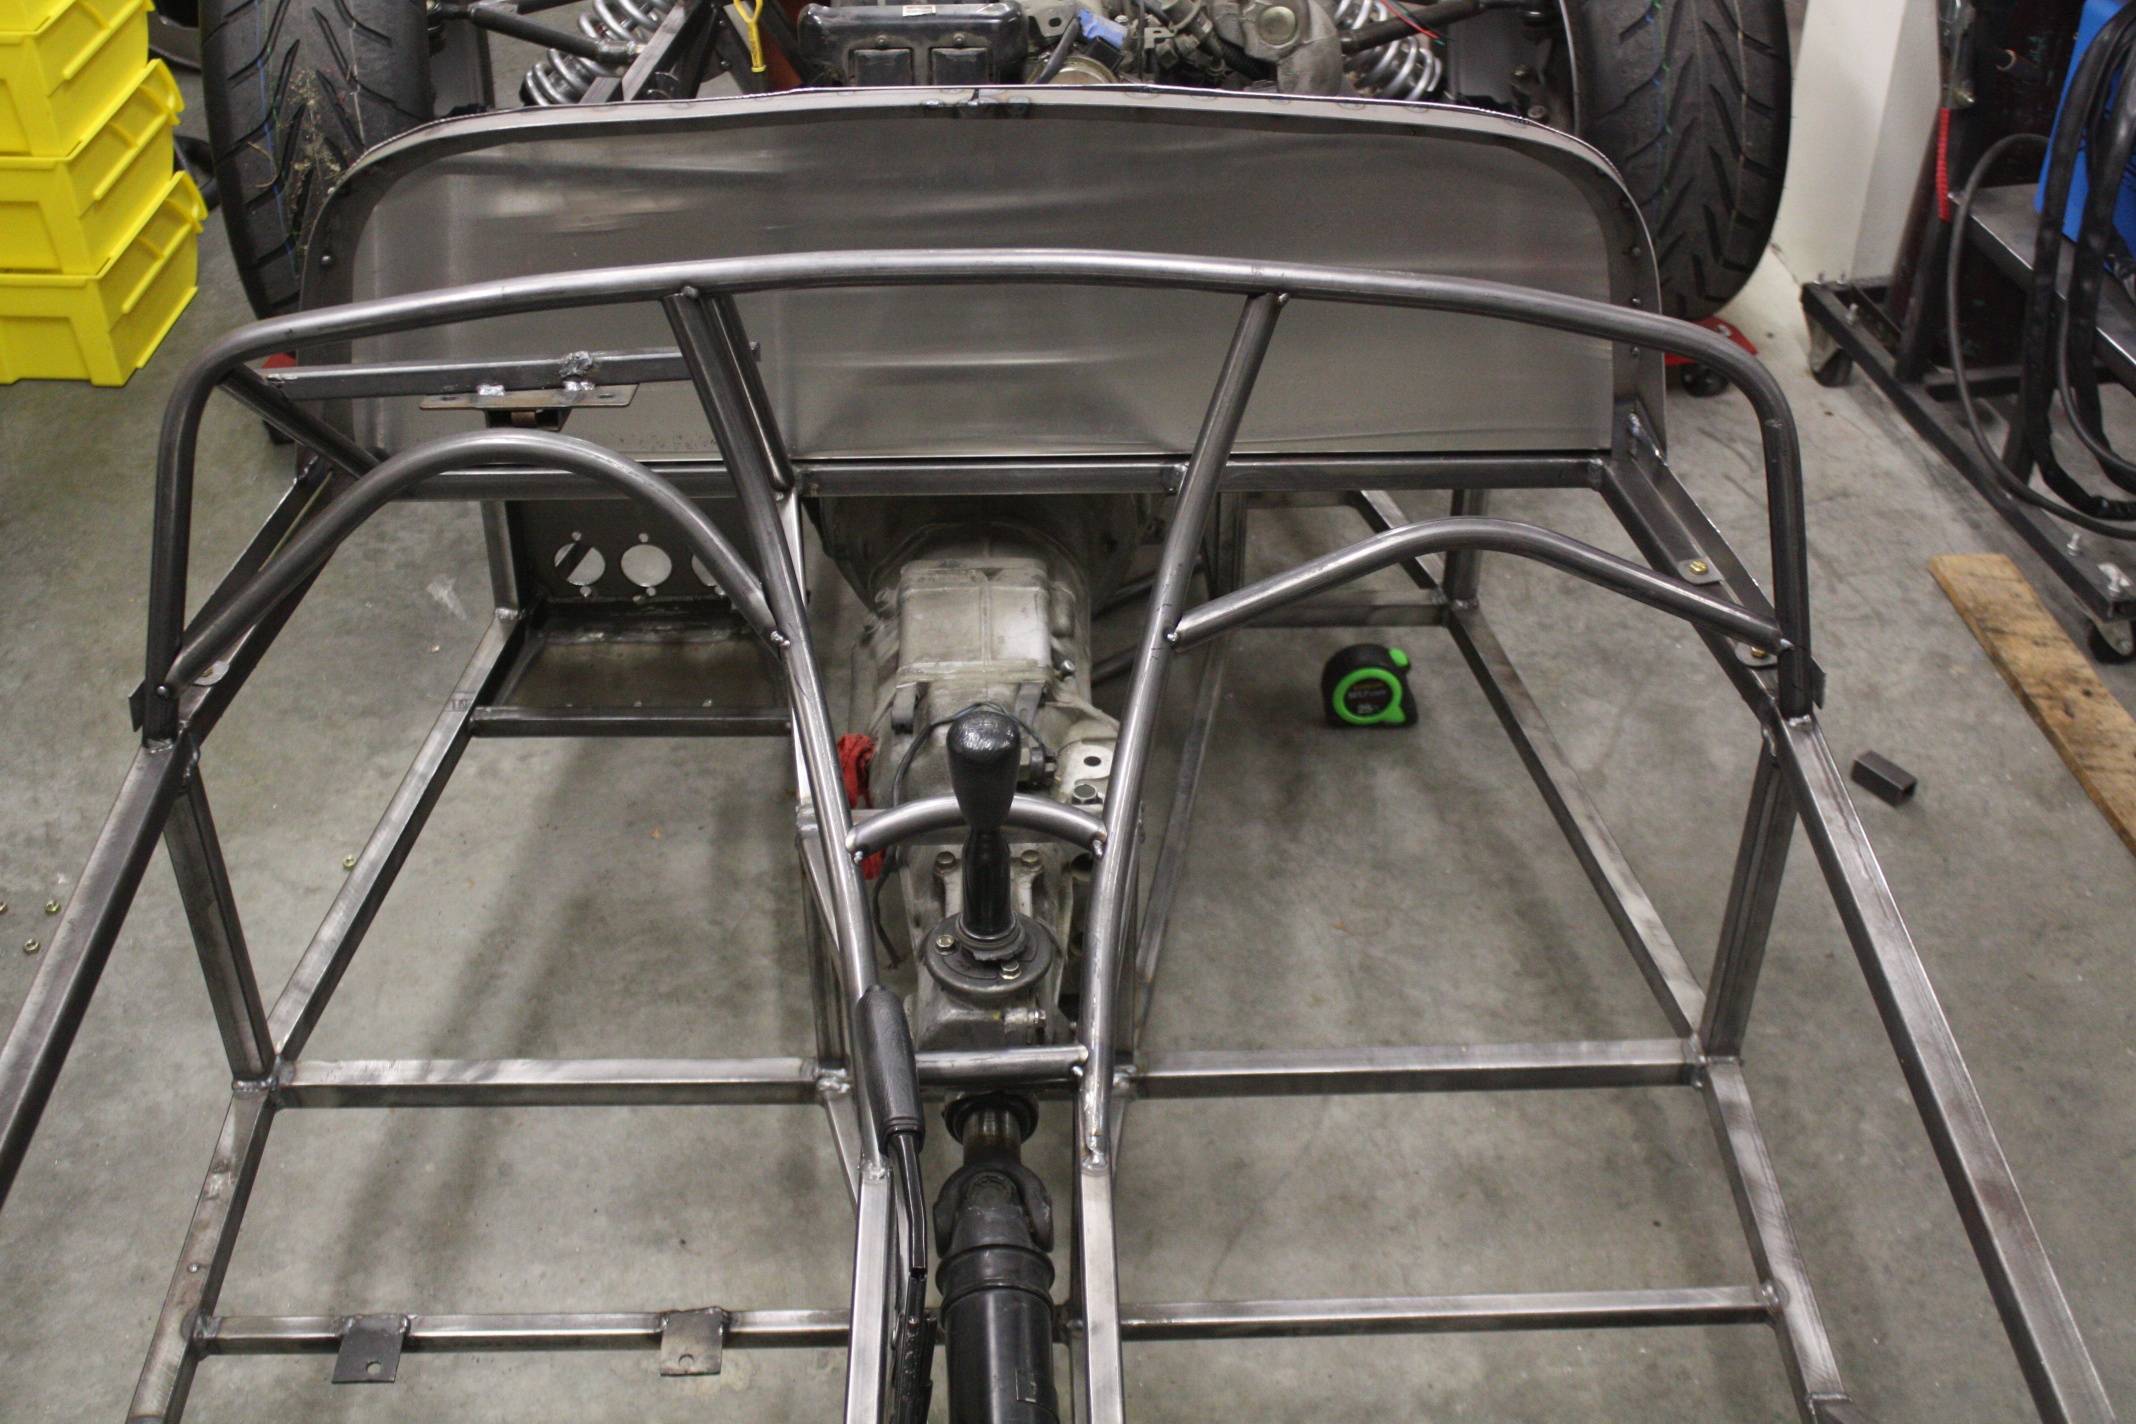
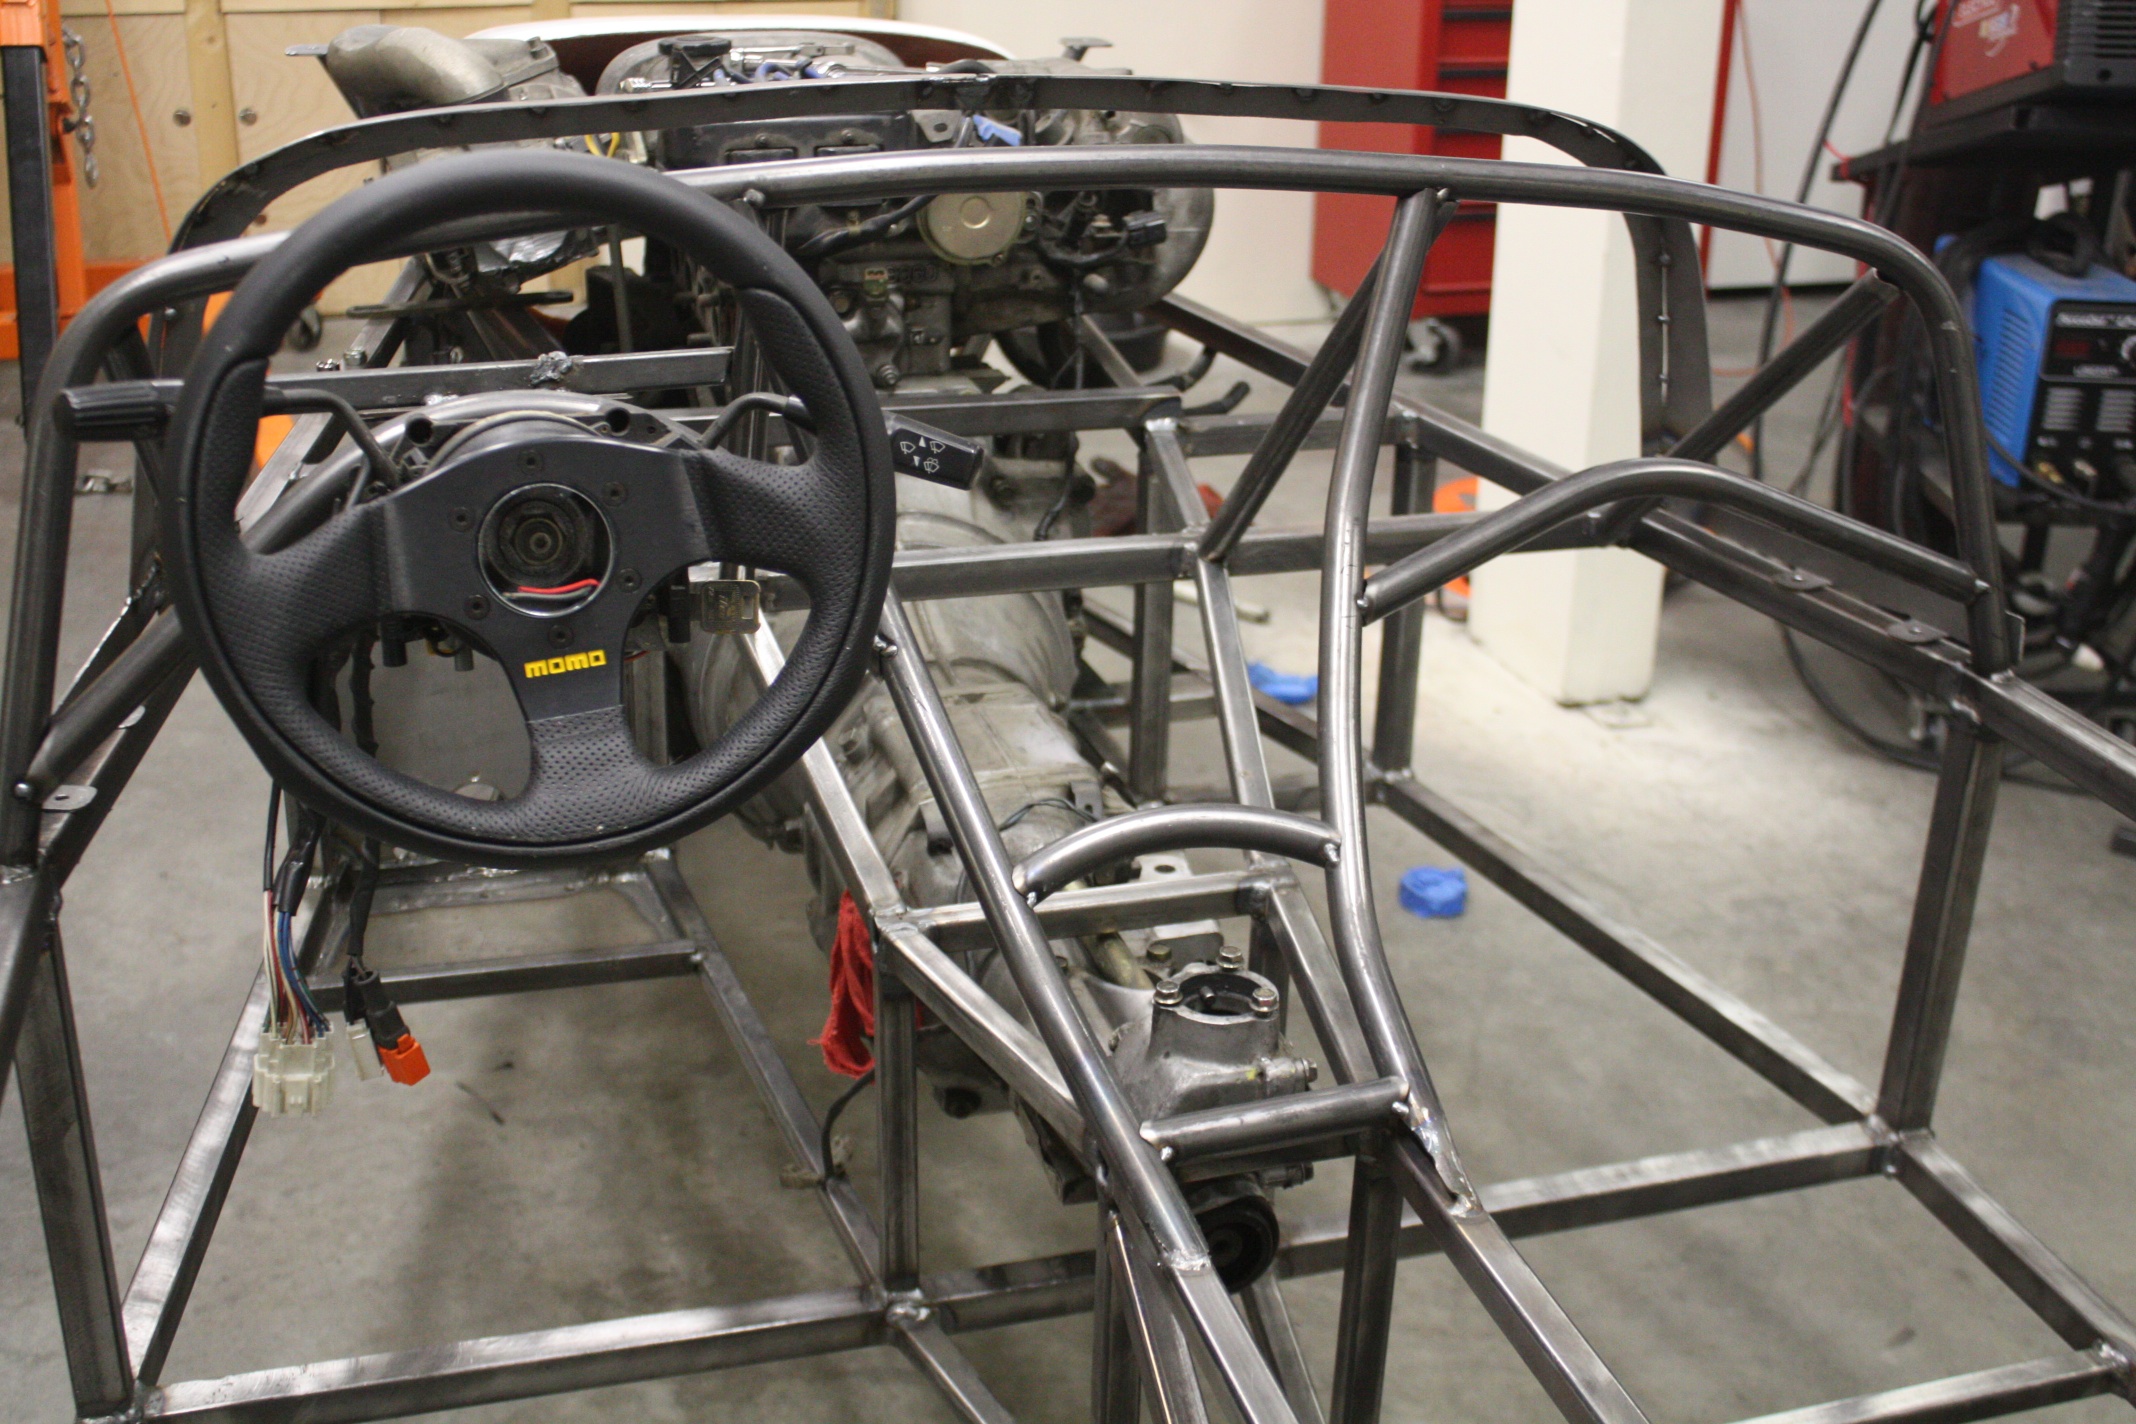
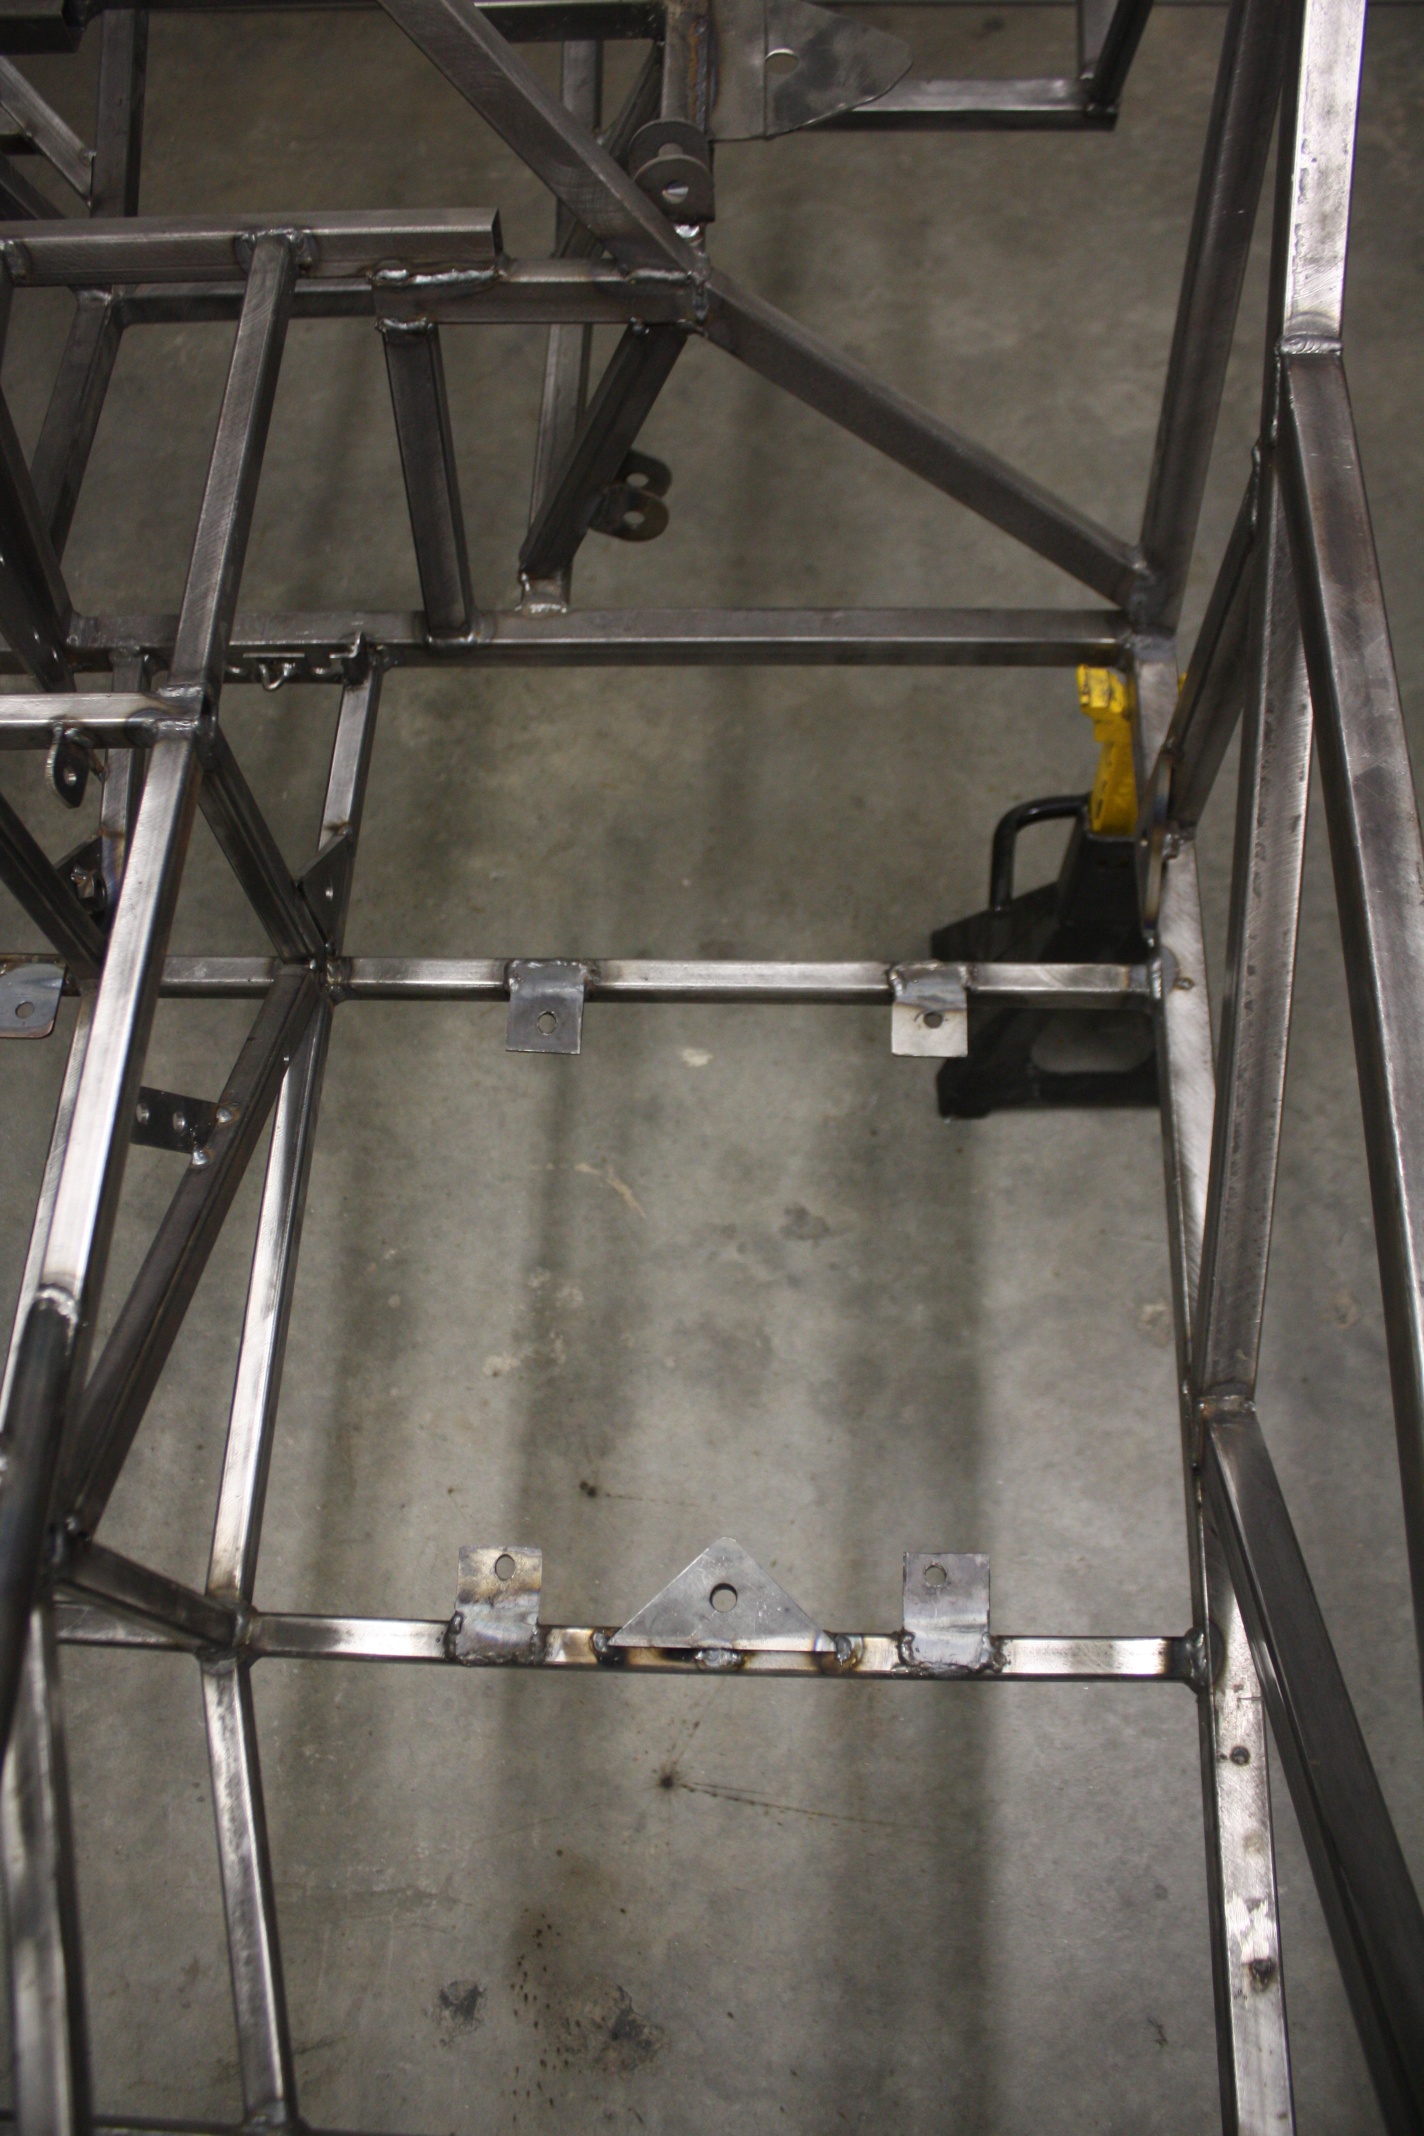
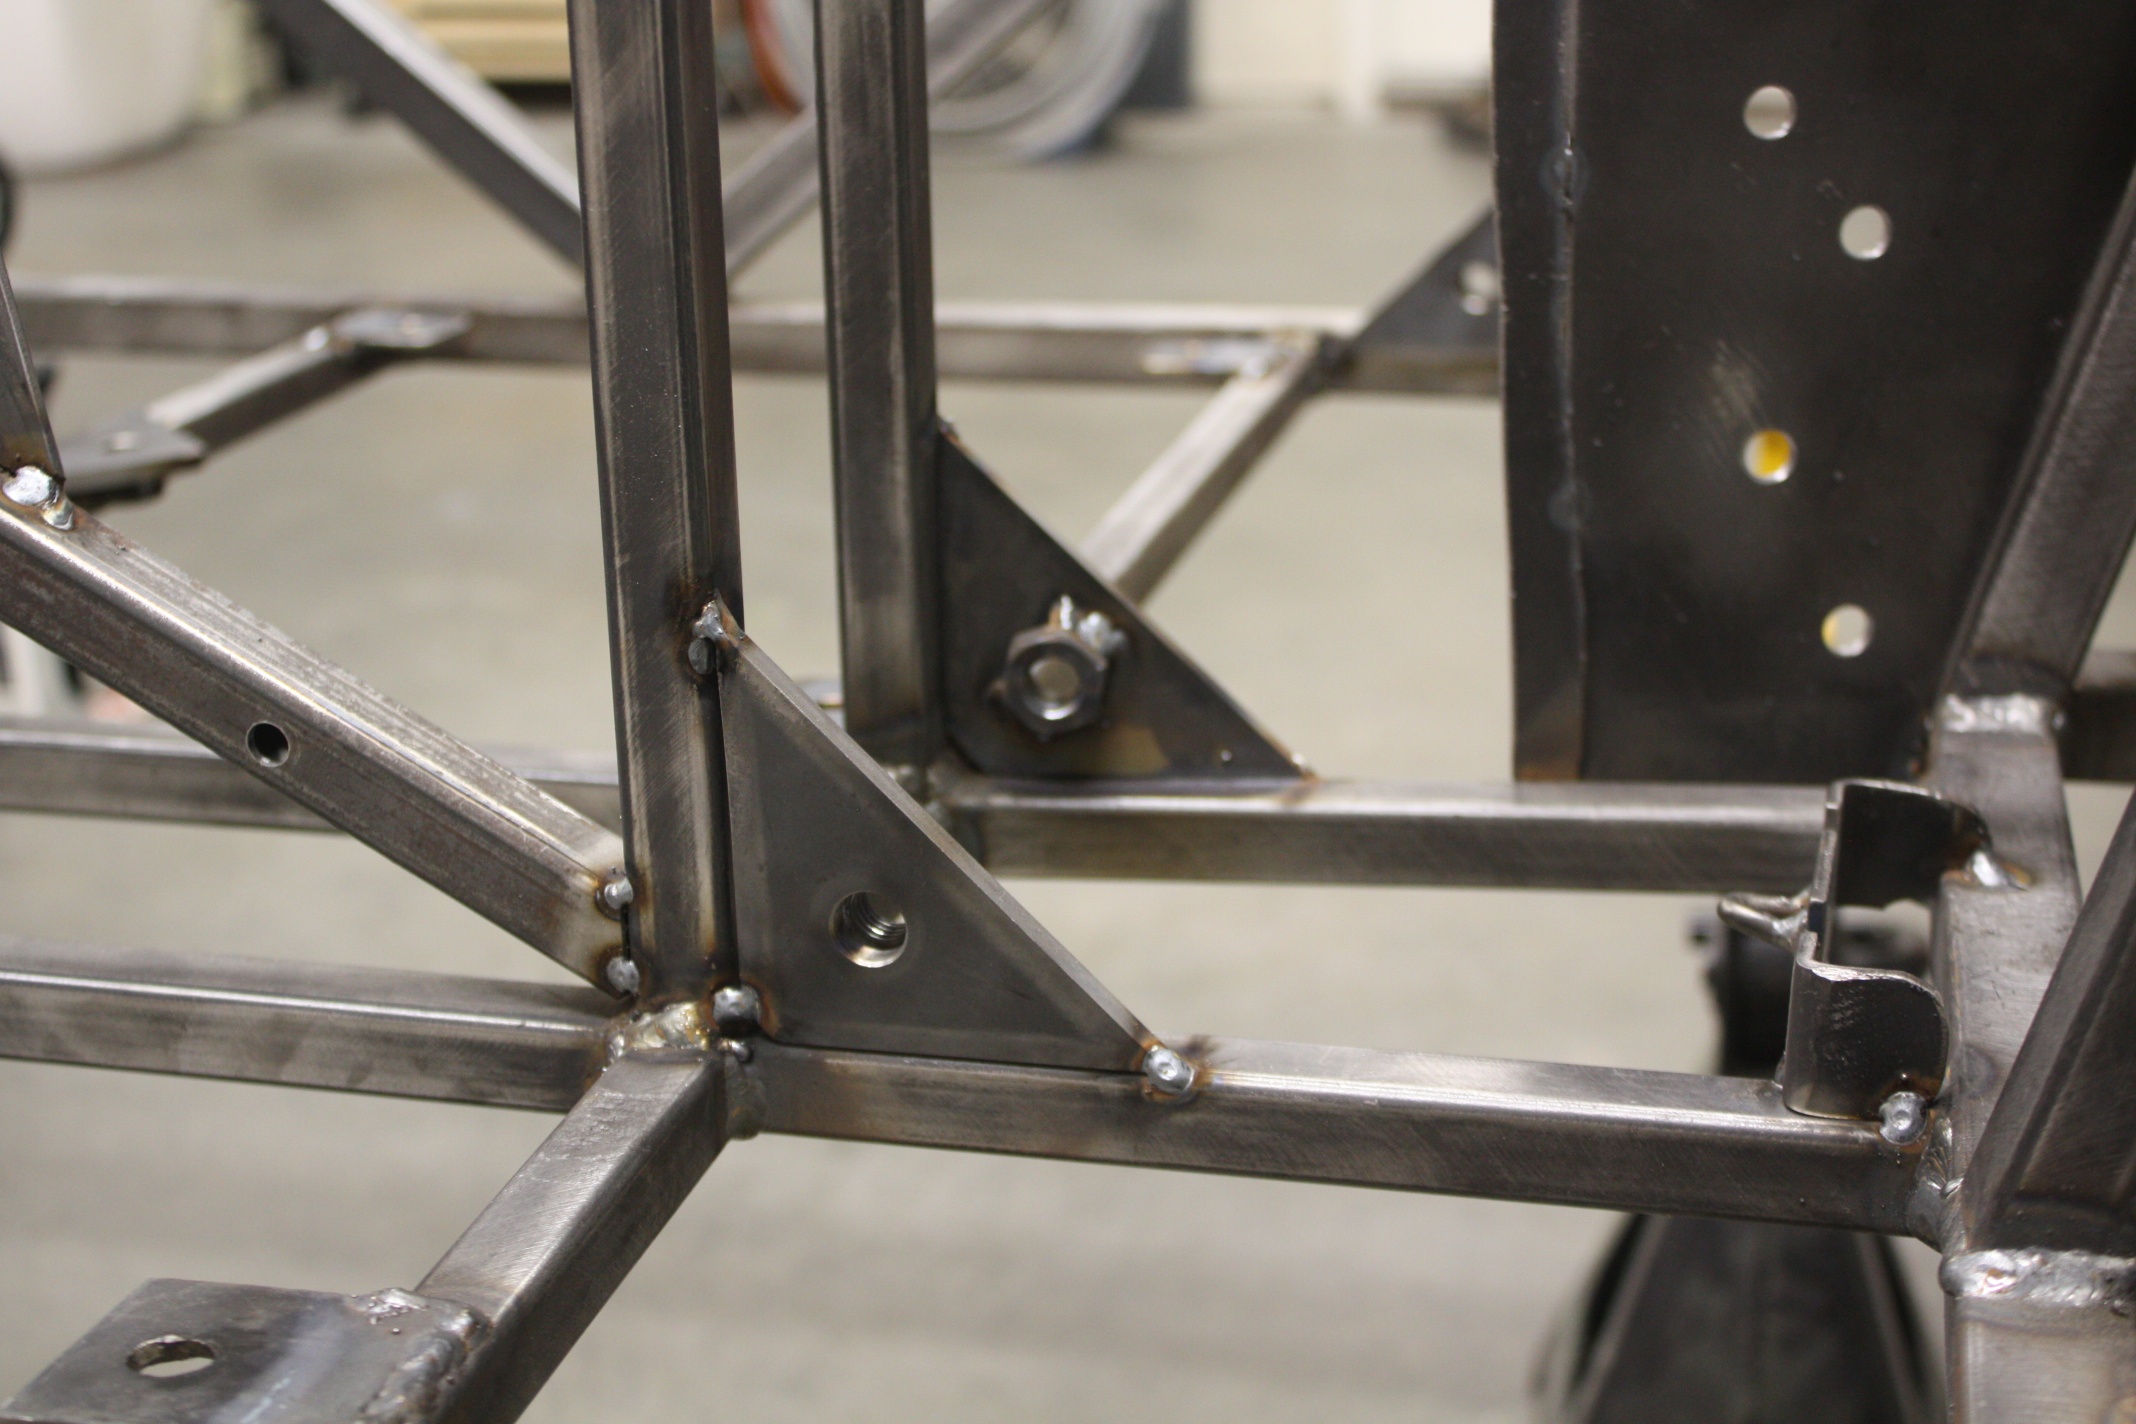
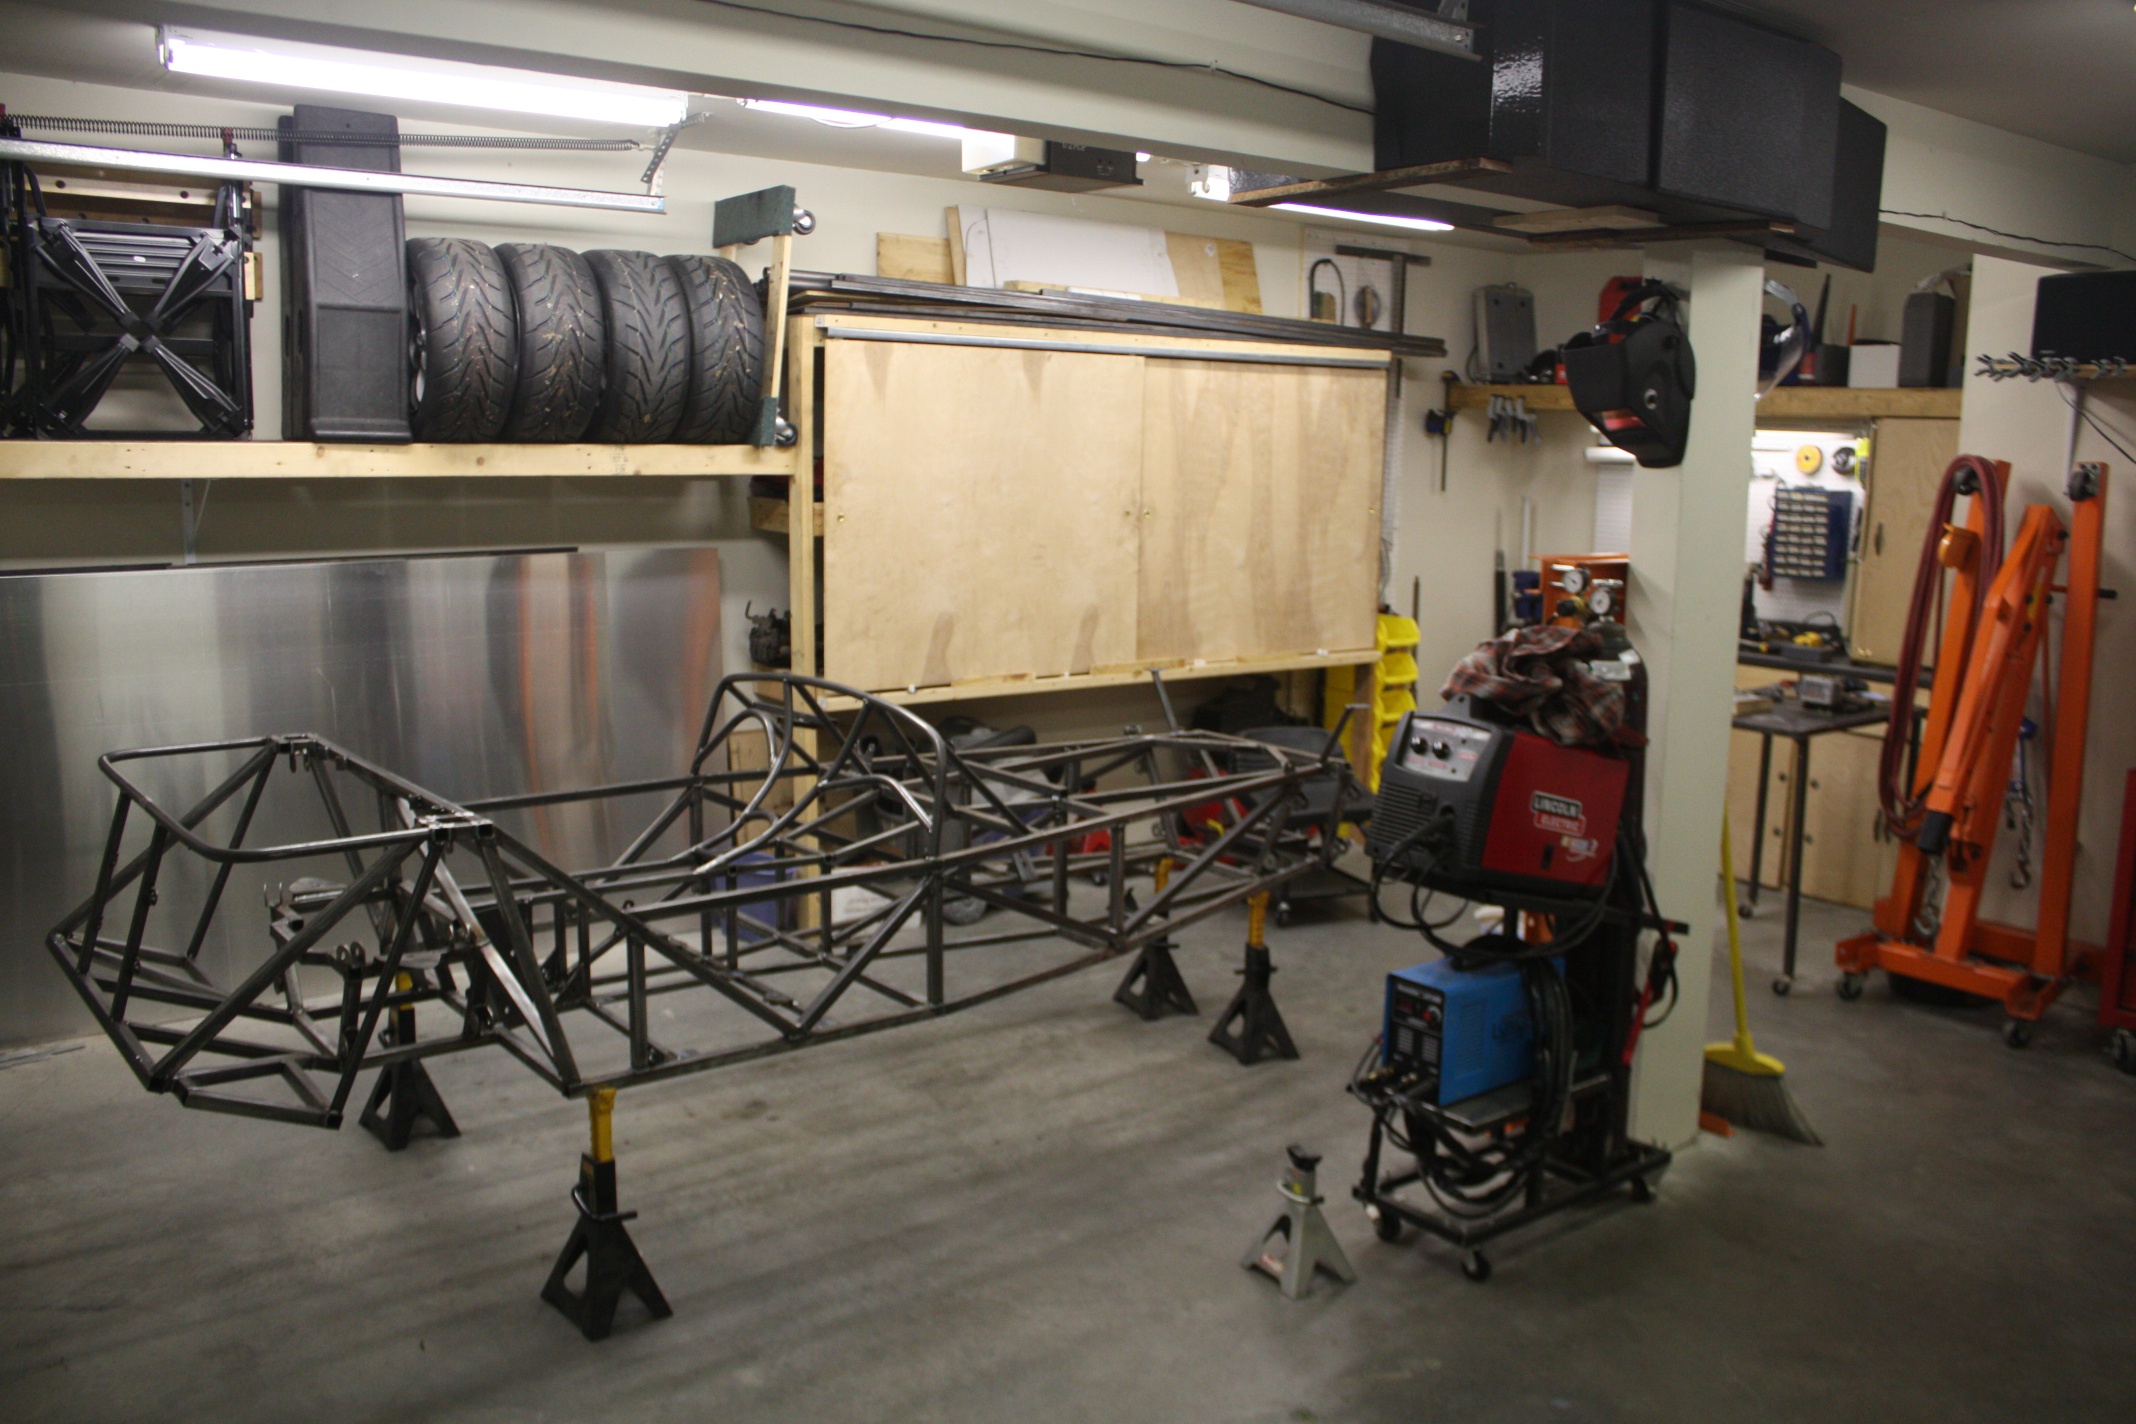
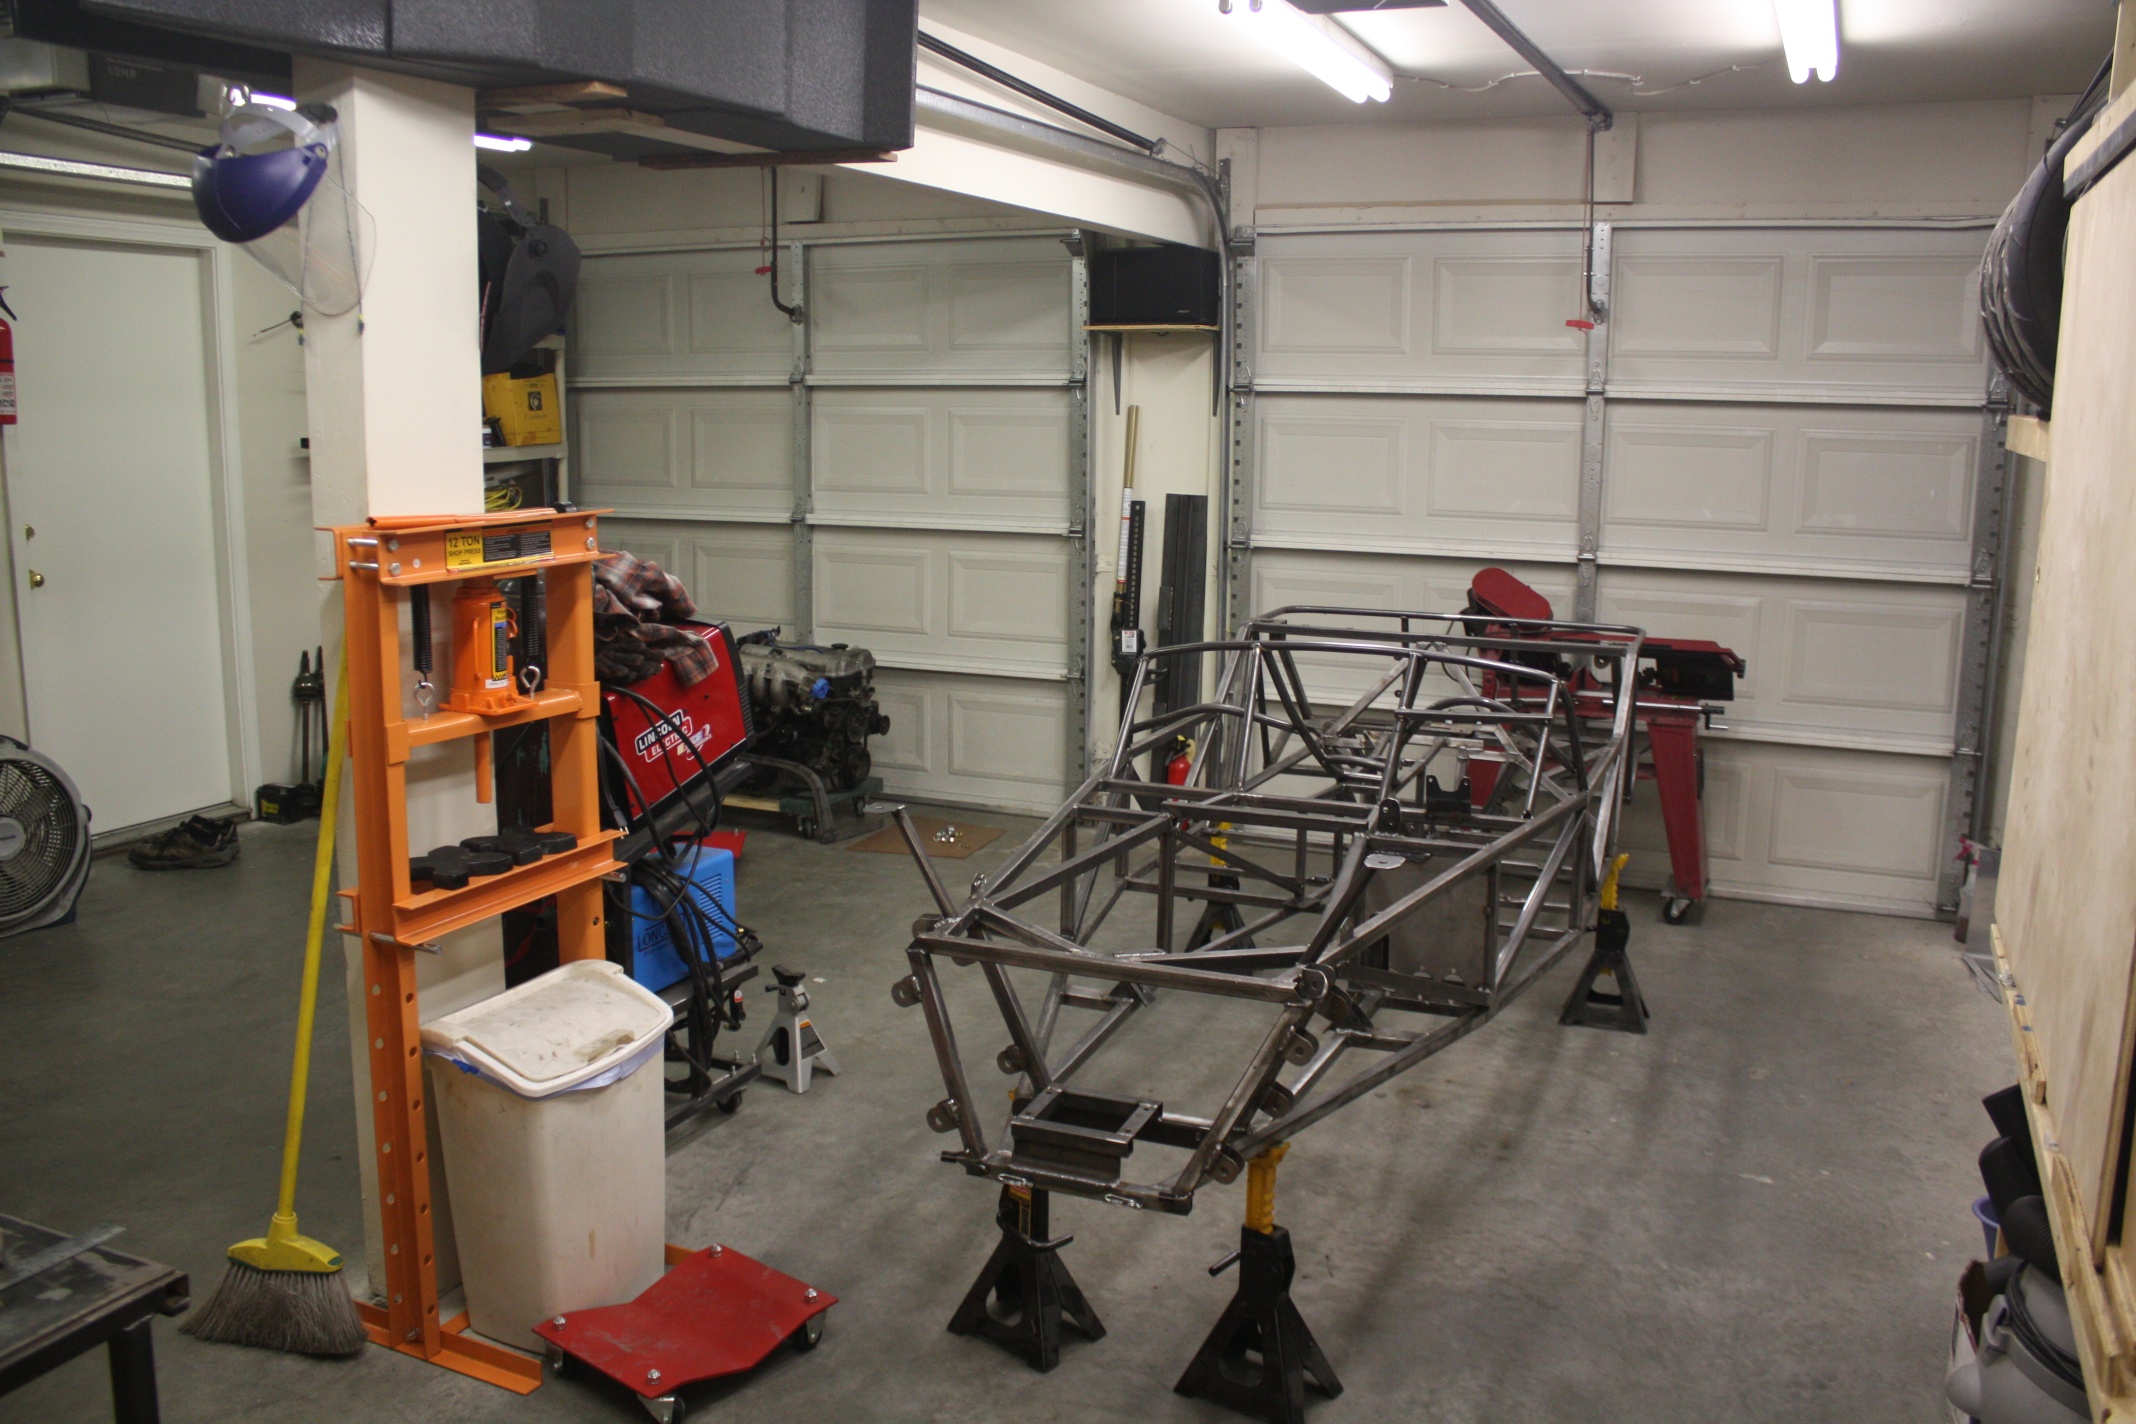
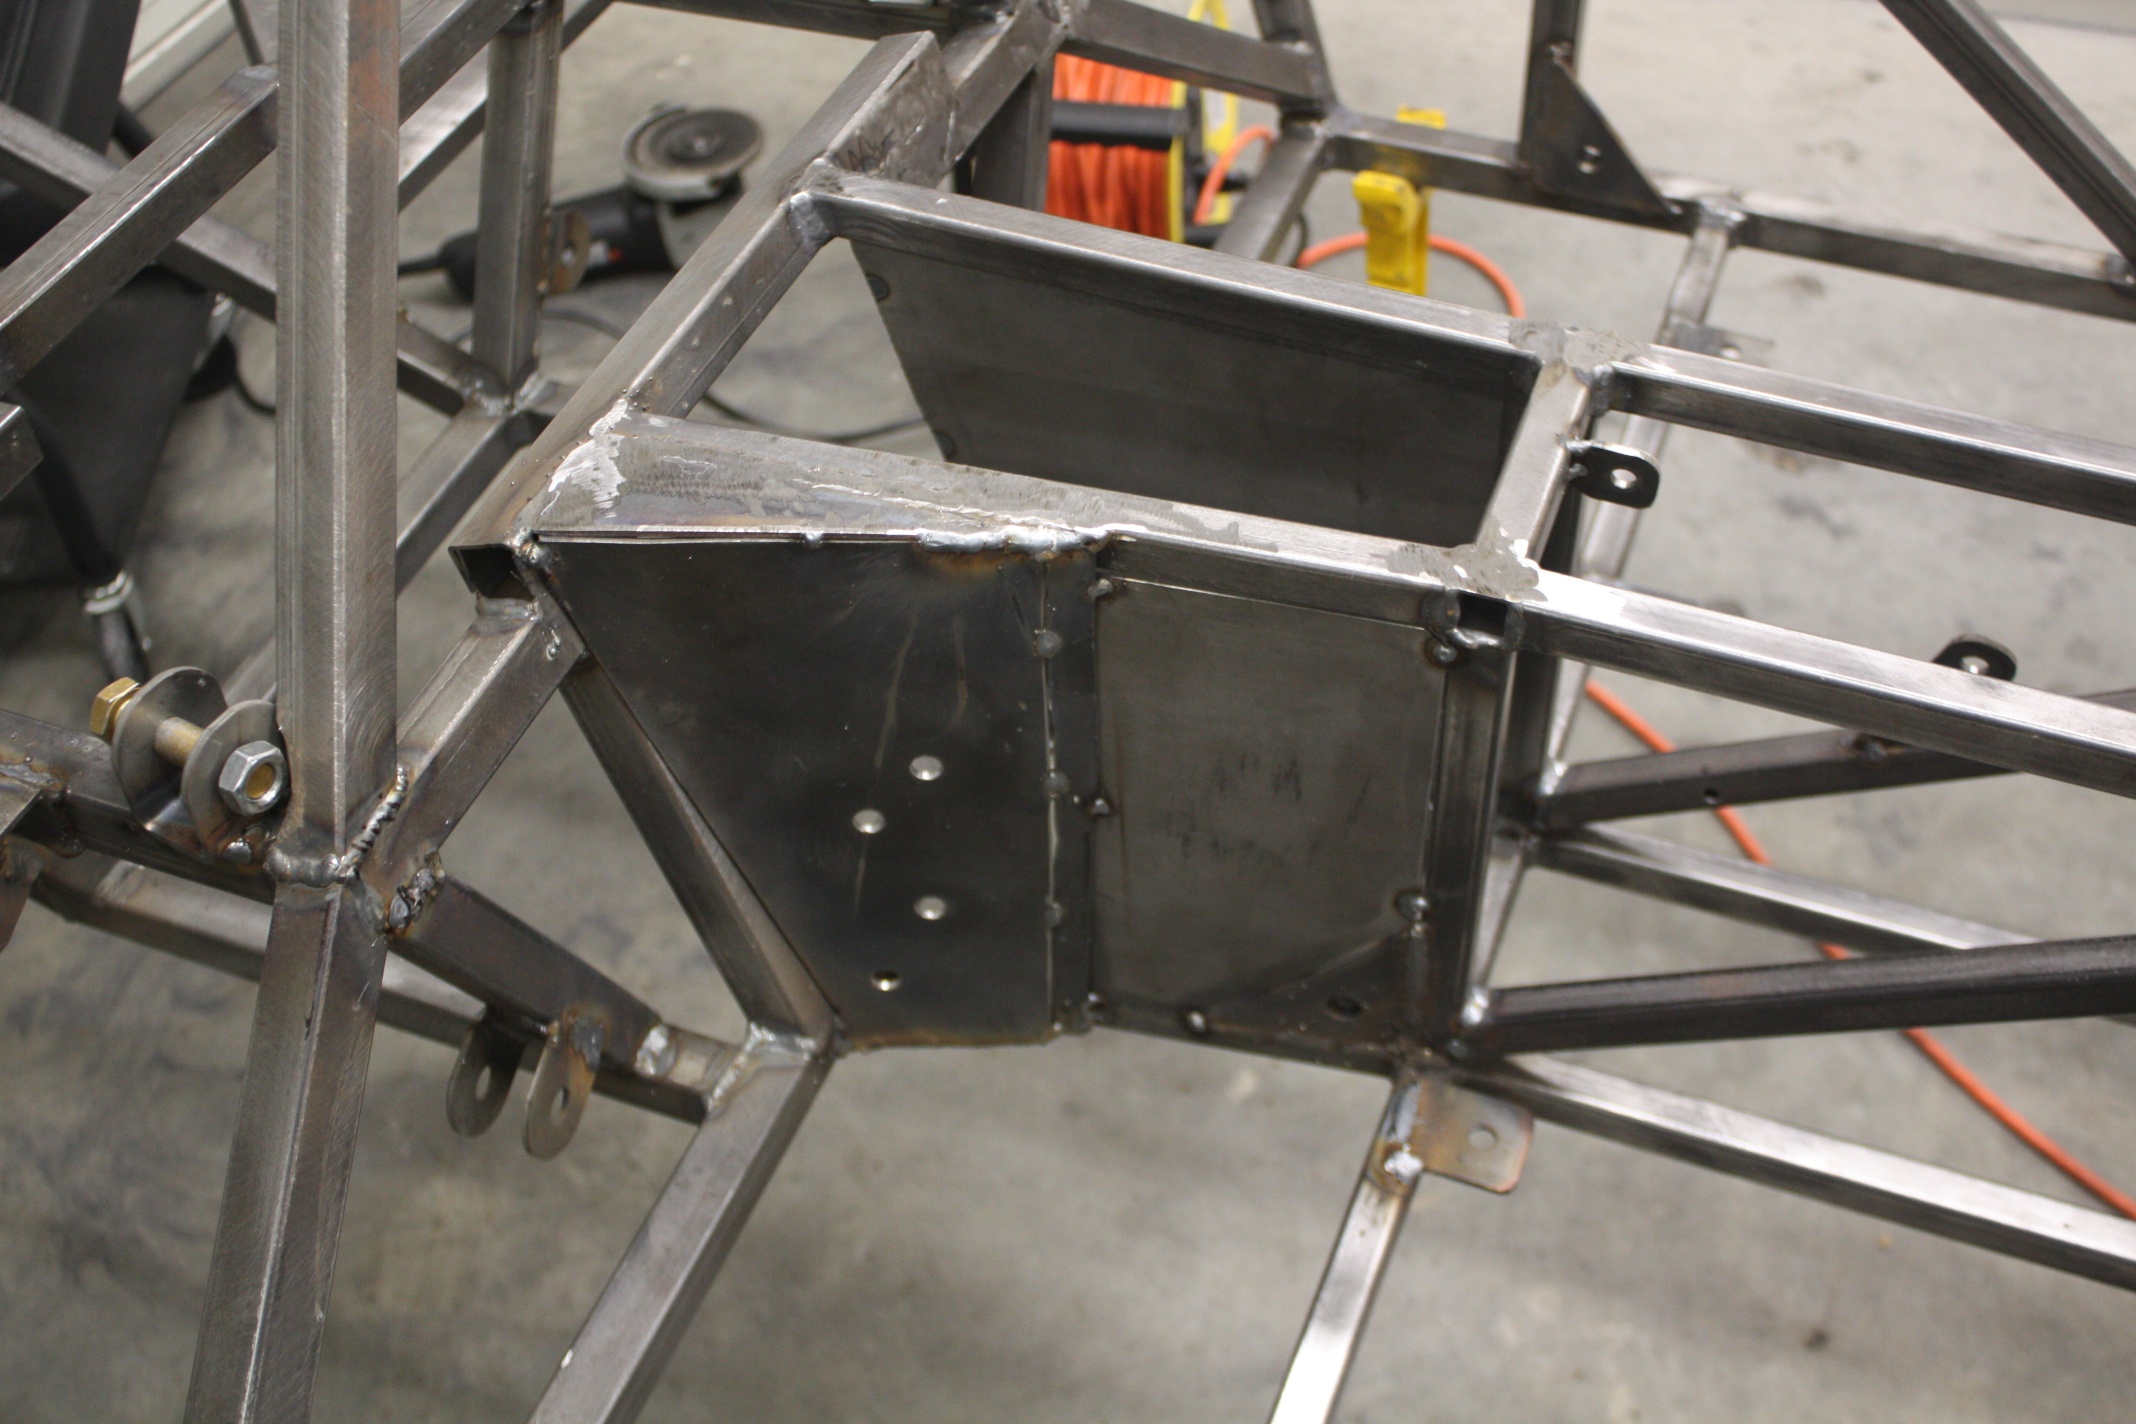
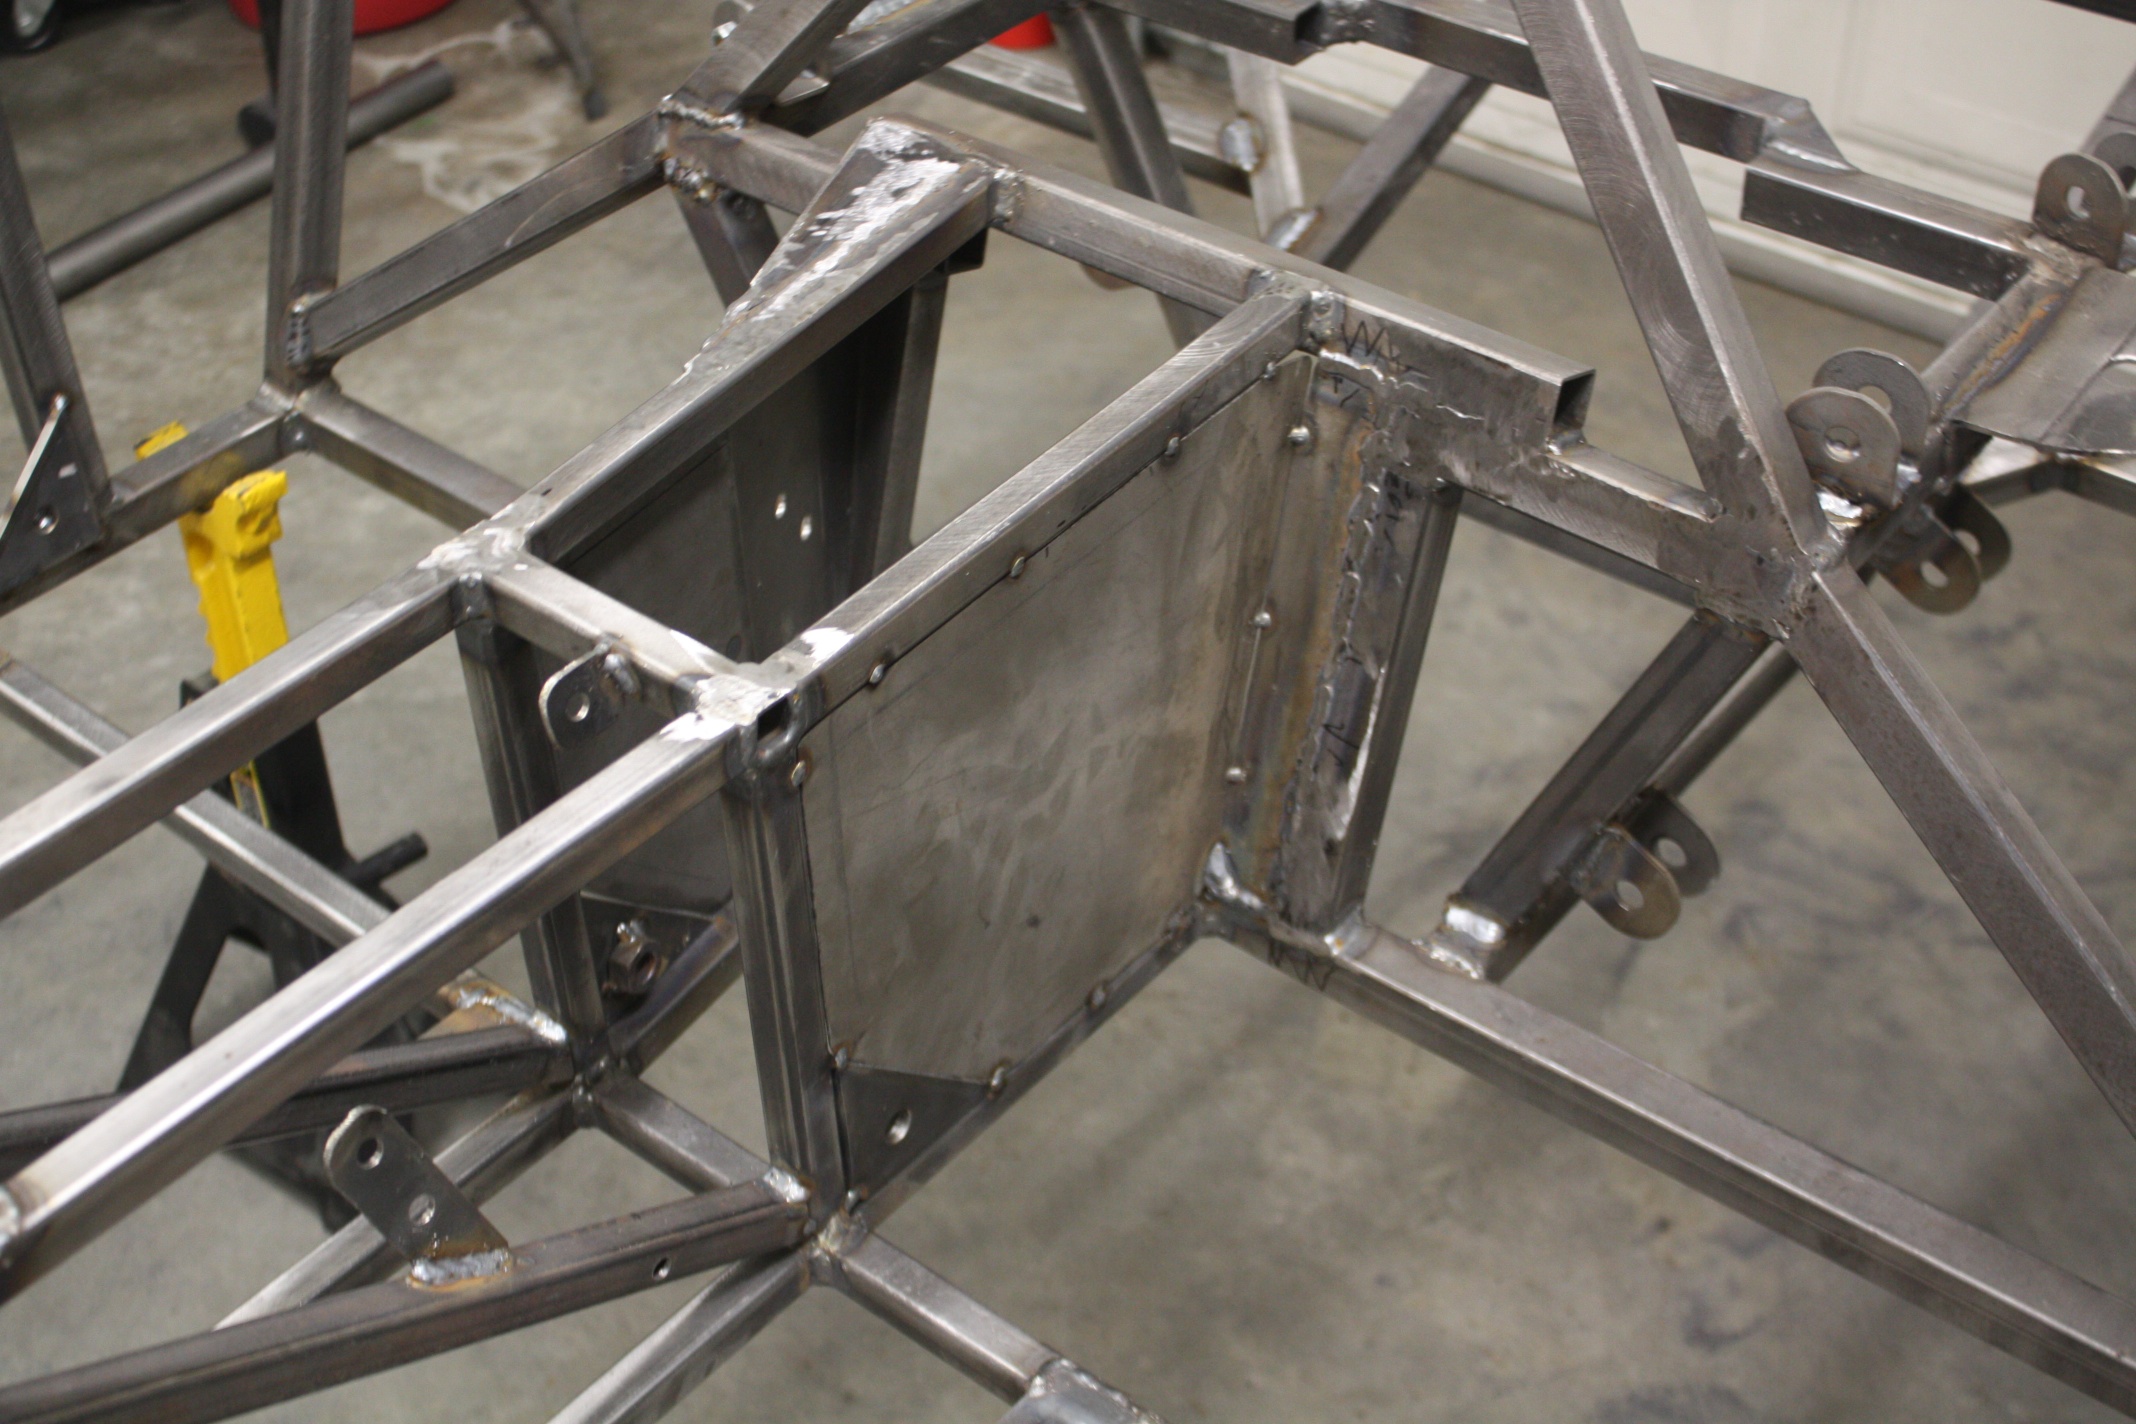
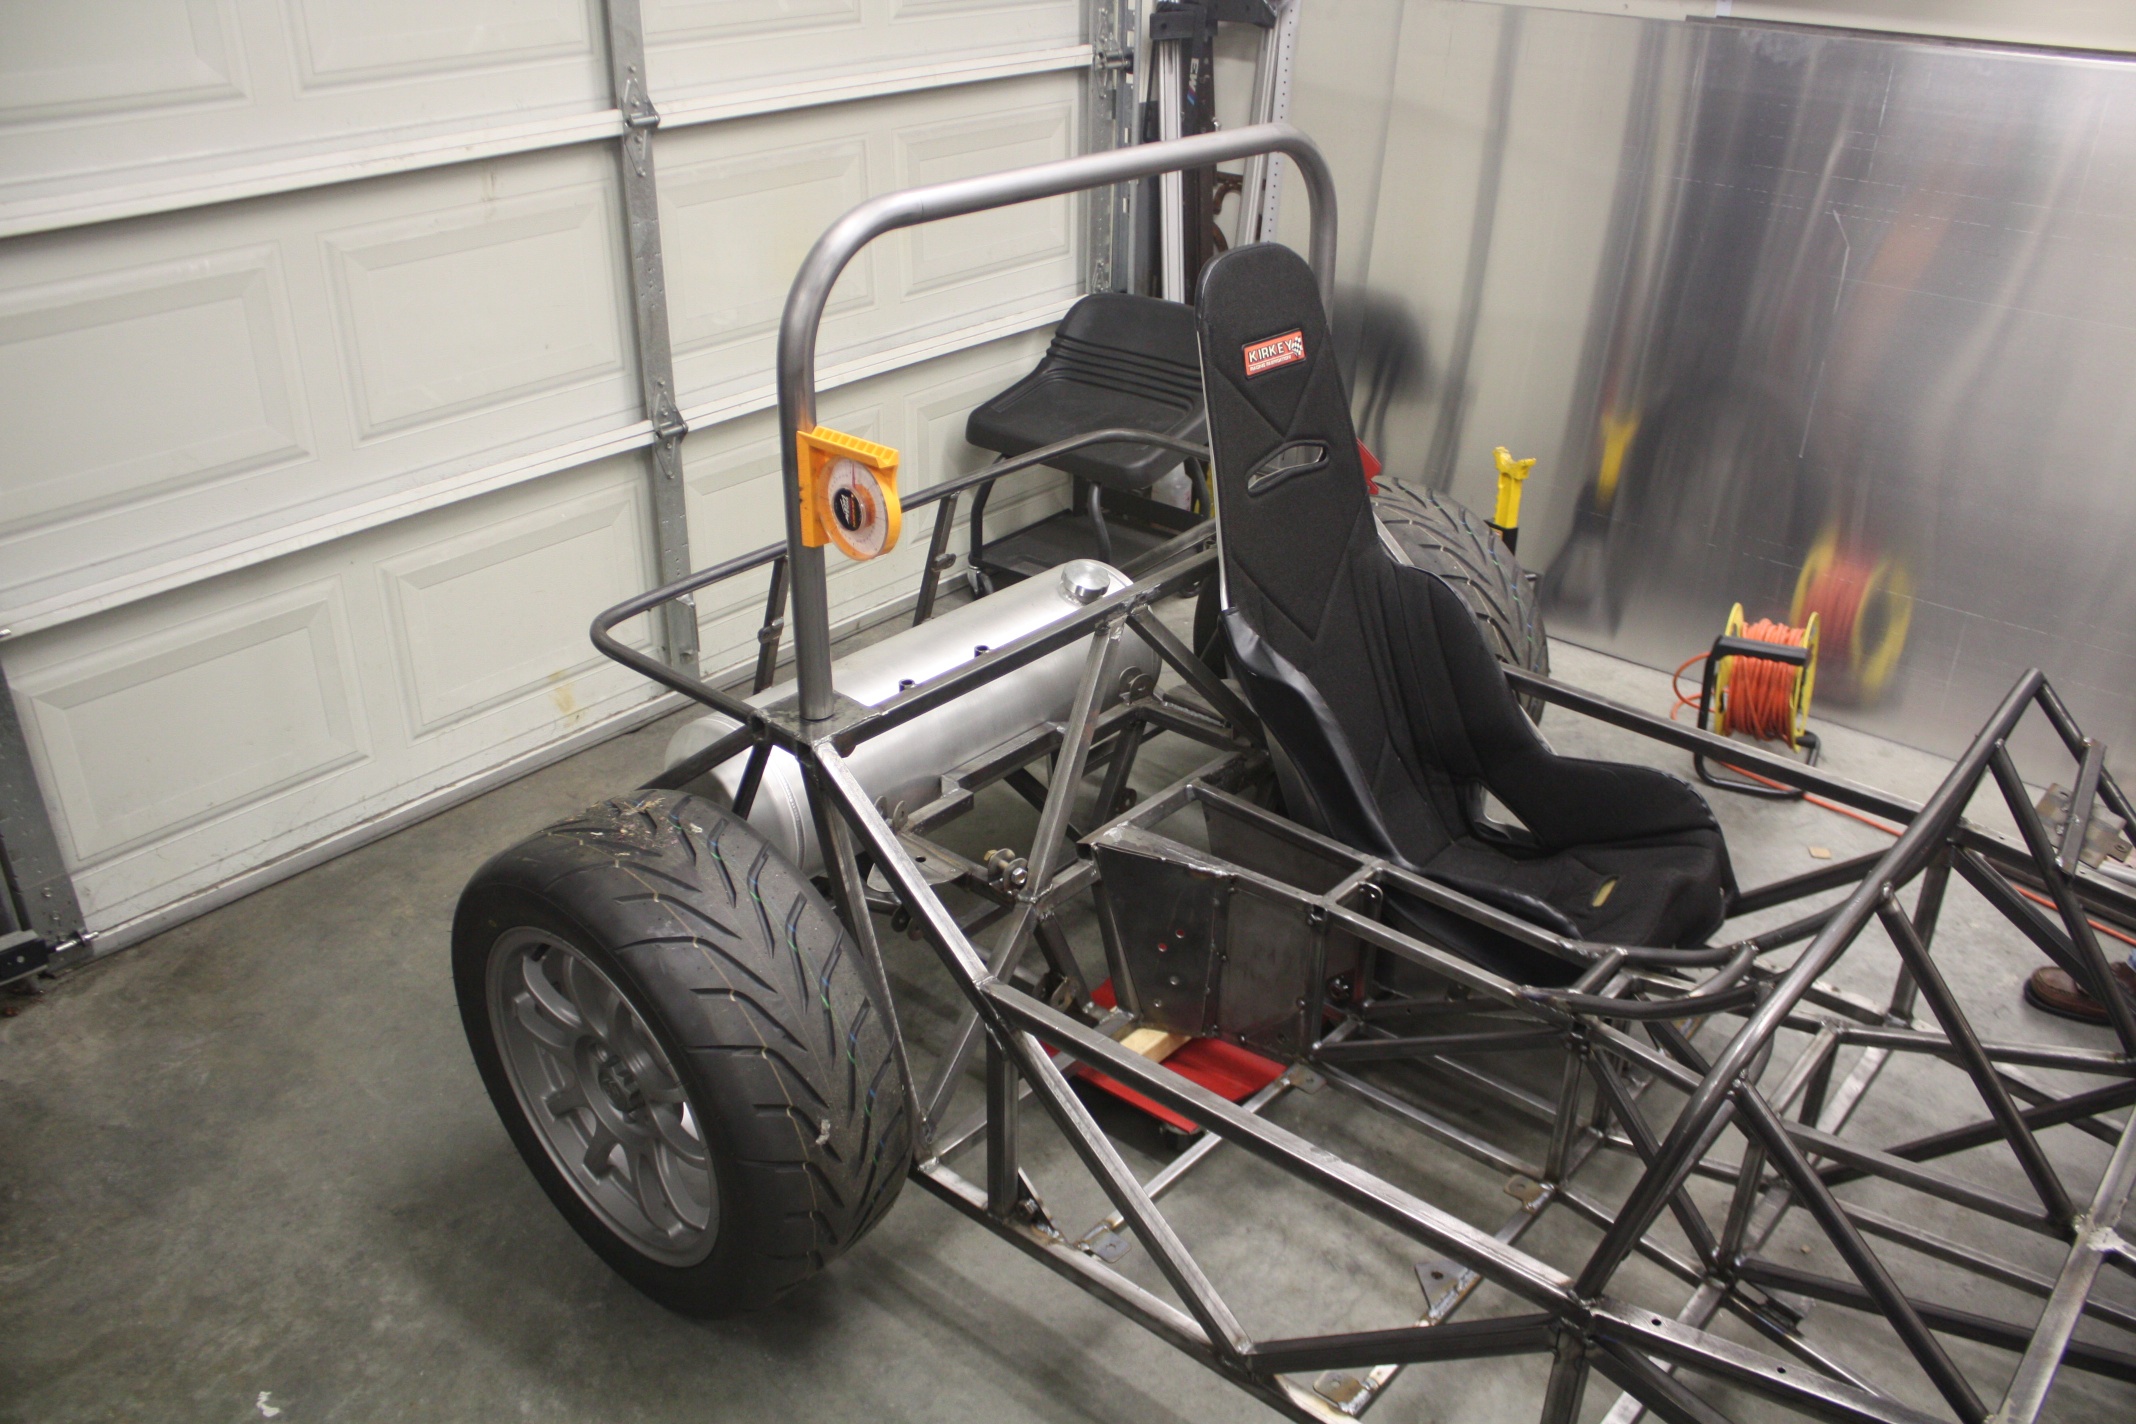
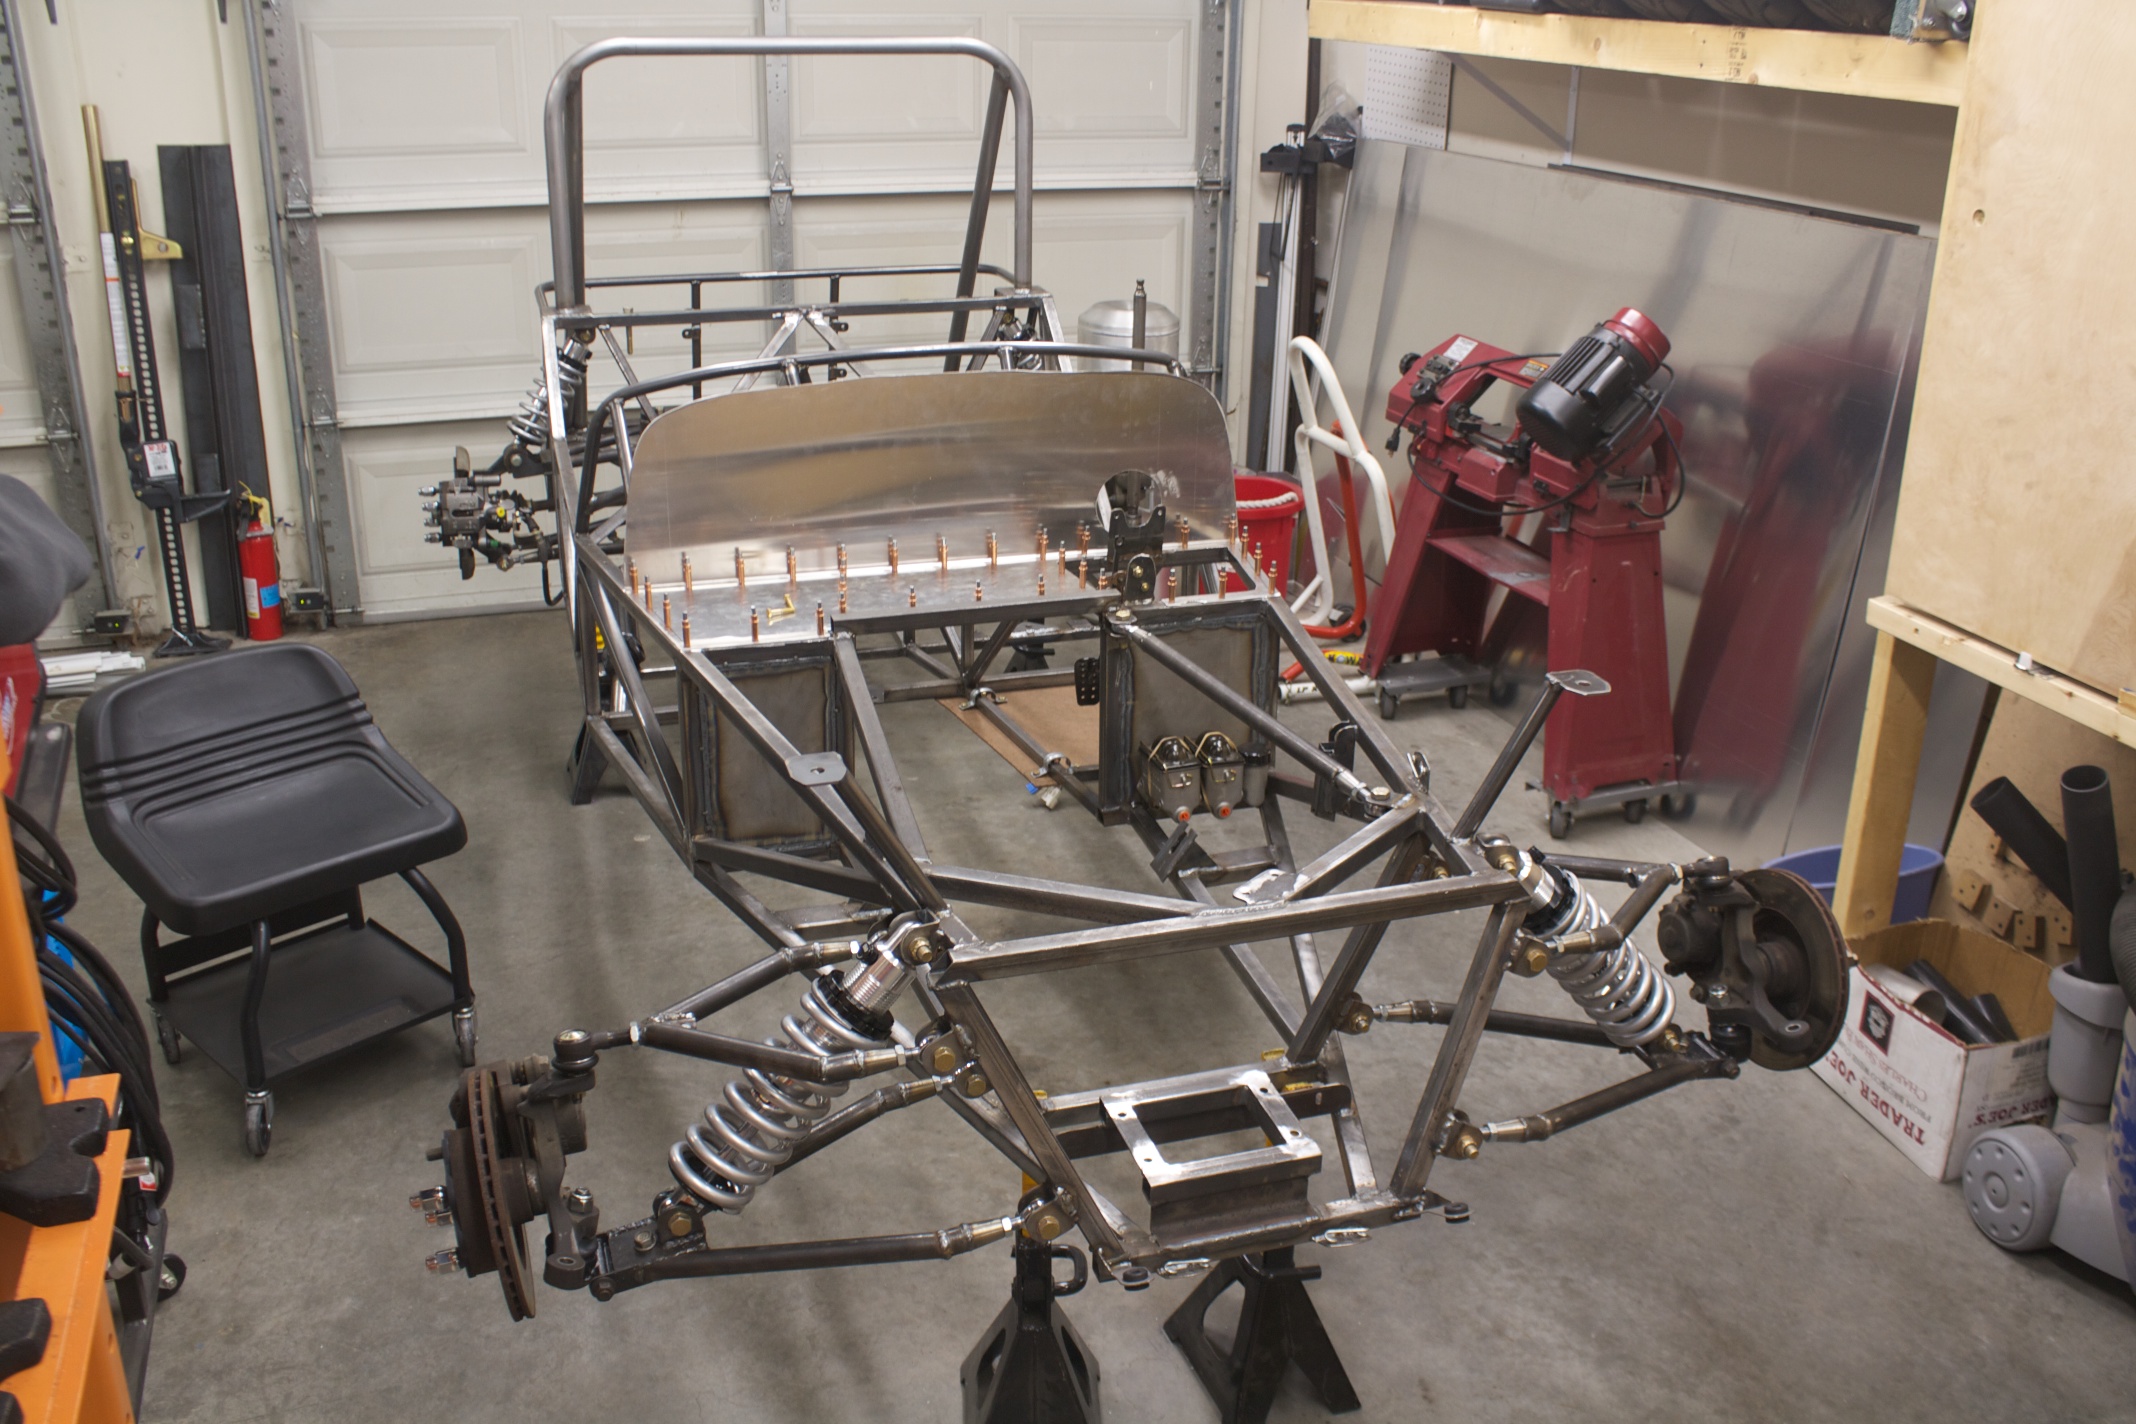
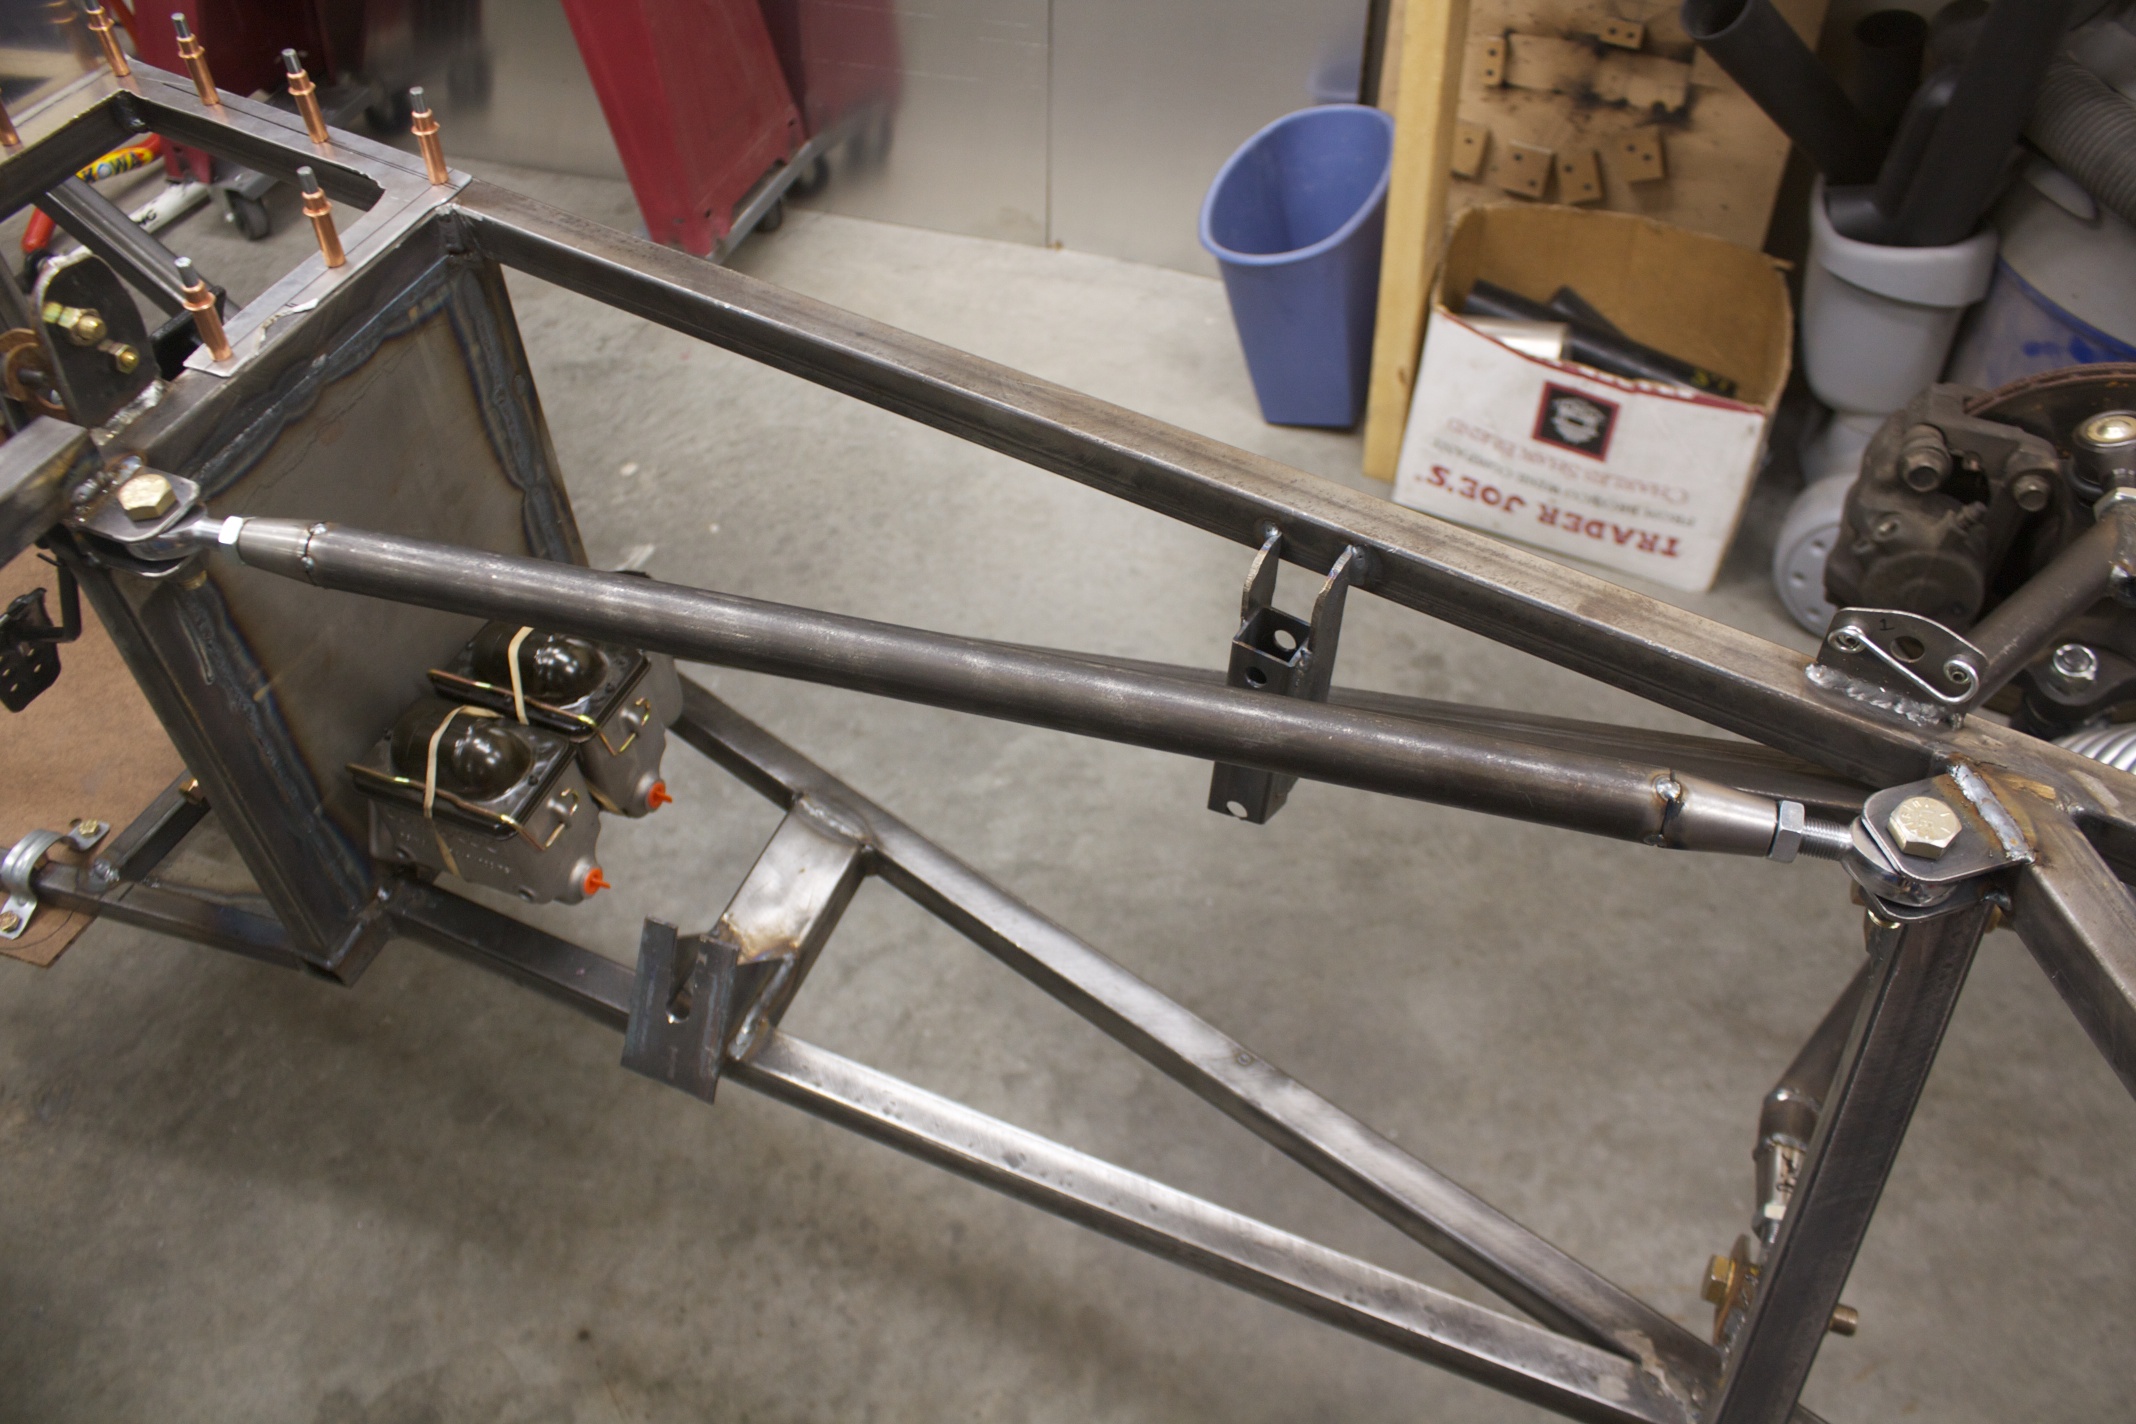
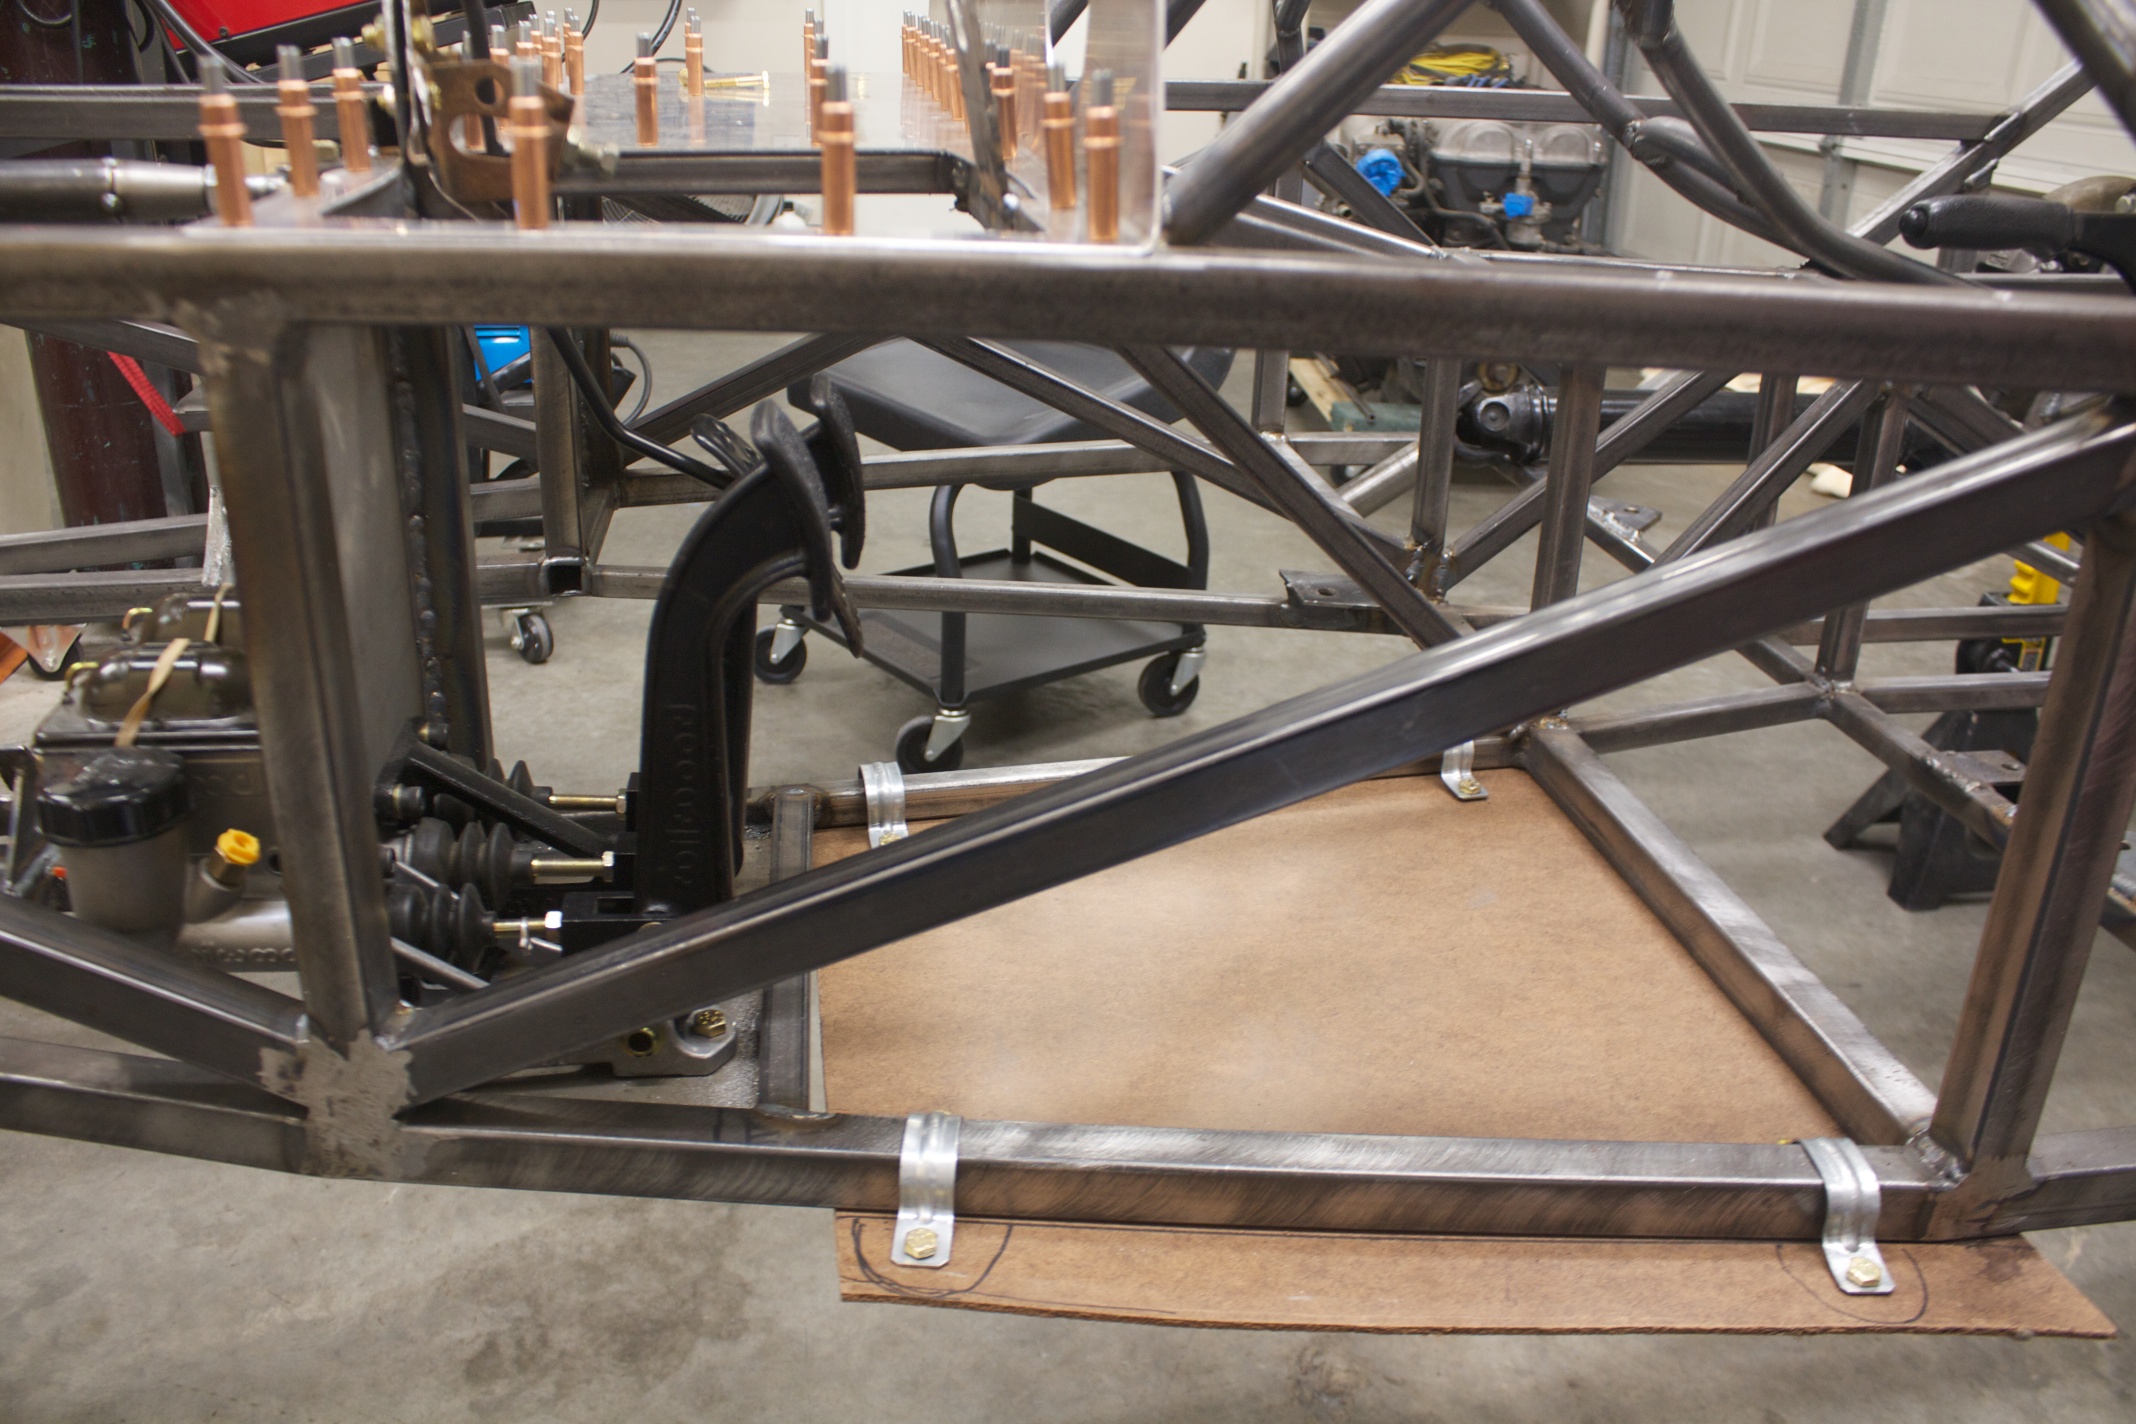
A couple months of this past fall were dedicated to finishing the frame. Up to this point I had final welded the frame enough to roughly assemble the car and have it support its own weight, but not complete enough to be drive-ready. I was getting to the point where I wanted to start moving the car towards its first drive, so I stripped all the parts off, and finished the frame 100%. This entailed all the diagonal reinforcement tubes, a handful of remaining tubes for the dashboard, and the roll bar. There were a handful of other panels I had to make and weld in to call the frame complete, but thats the gist of it. Also, I ground down most of the external welds where body panels were to be applied. This process took much longer than I would have thought.. it was tedious and repetitive work for the most part.
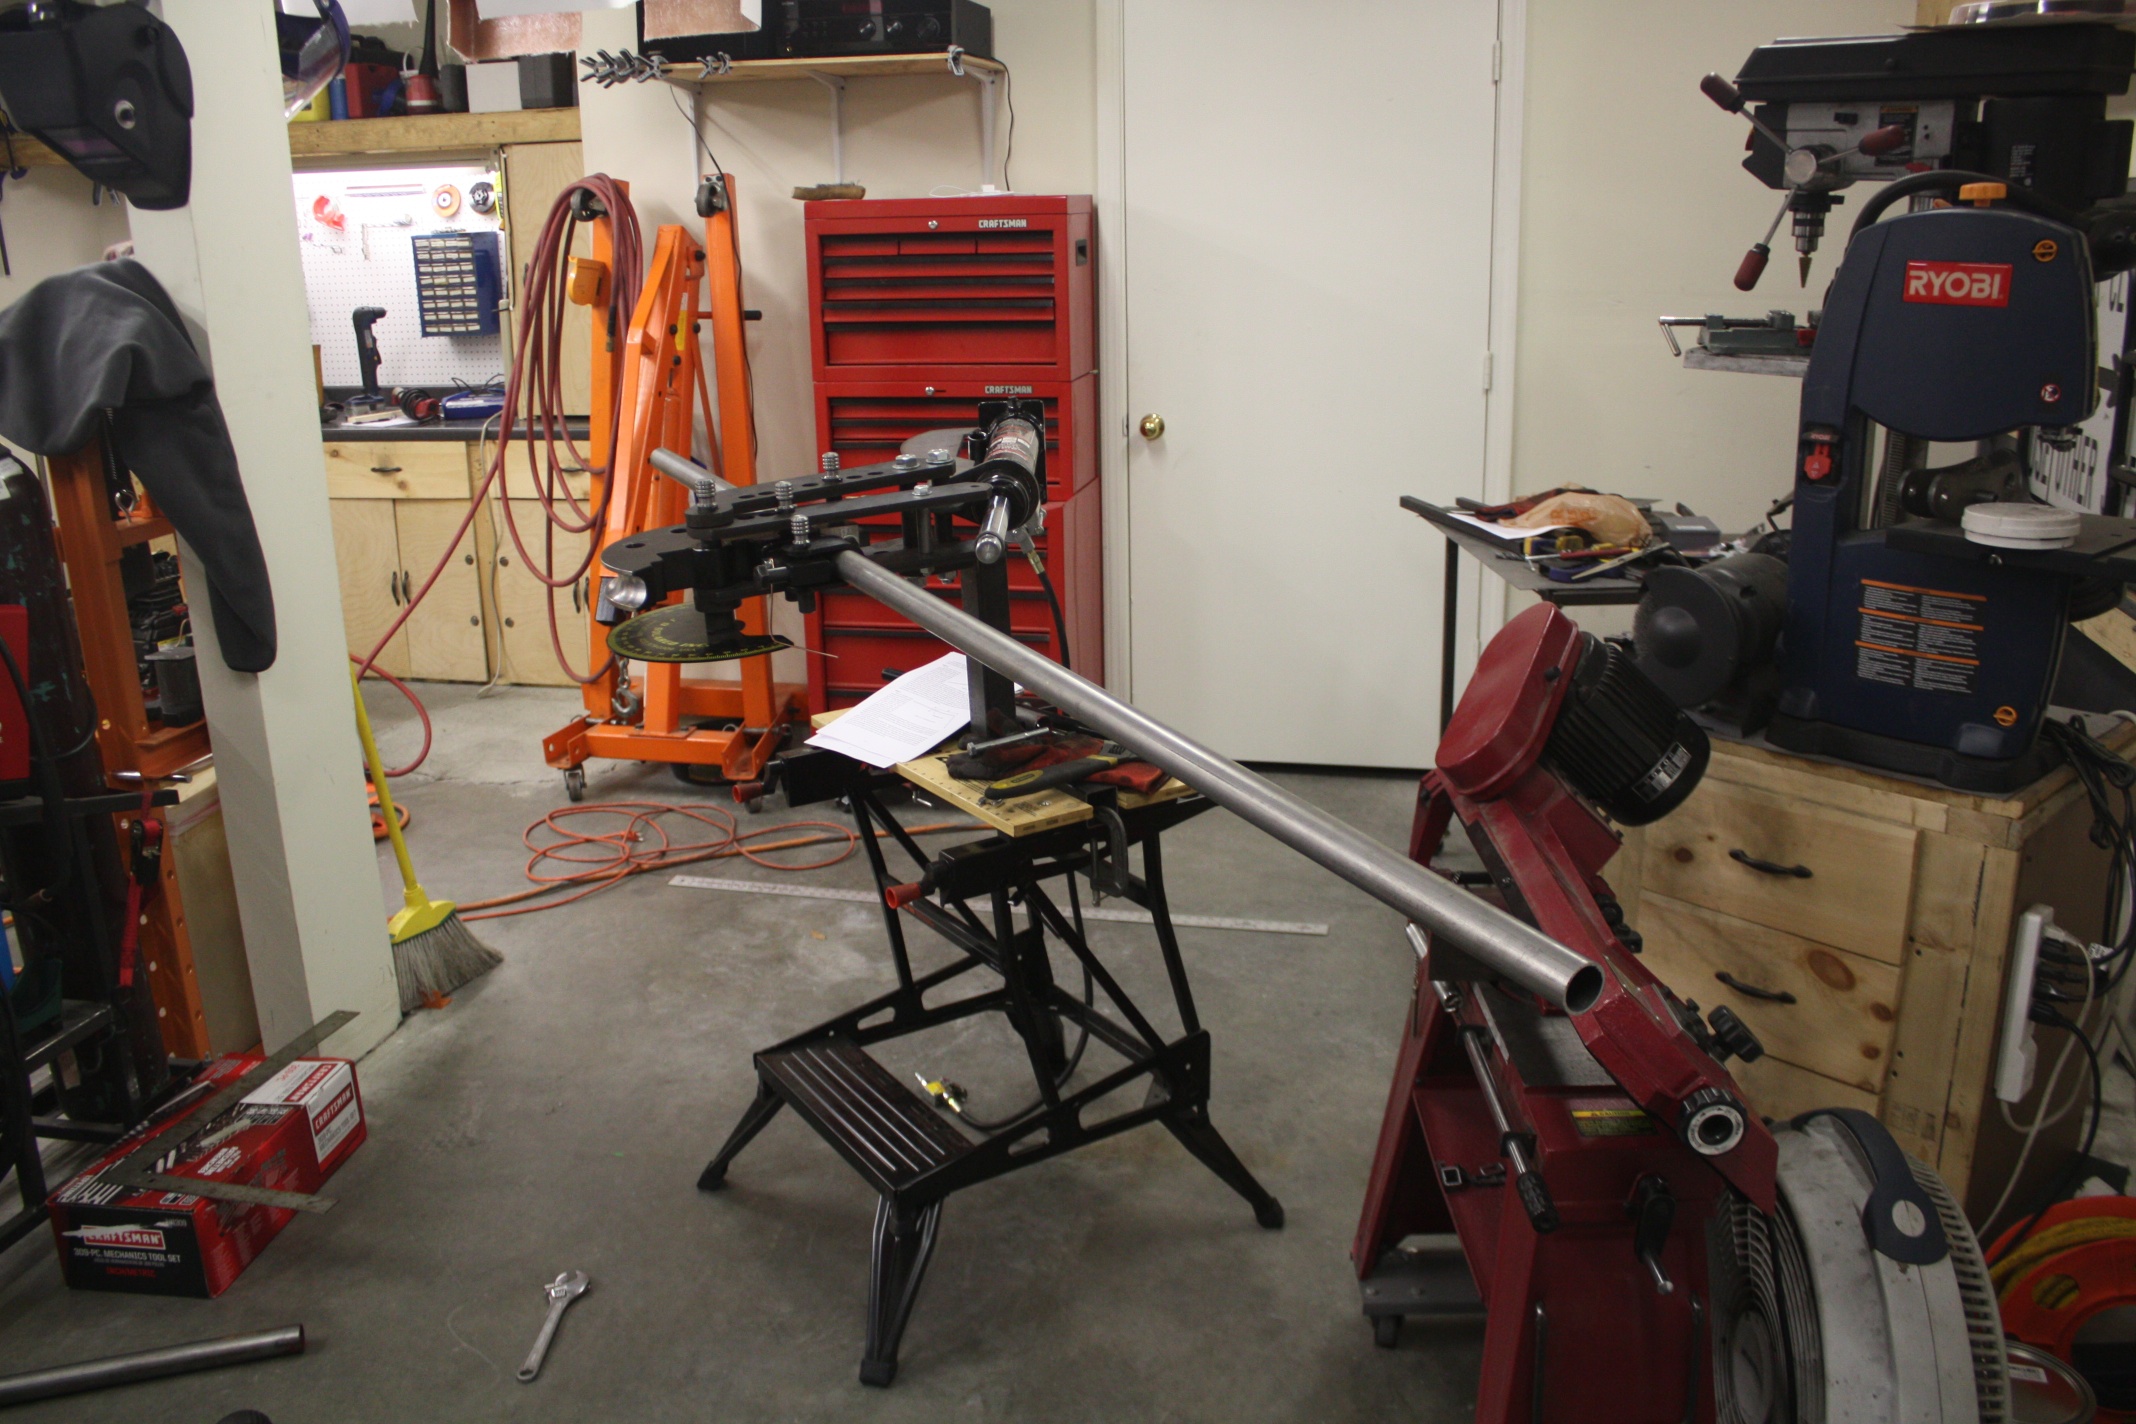
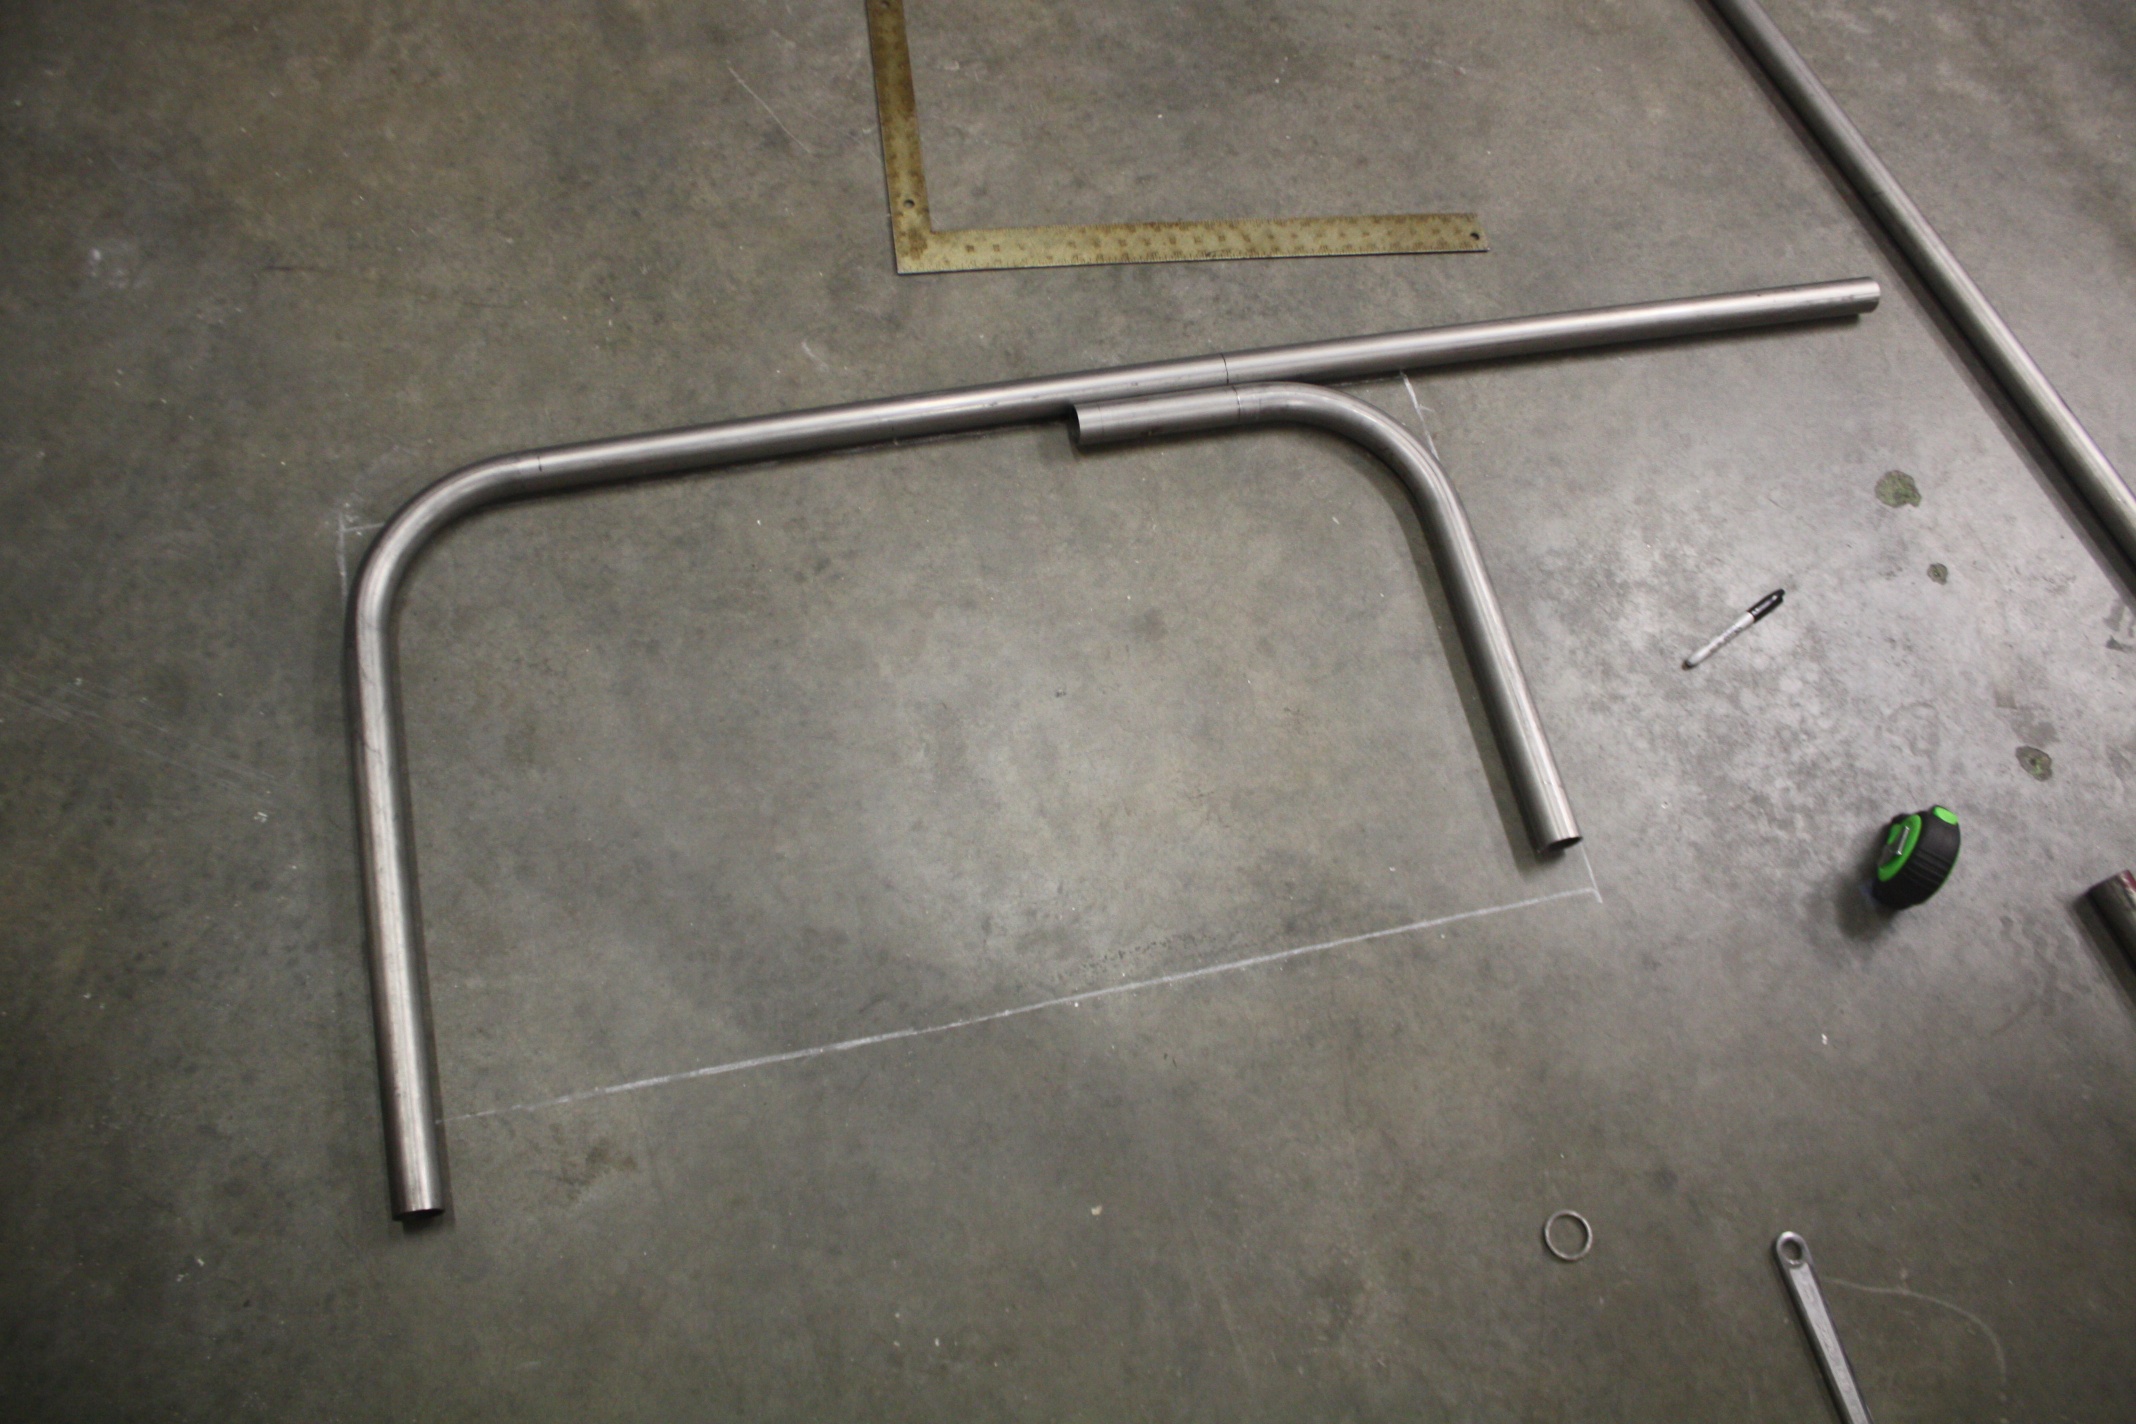
One thing I’d like to give a little more detail to is the roll bar.. I wound up using 1.5″ DOM tubing for the roll bar, and for now I’m just going with a single hoop and two supporting braces that come to the bottom of the frame. They’re all welded to the frame at 1/8″ thick plates. I may eventually add on to the roll bar with side-impact bars, and/or a diagonal, but I decided to hold off on that decision. Making the roll bar hoop was lots of fun with the JD2 tube bender, even if my setup for it was a bit ghetto.
Another fun item in the finishing of the frame was the seat belt mounts. I made these out of 1/4″ thick steel with weld nuts for everything but the shoulder belts; those are bolted to heavy duty 1.5″ inner diameter tubes that are welded onto the frame.
A couple other minor details worth mentioning..
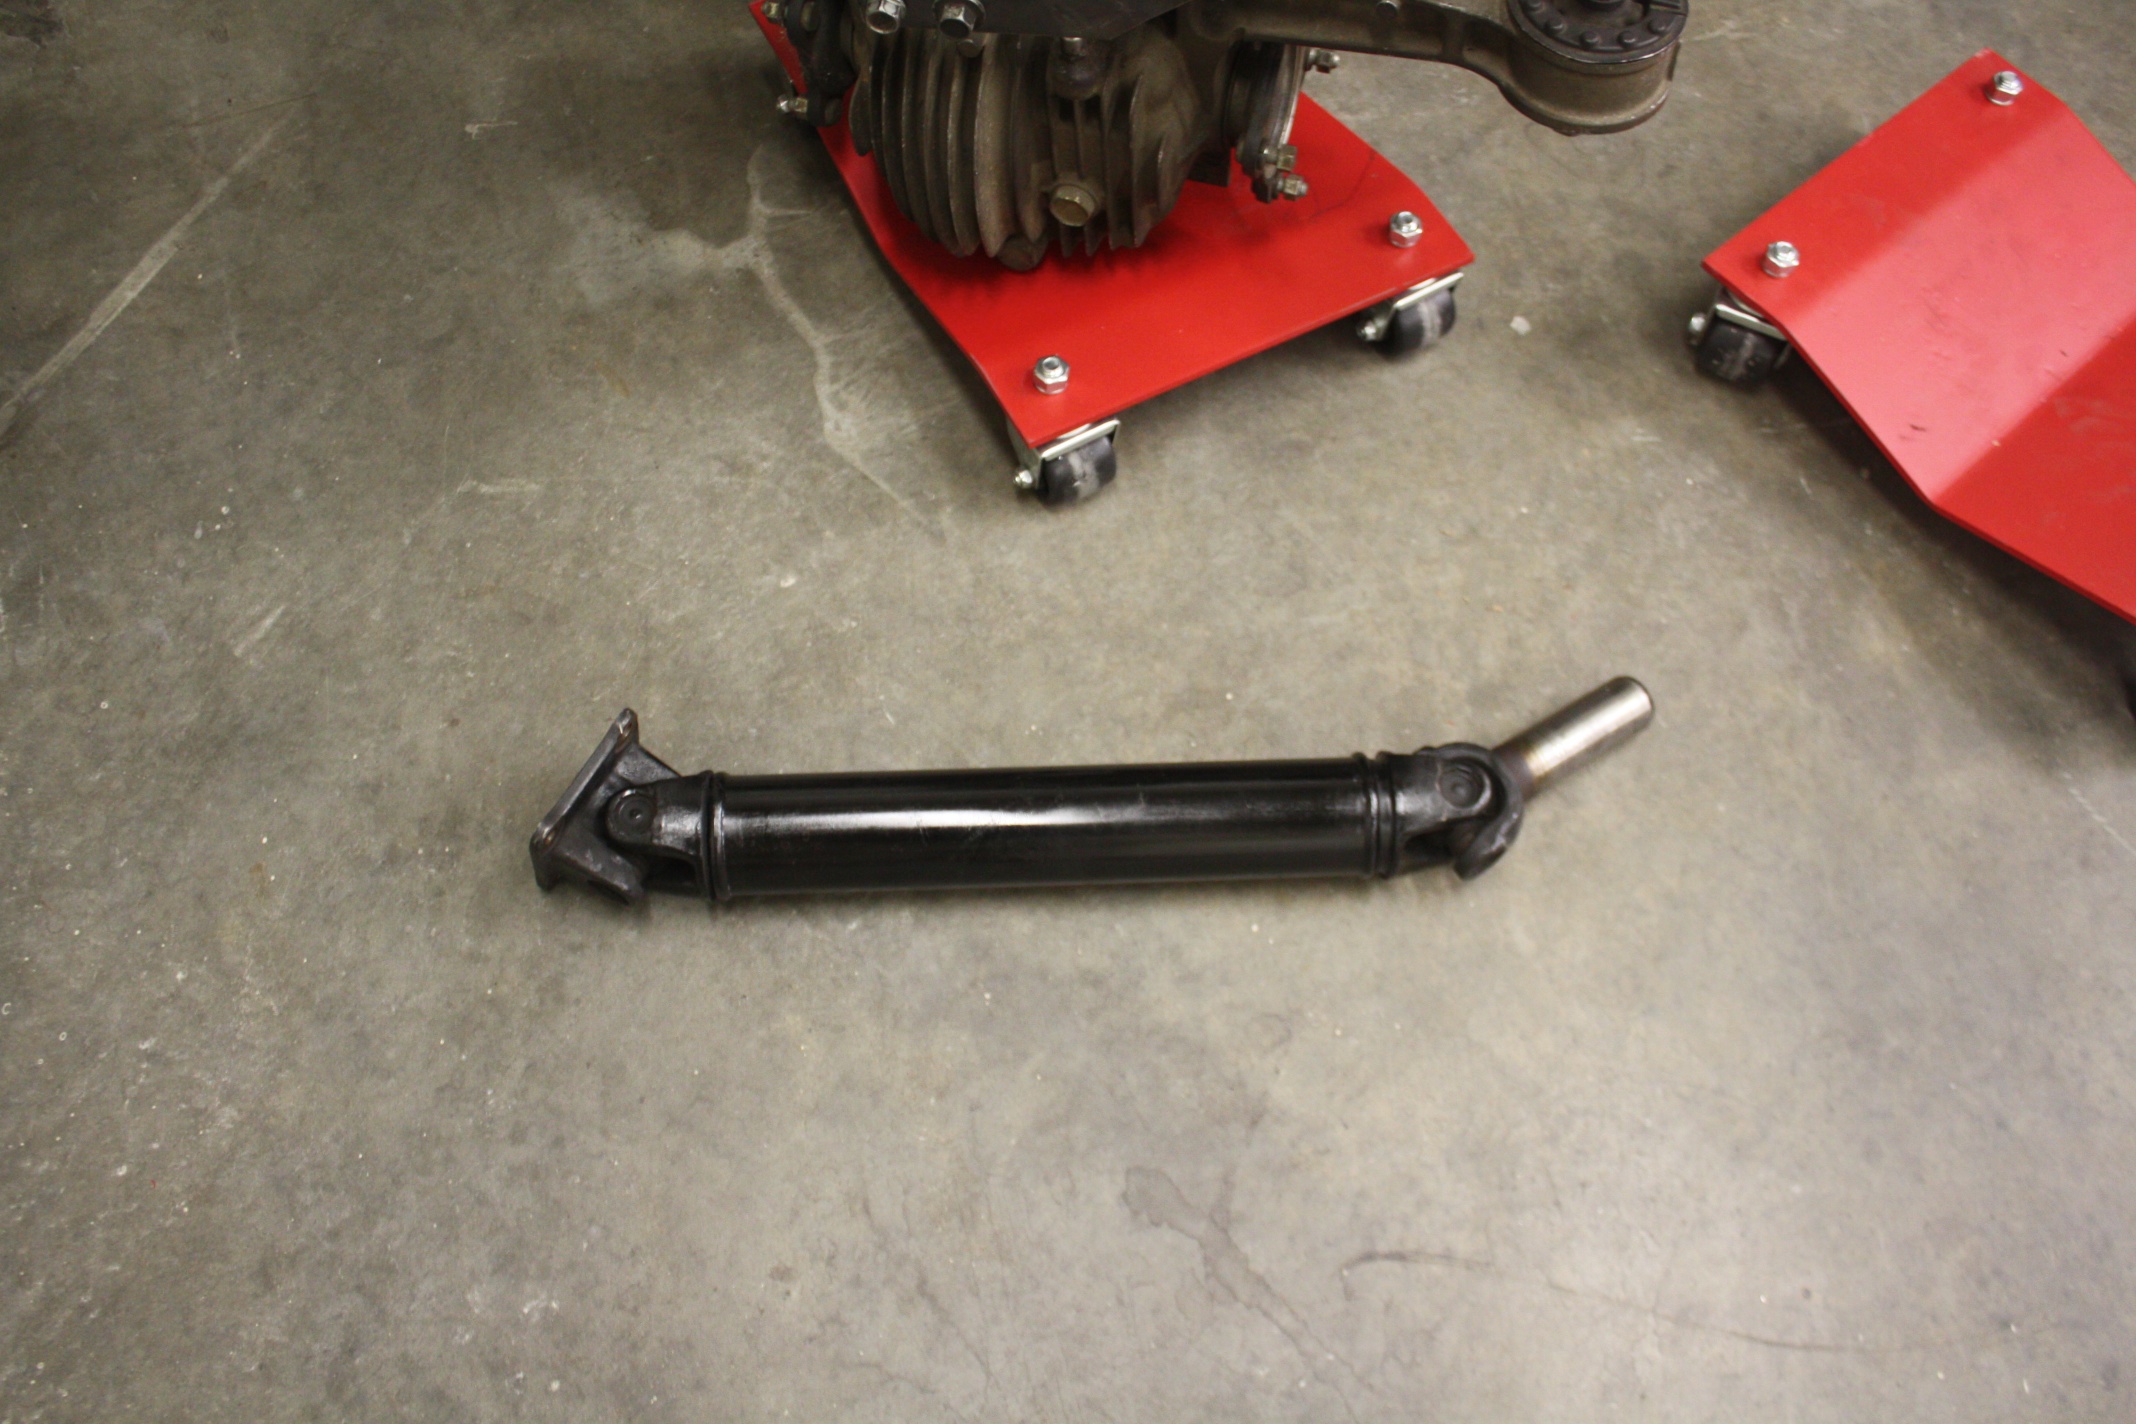
- I had the drive shaft shortened at a small expense of around $100.
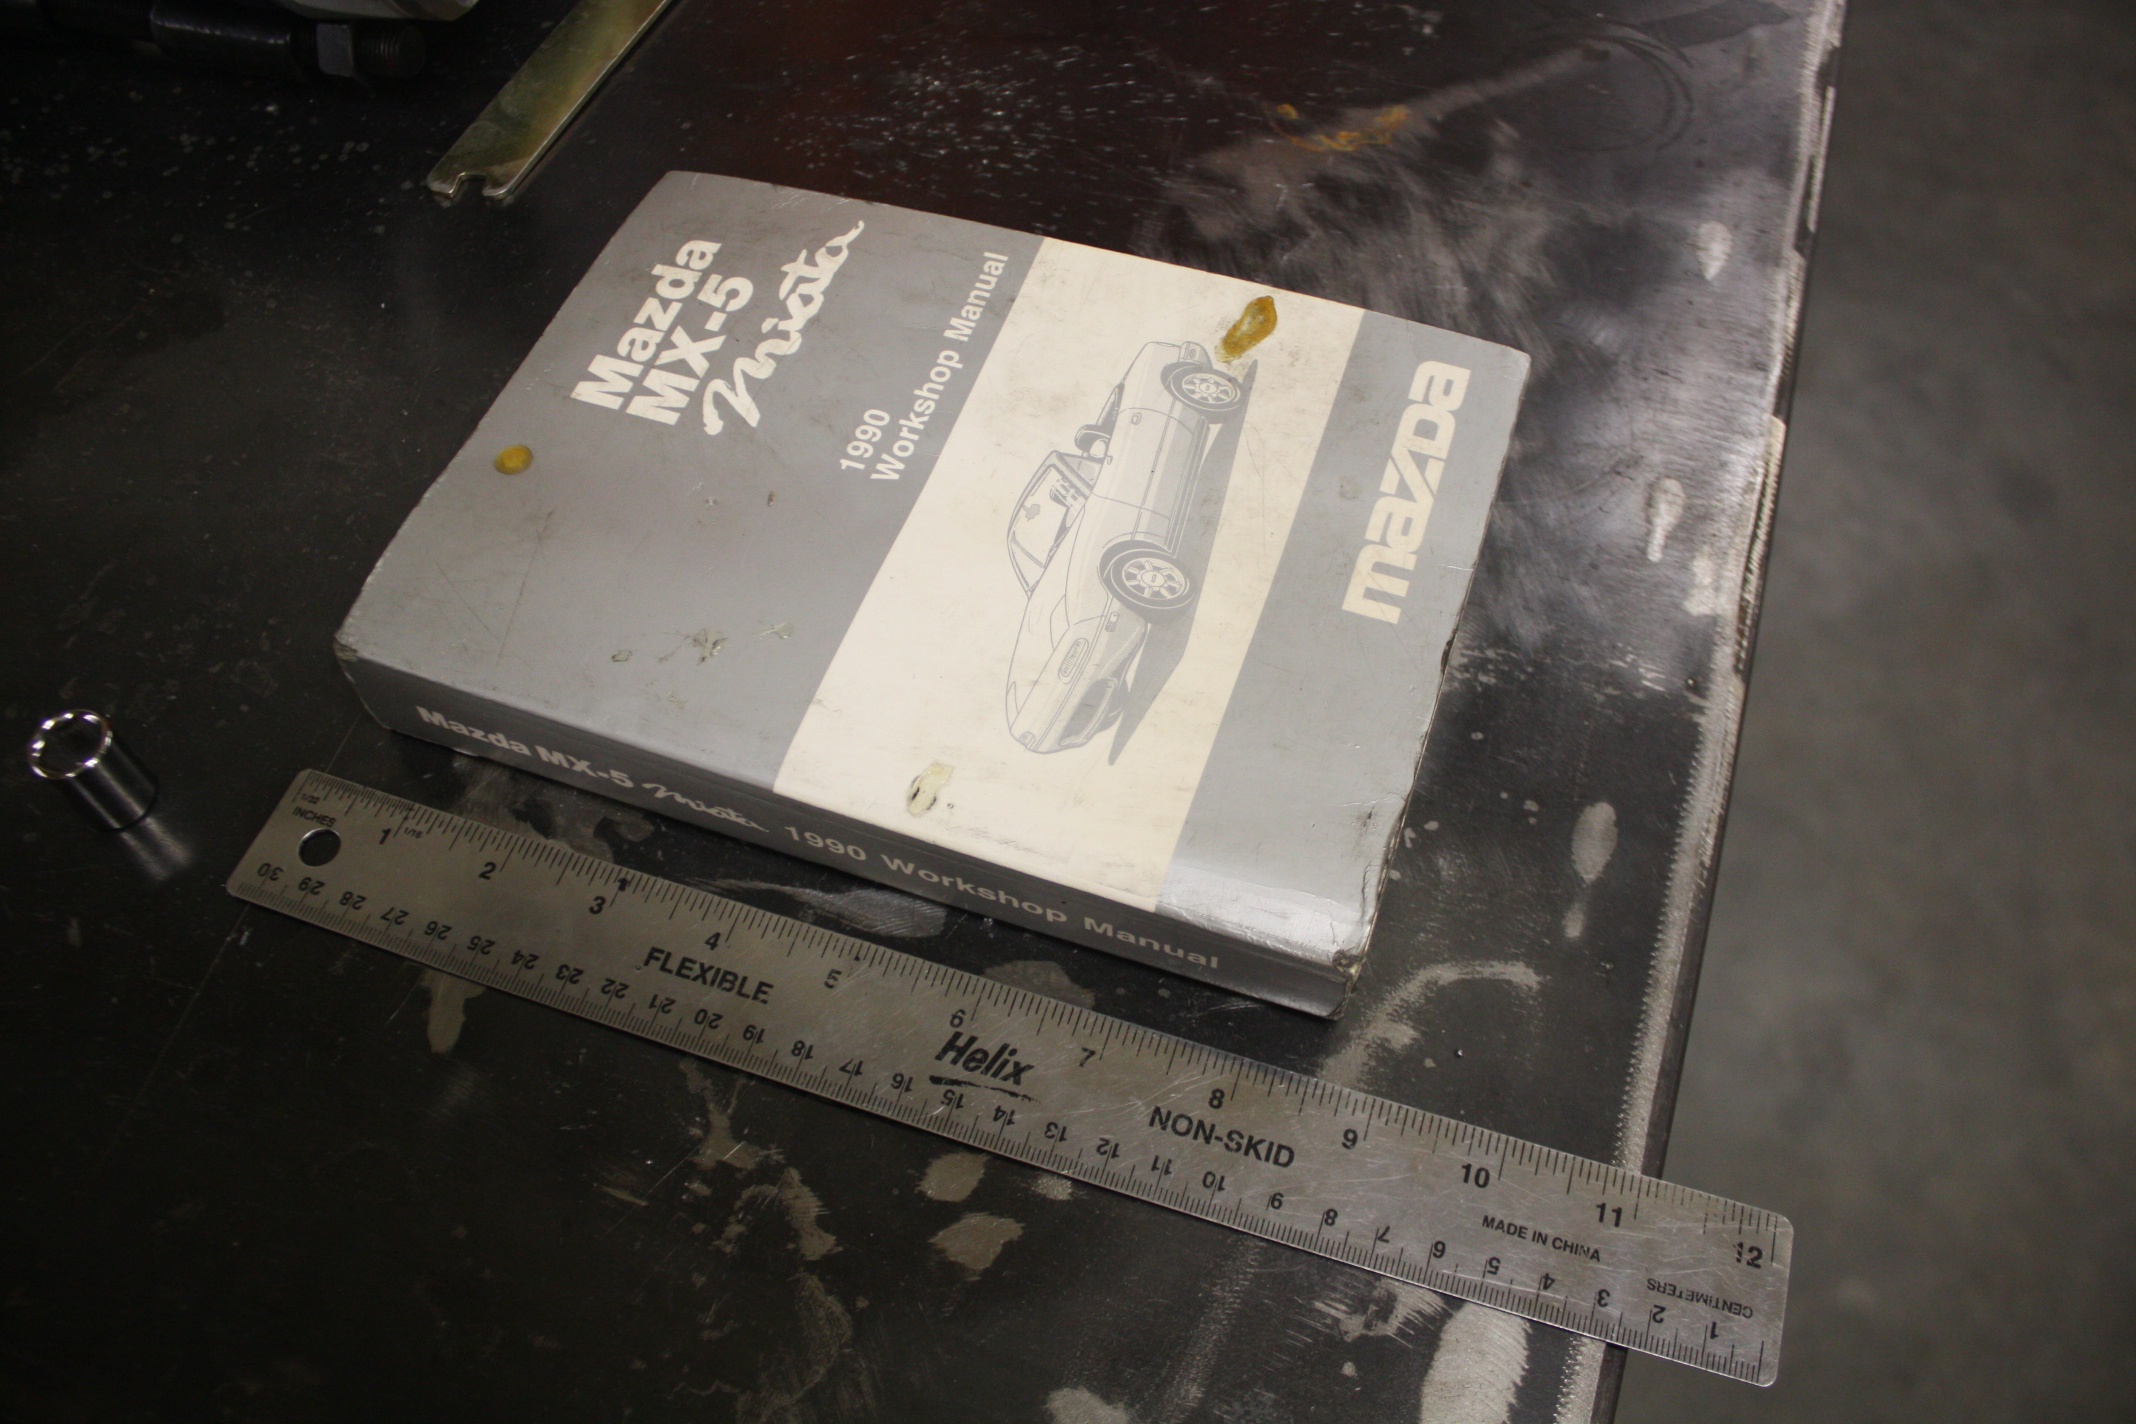
- I got an original 1990 Mazda Miata service manual (thats super tiny!). At $100 on ebay it wasn’t cheap, but it will come in handy when I’m doing the wiring harness.
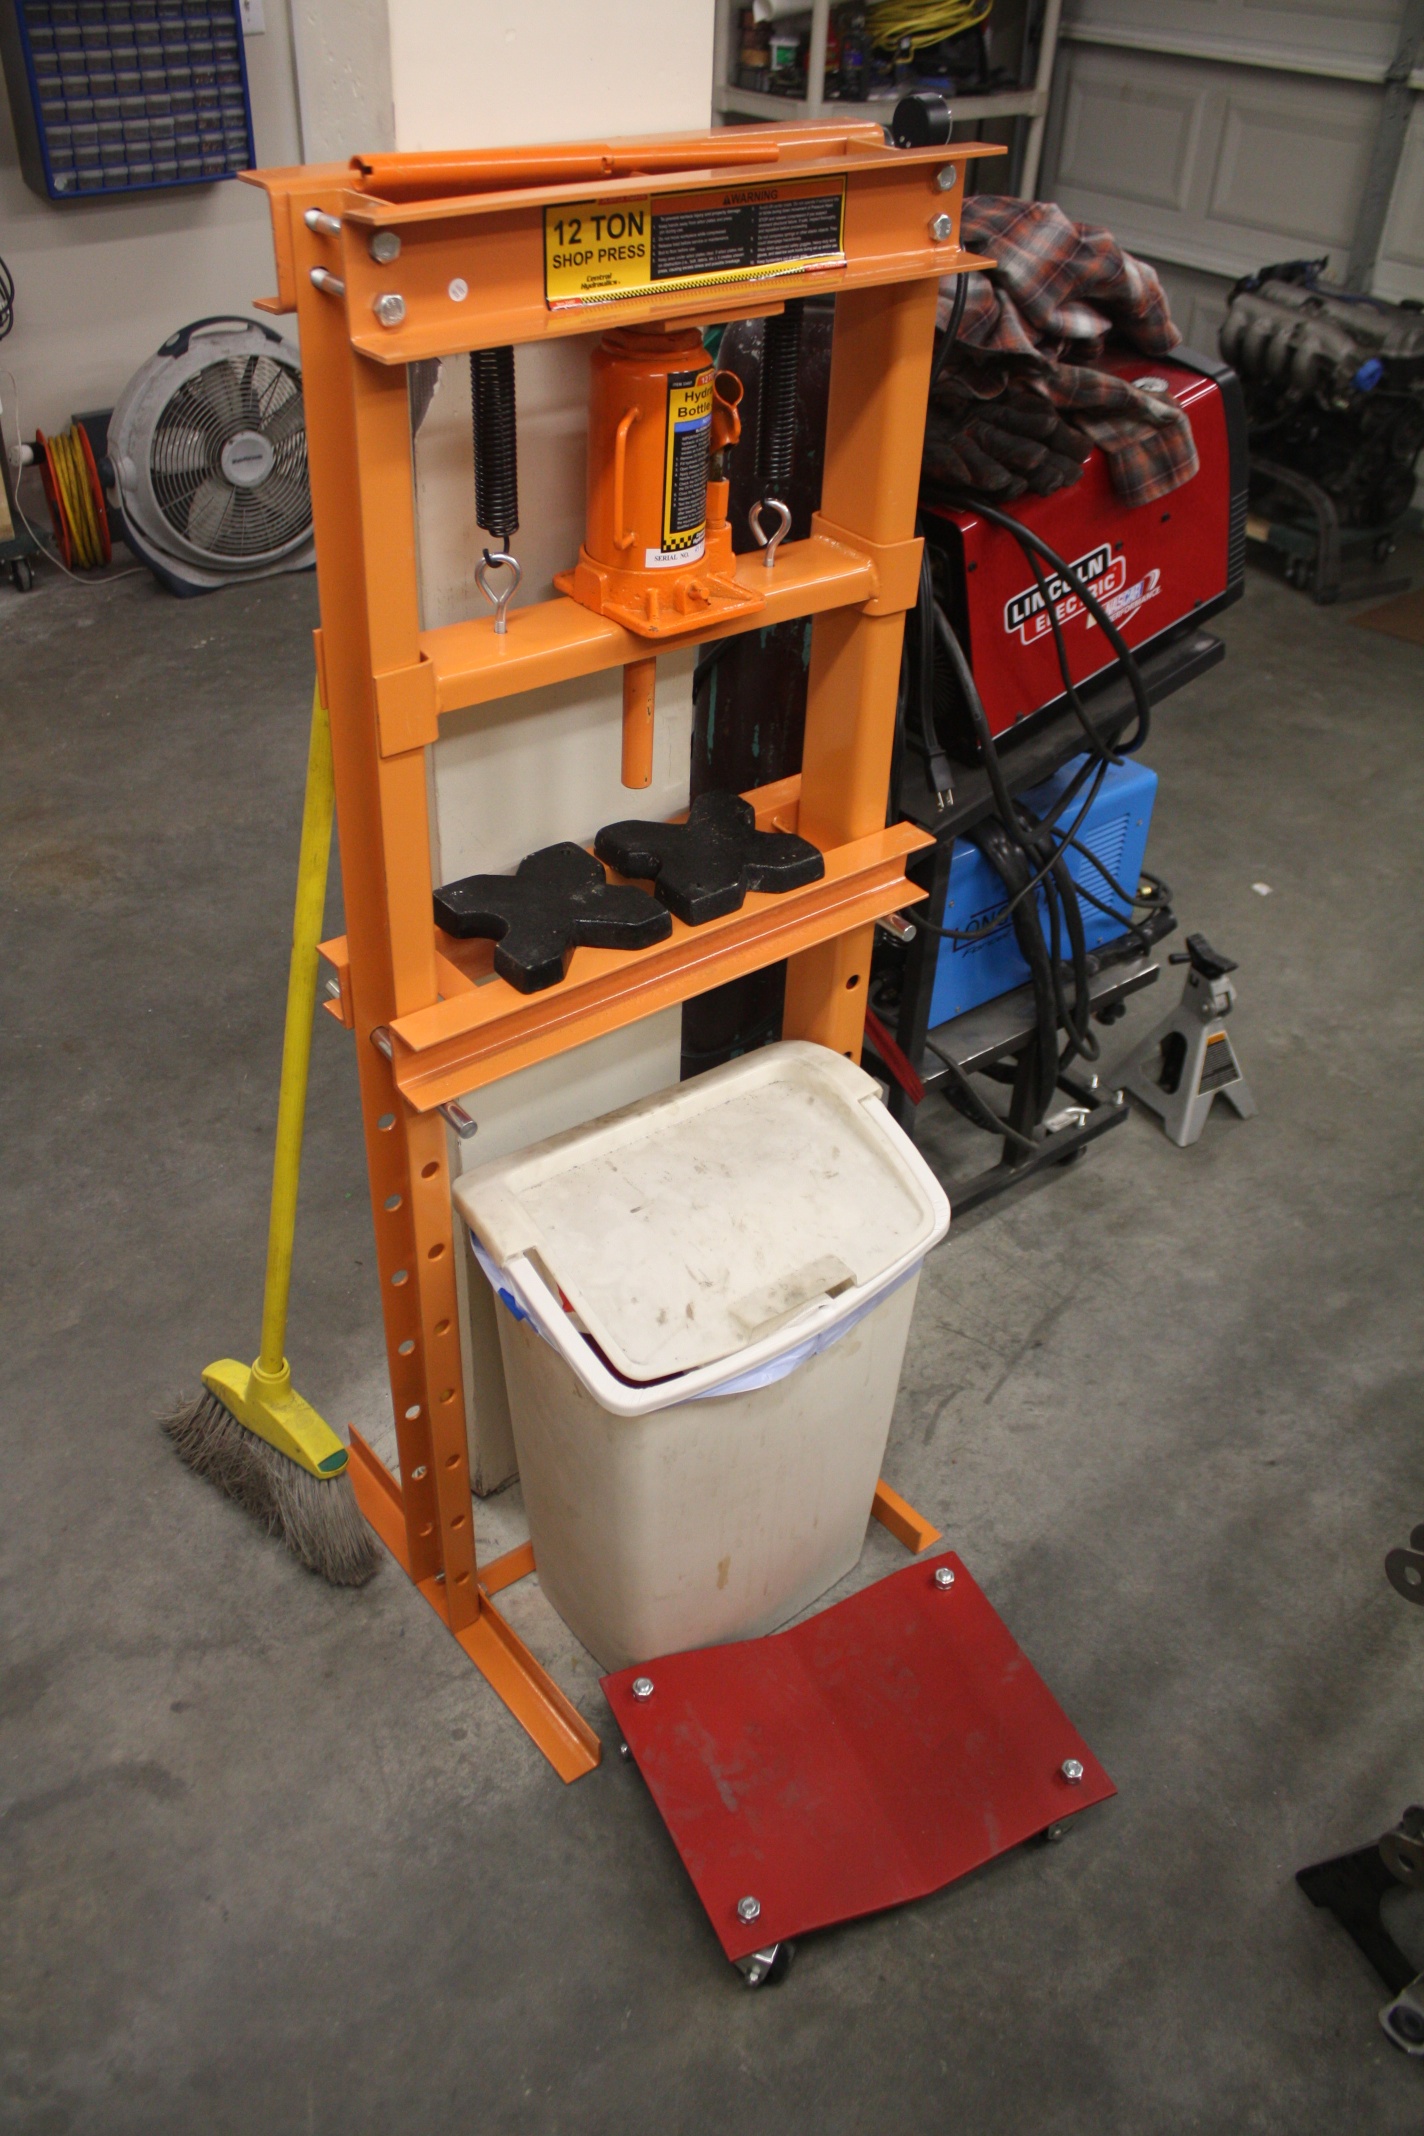
- I picked up a harbor freight 12-ton shop press. Its already come in handy a number of times for various stuff I’ve done with bearings and bushings
- One of the engine bay reinforcement tubes is now removable so that I will be able to pull the exhaust from the car without taking out the engine
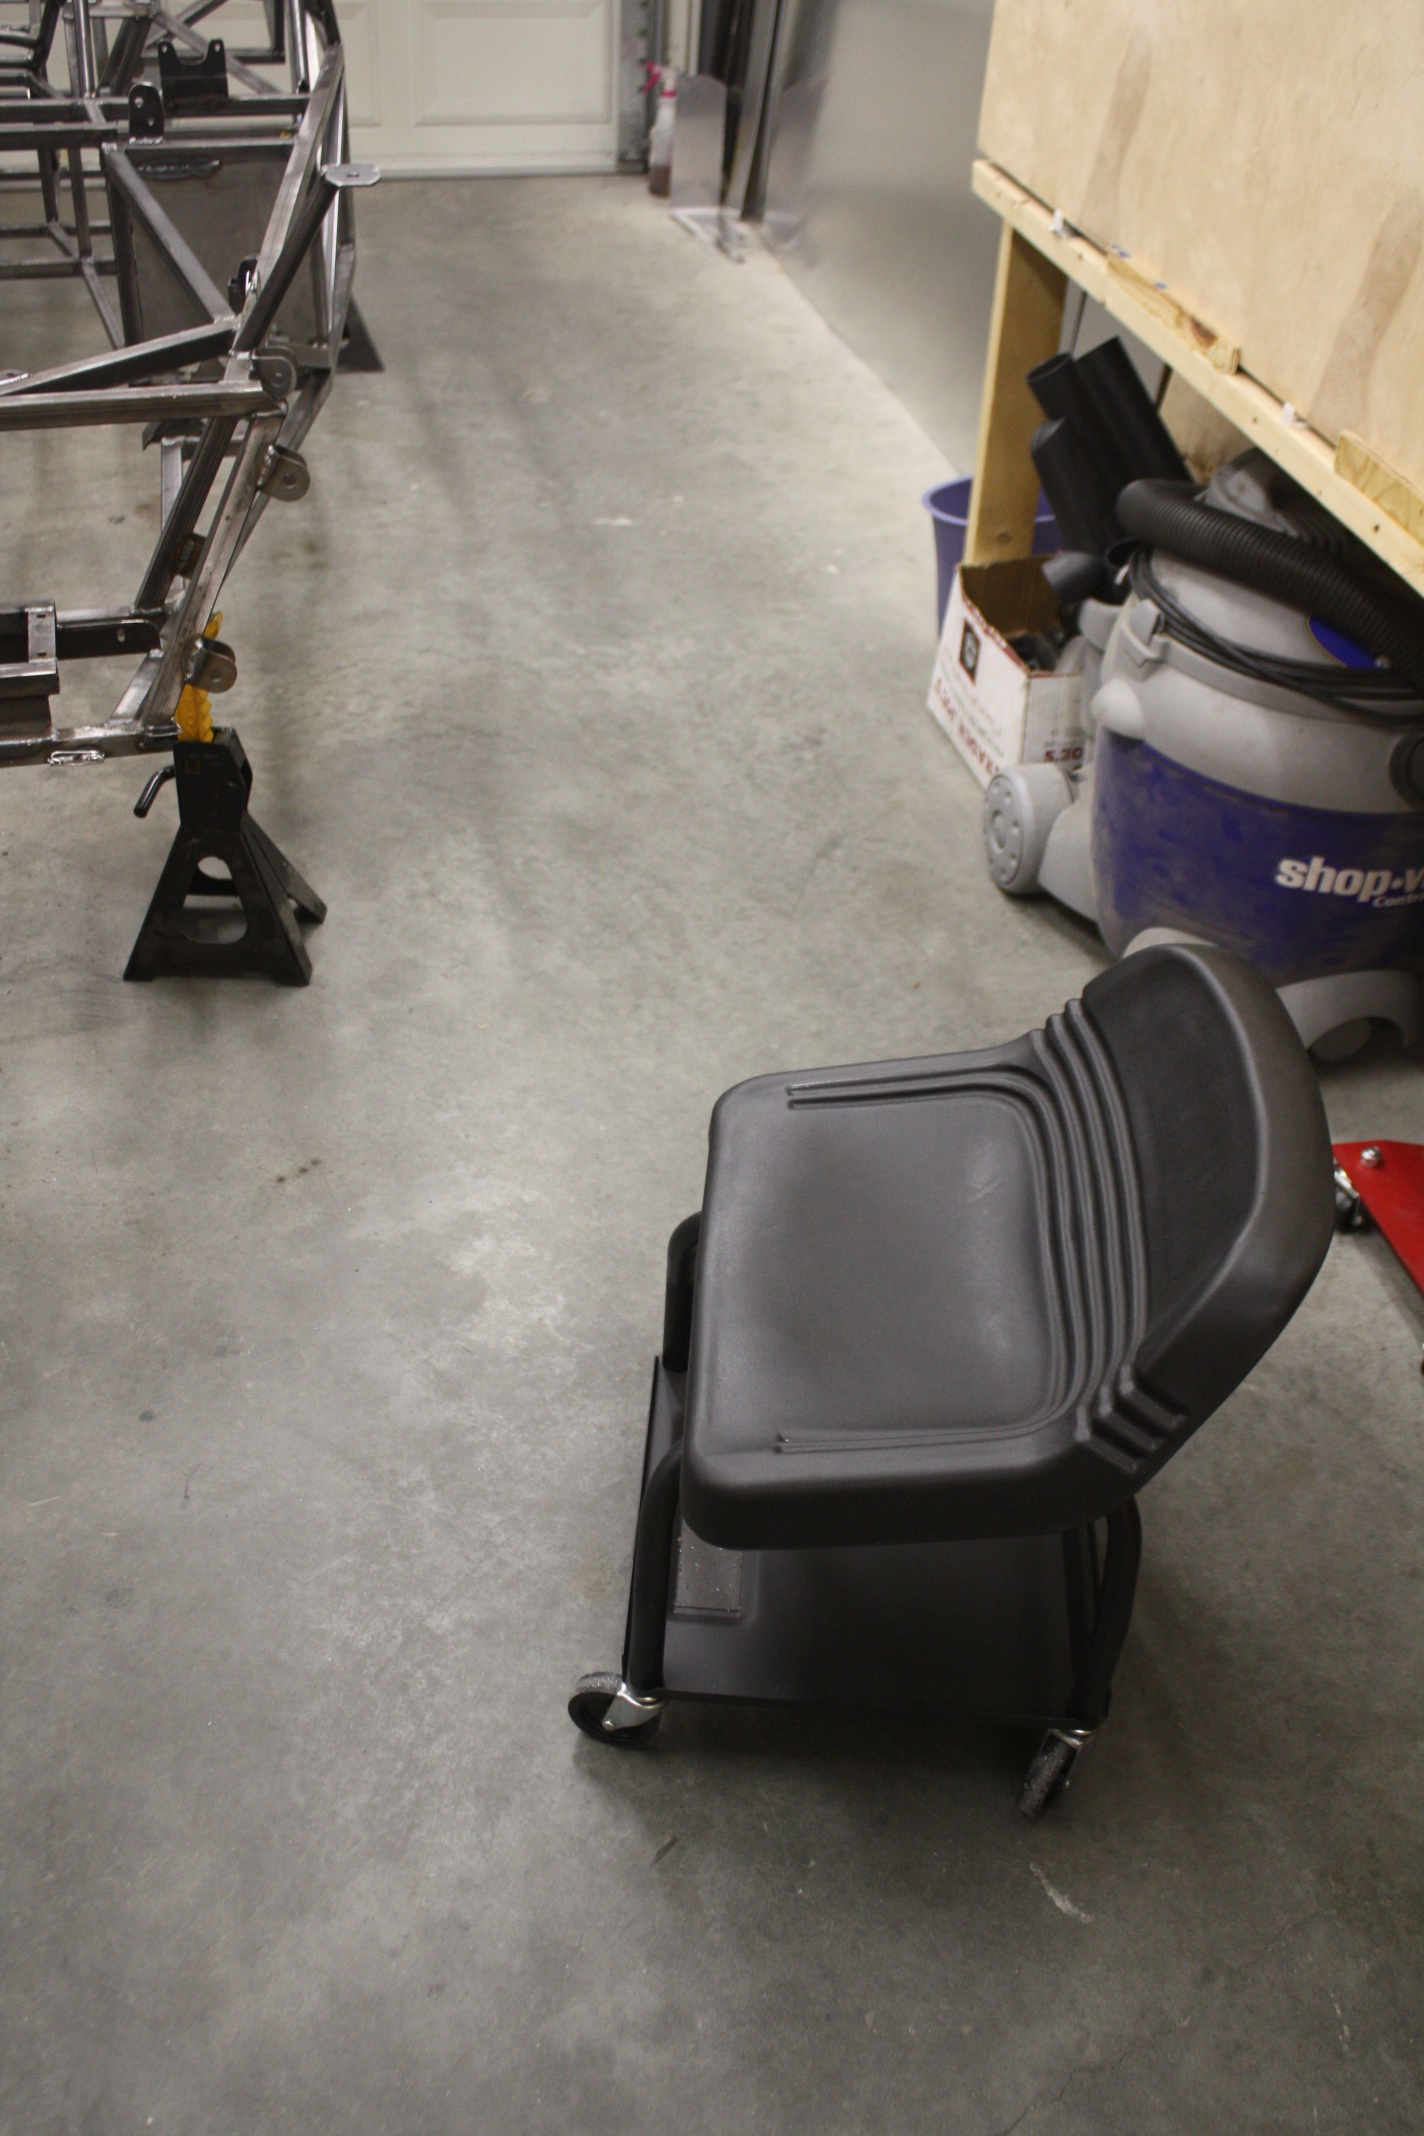
- I got a chair on wheels, it saves my back and knees on a regular basis
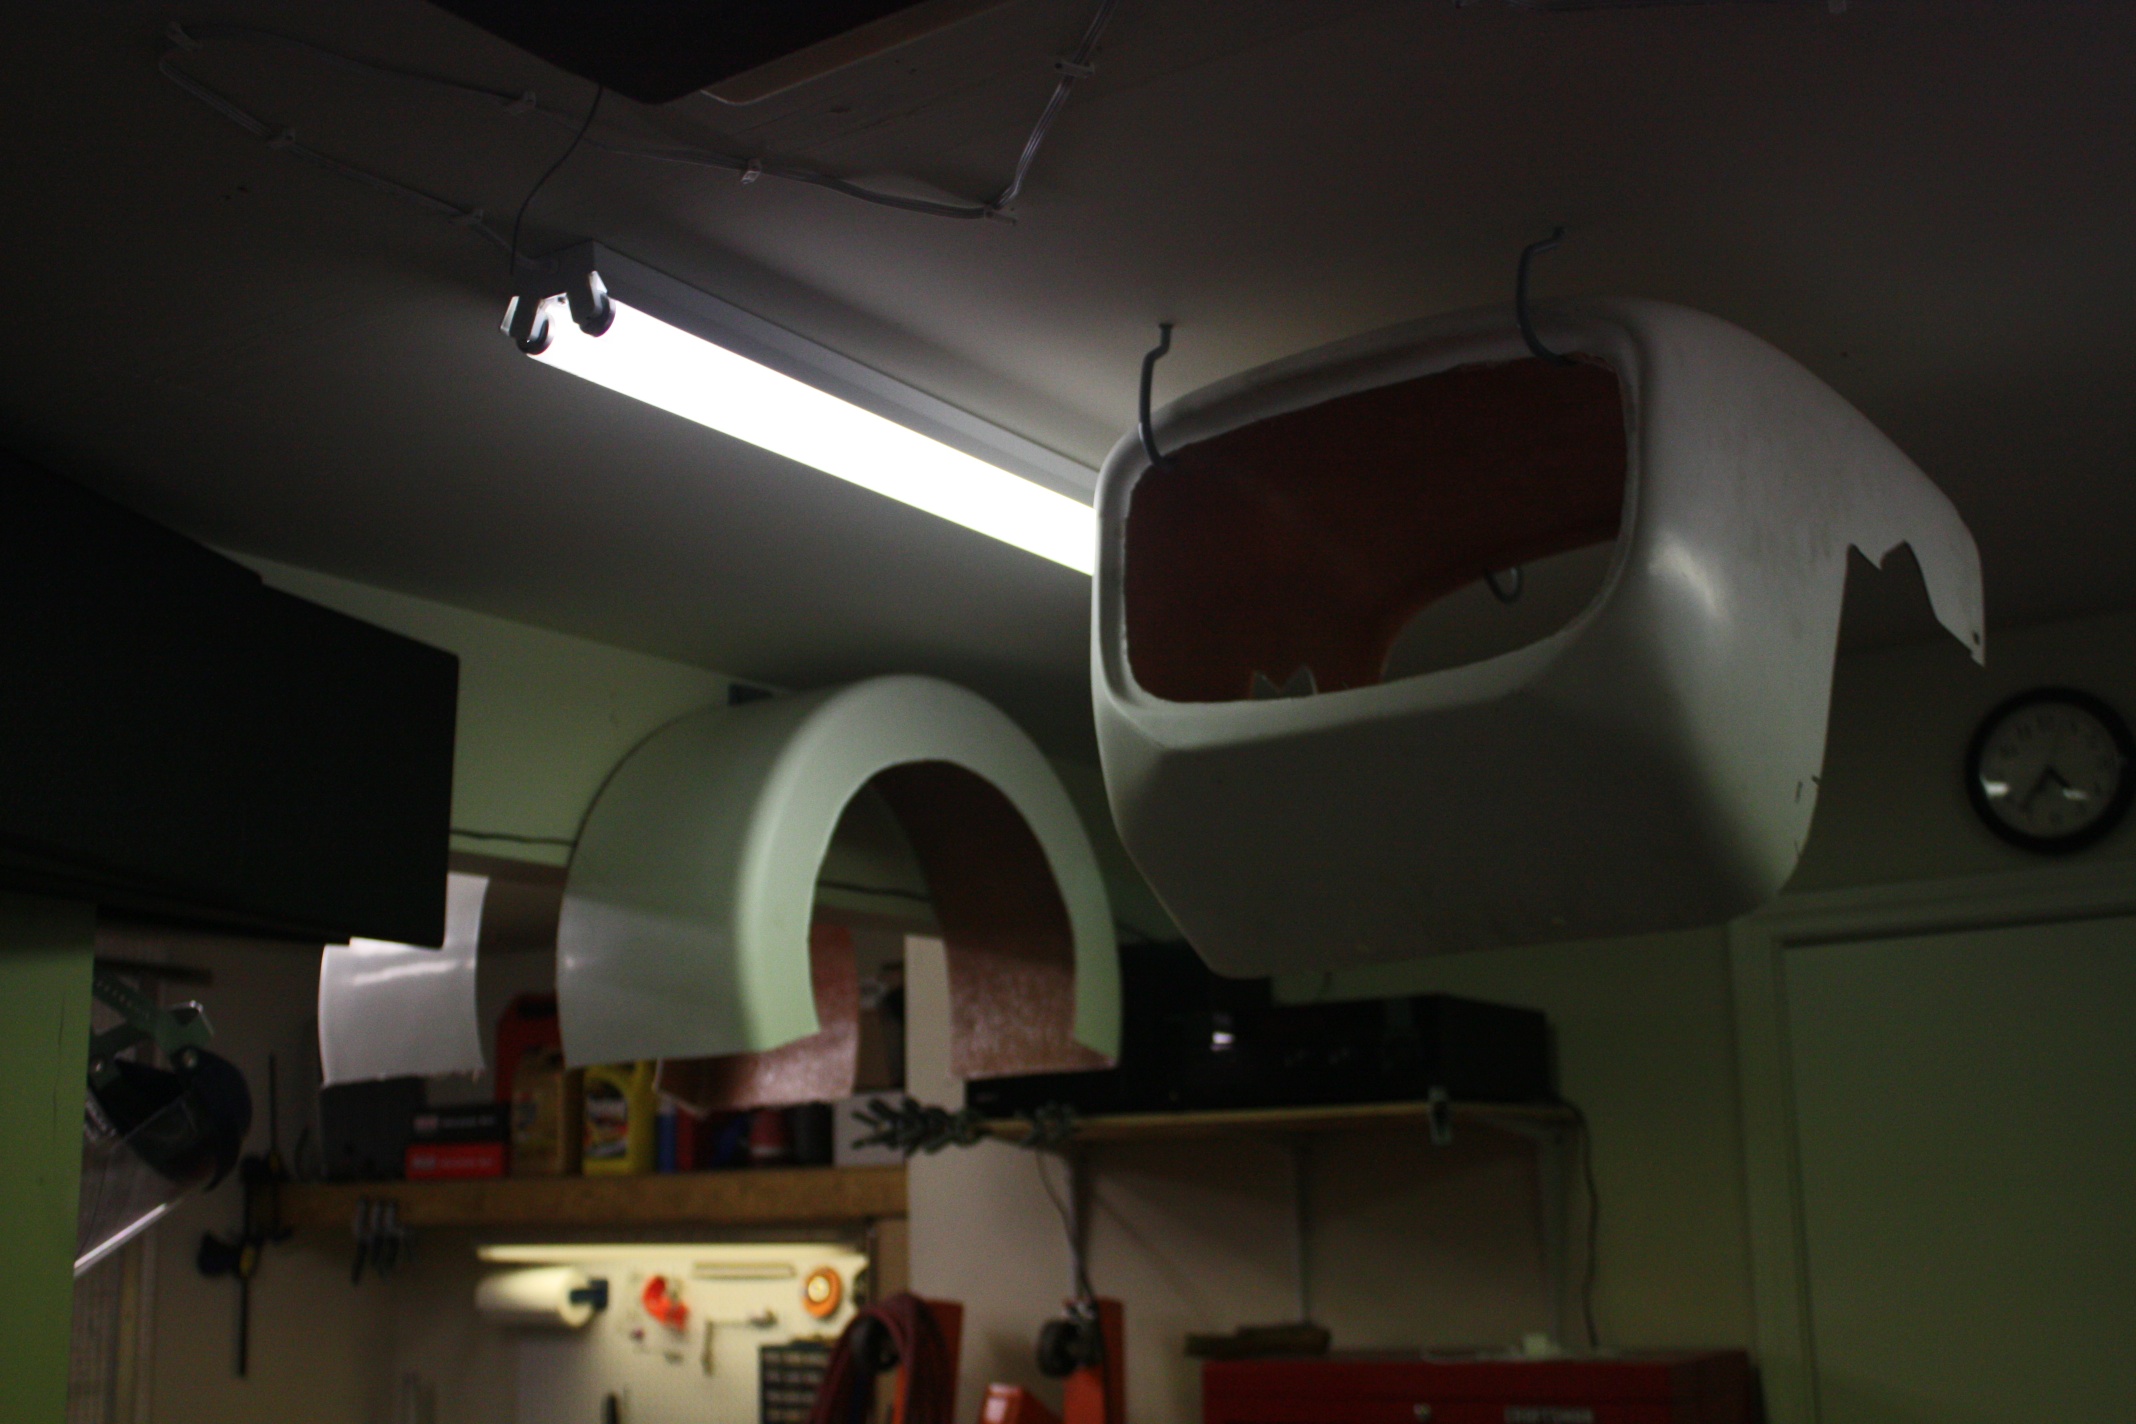
- I ordered the rear fenders from Kinetic Vehicles, and promptly devised a clever ceiling storage solution for both fenders + the nosecone so that they’re out of the way. They just clear my head by about 1.5″
- Build and mount 3 dash panels, including holes for gauges
- build 3/4″ tube firewall supporting hoop+clecos
- Center console panel + clecos
- prep engine (clutch, clean, alternator) + install in car
- Install fuel tank, mount fuel filters + pump
- Mount heater
- Order all remaining brake hardware + Stainless Steel lines, run brake lines
- run fuel lines
- Run coolant lines
- Finalize and install steering rack (close holes, new rubber and hardware)
- Order brake lights, reverse lights, all turn signals