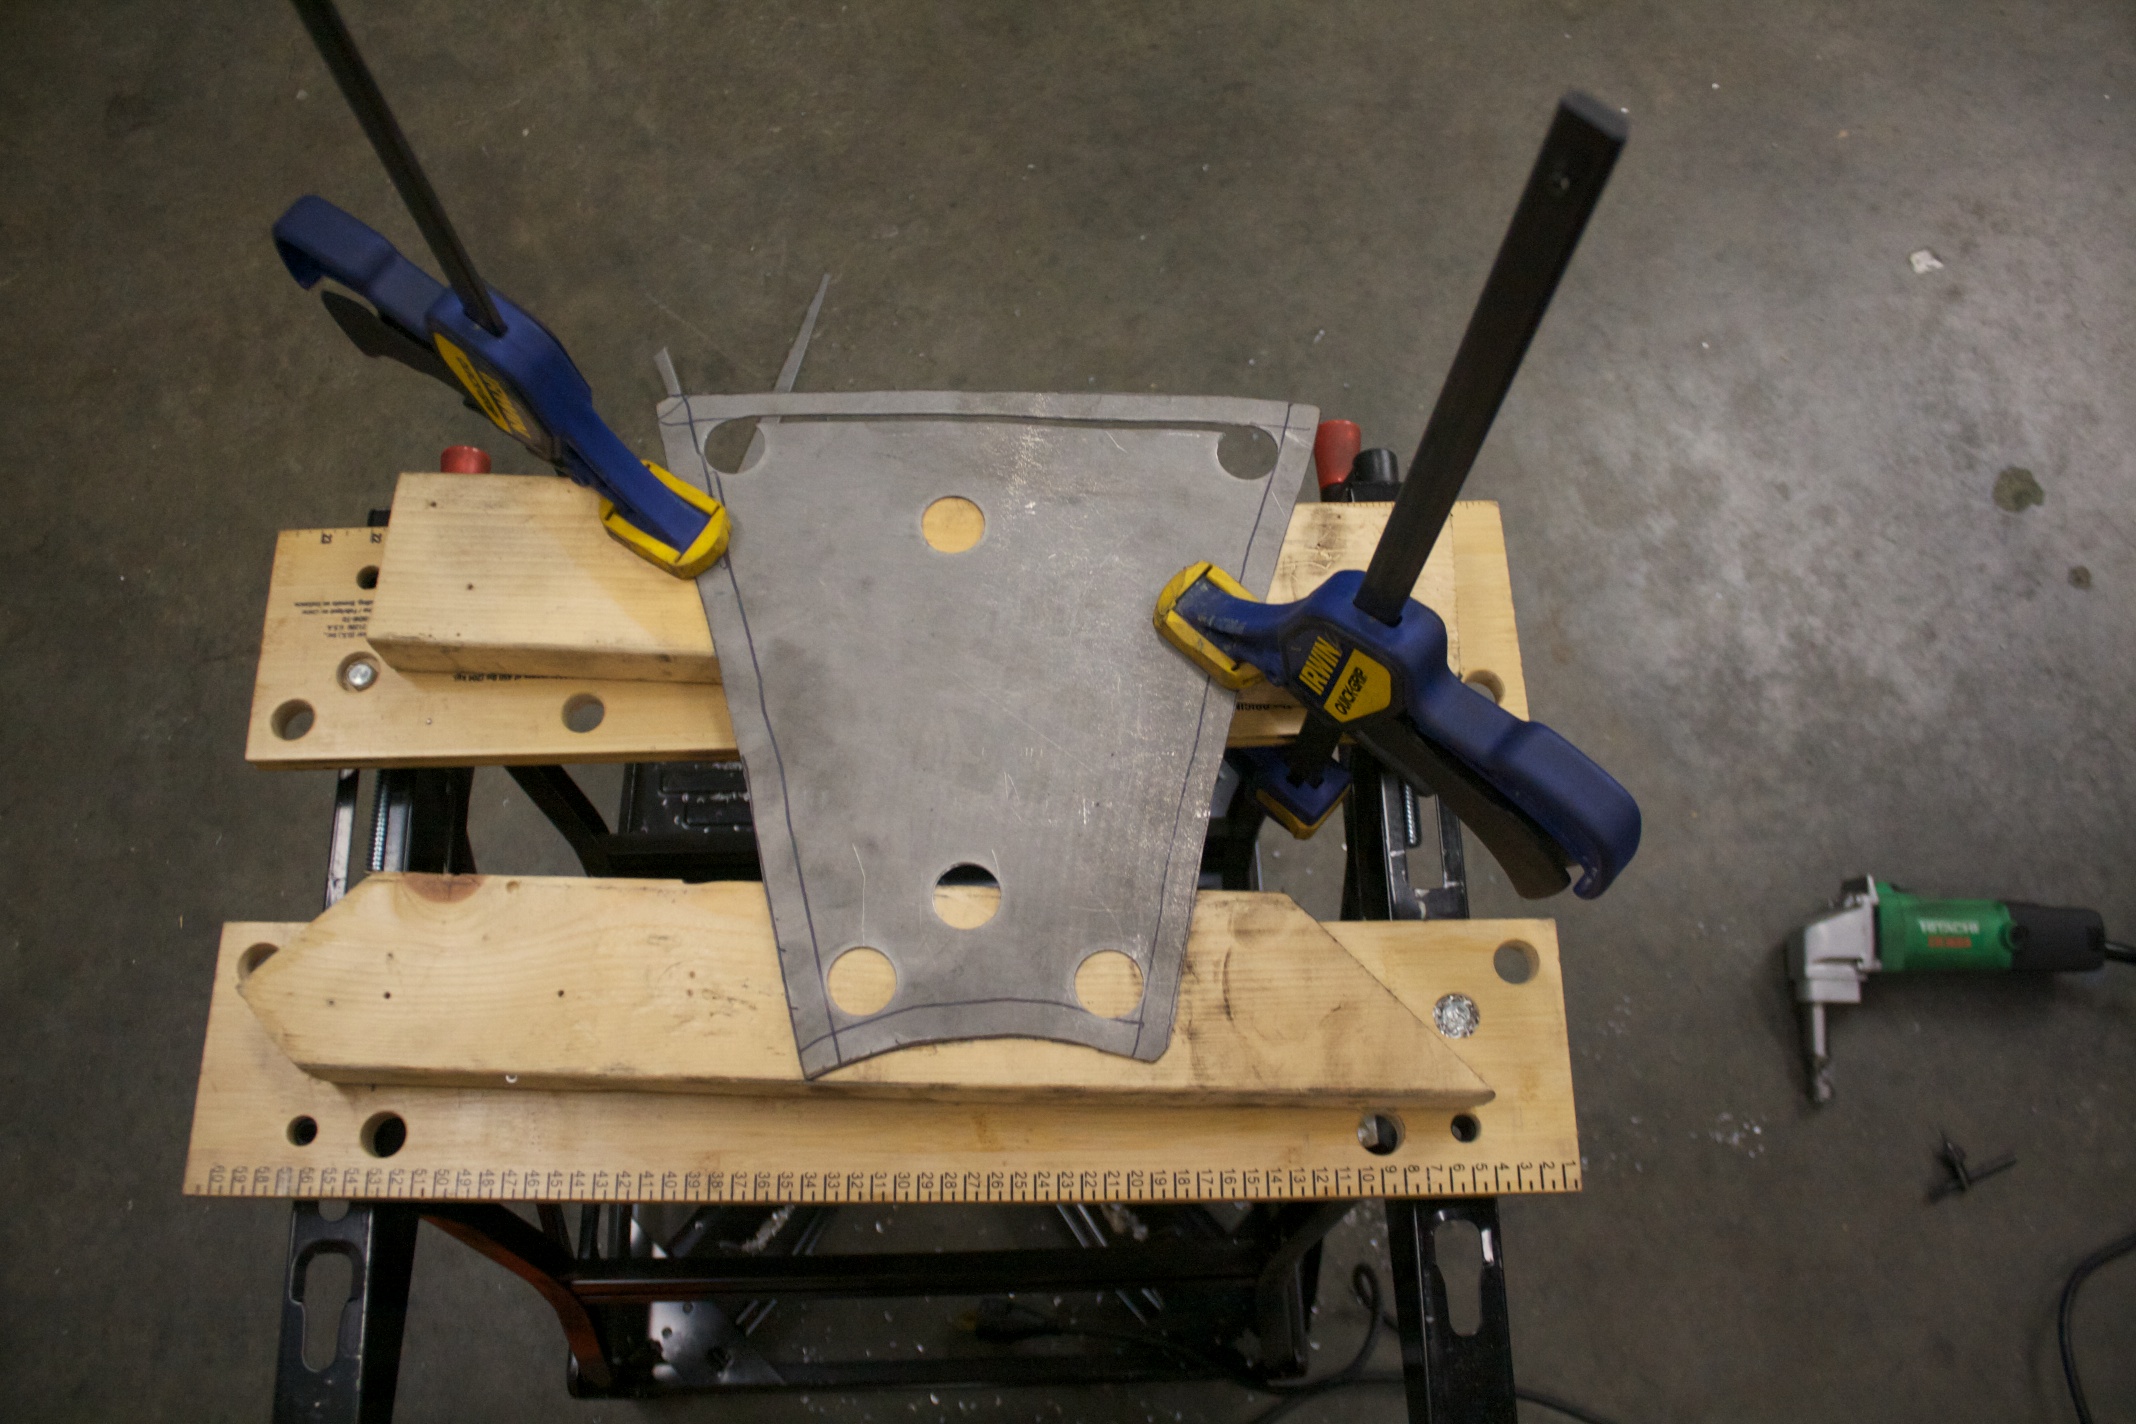
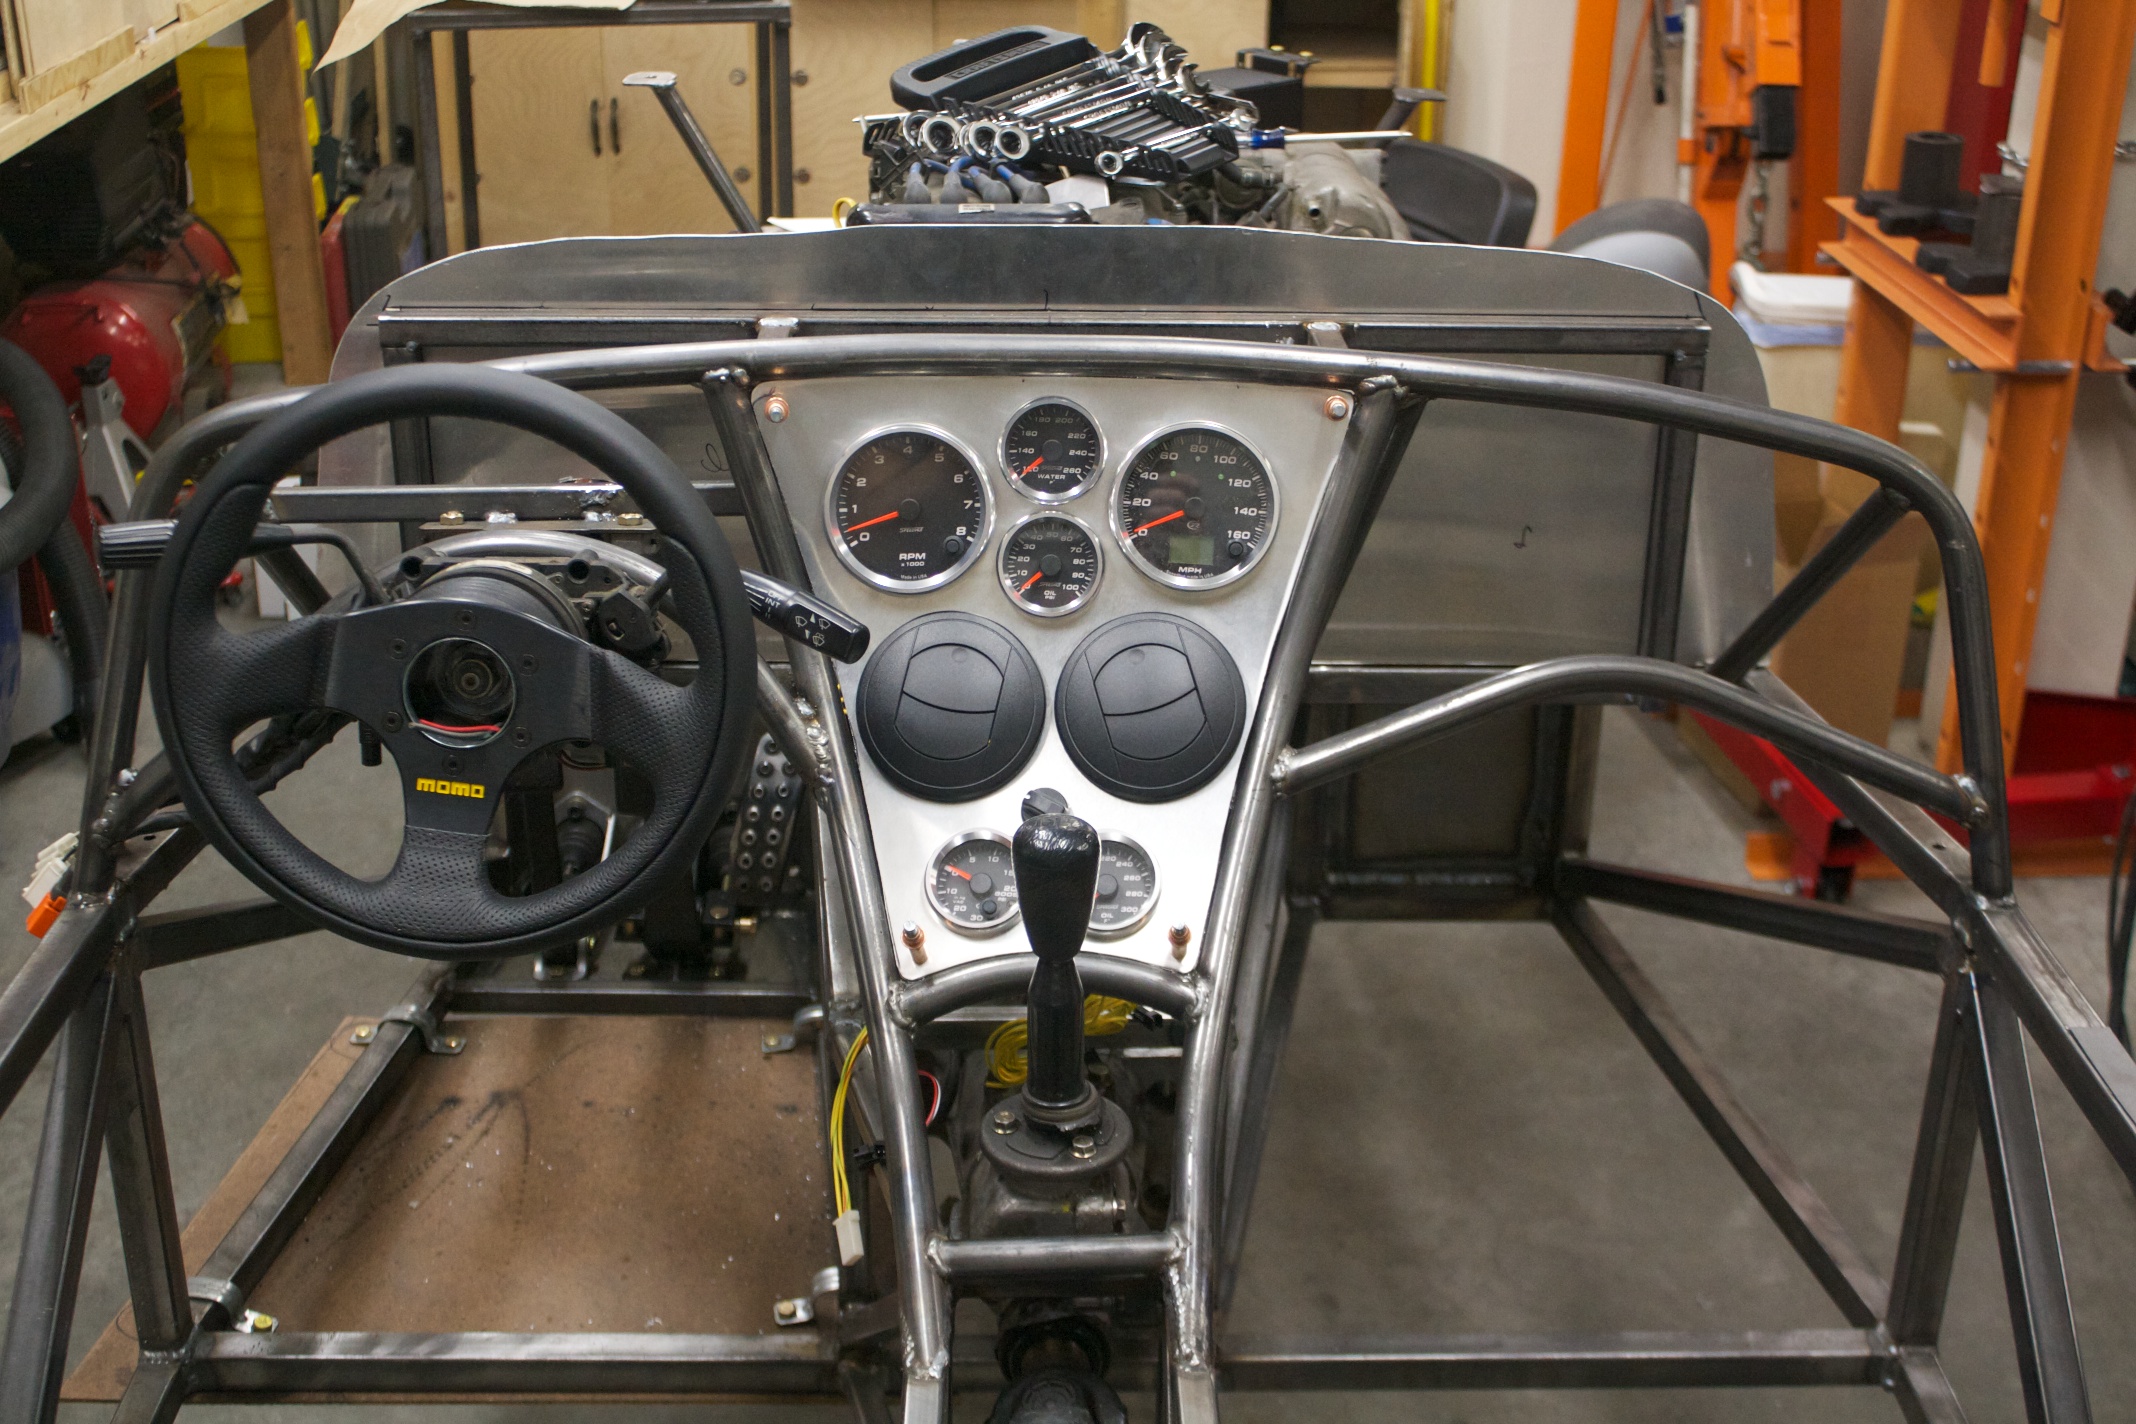
I’ve continued my streak of working a lot in the garage lately, and have made a pretty exciting addition to the car: I finished the gauge cluster! It makes a dramatic visual difference in the way the car looks. I wound up deciding to have the gauge cluster panel screw in with 4 screws from the front, rather than try to go for some fancy hidden fastener approach like I was originally contemplating. I first made a steel frame that just outlined the shape of the gauge cluster panel, and welded that on to the chassis; this serves as the bracket that the gauge cluster panel actually mounts to. After this point, it was just a matter of lining up all the gauges correctly, drilling the holes, grinding/fitting the panel, and mounting it. I haven’t done the other two dashboard panels yet but they will be done in a similar fashion after the car has been driven.
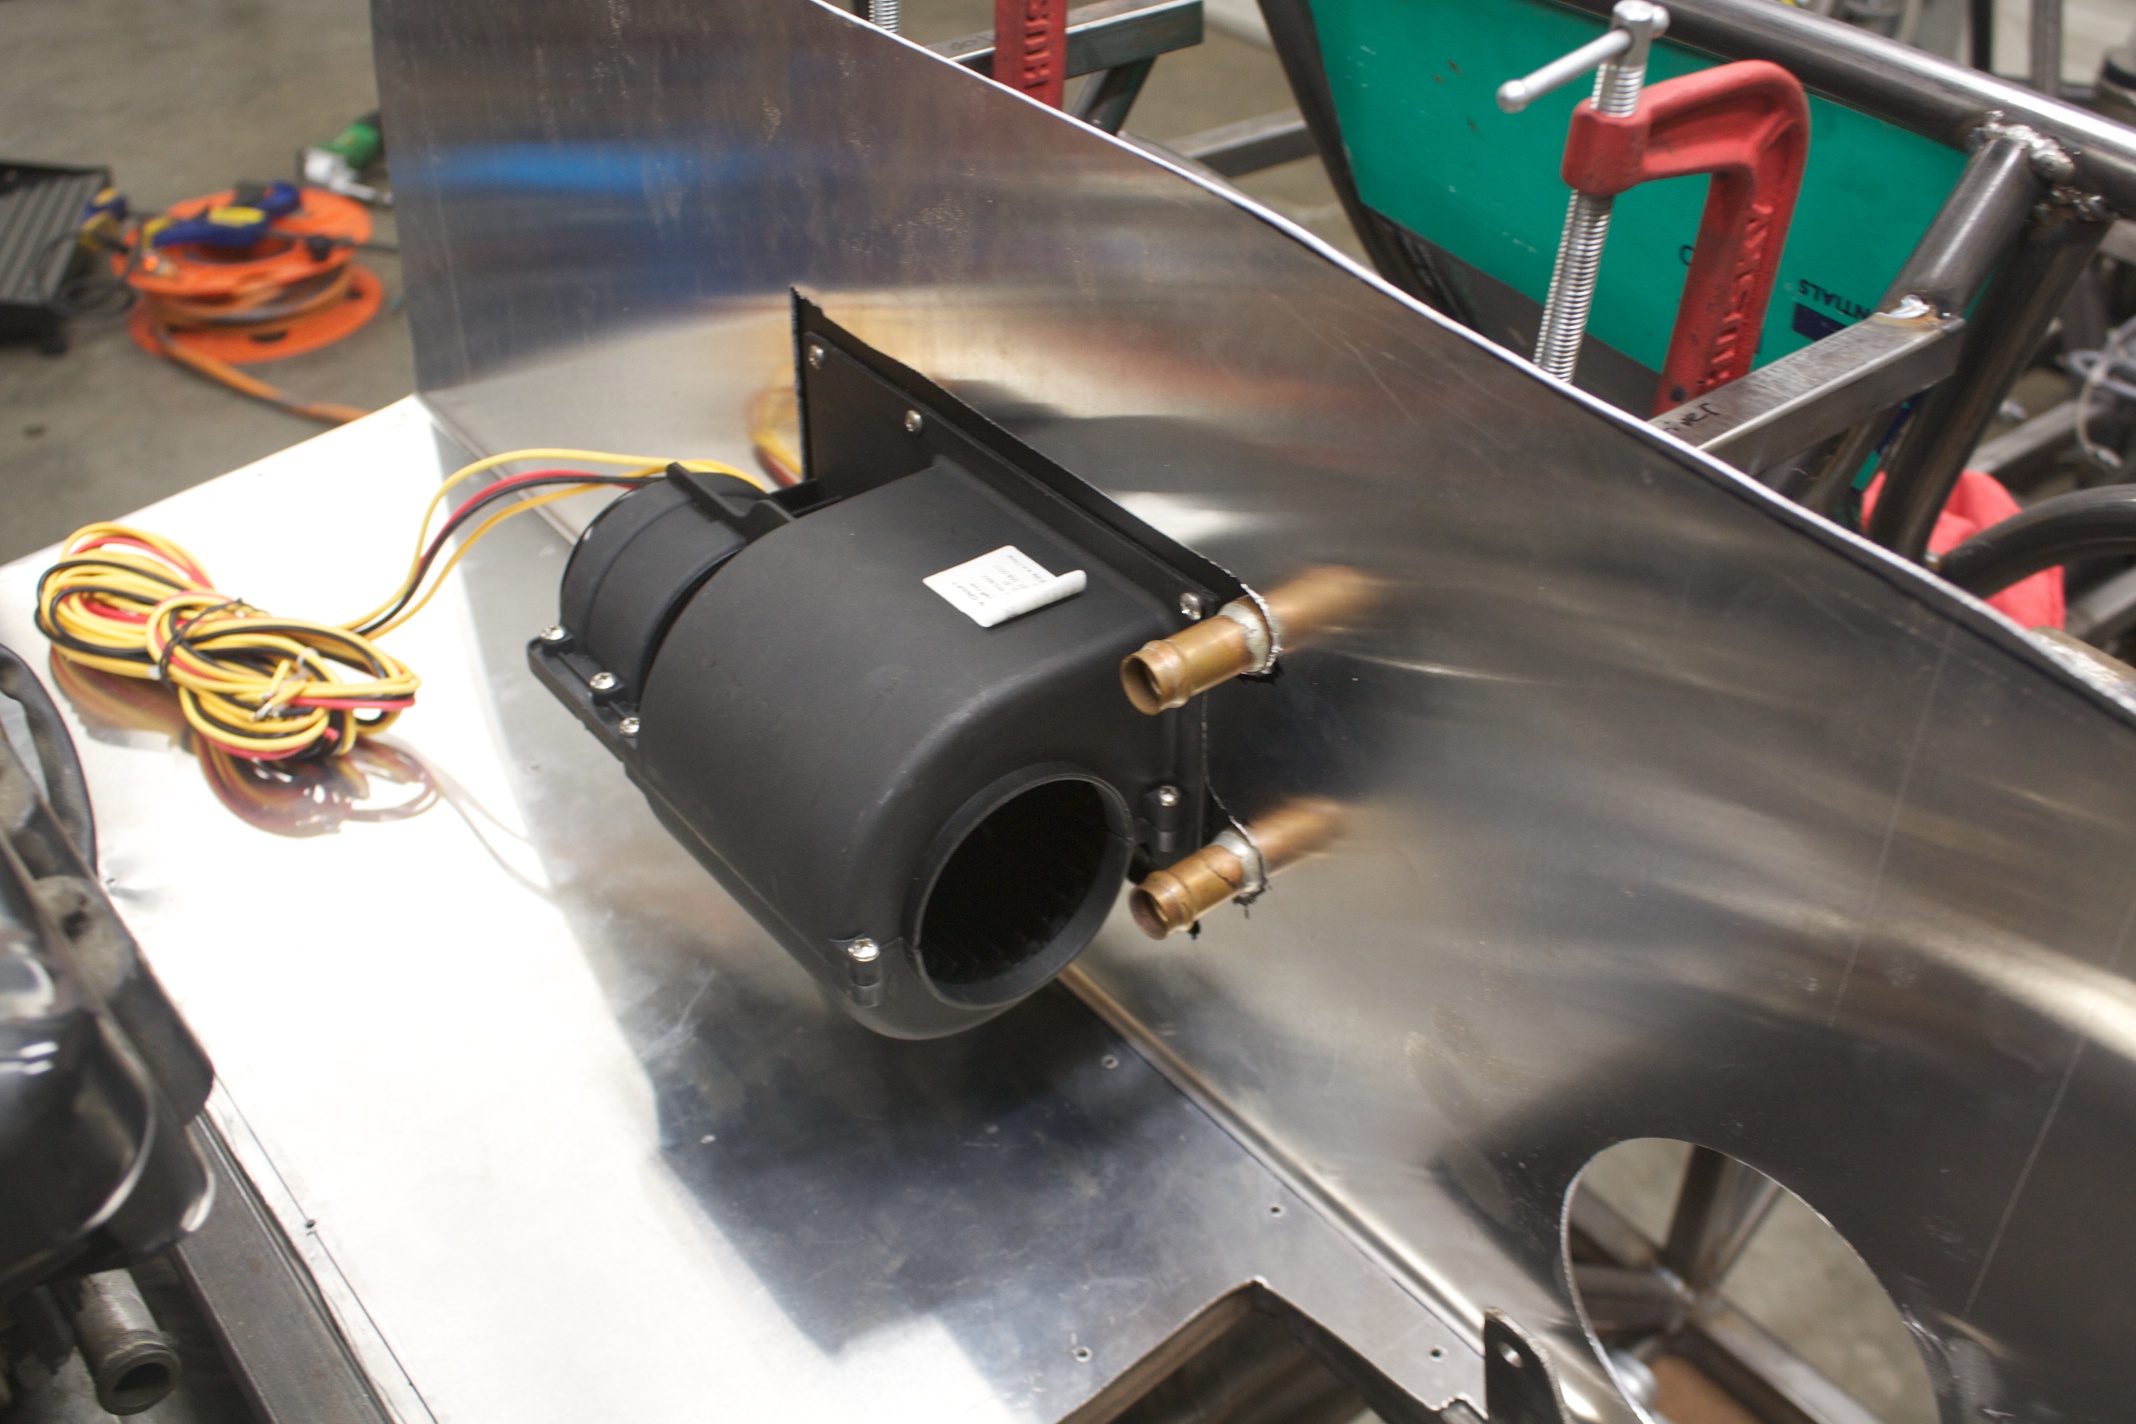
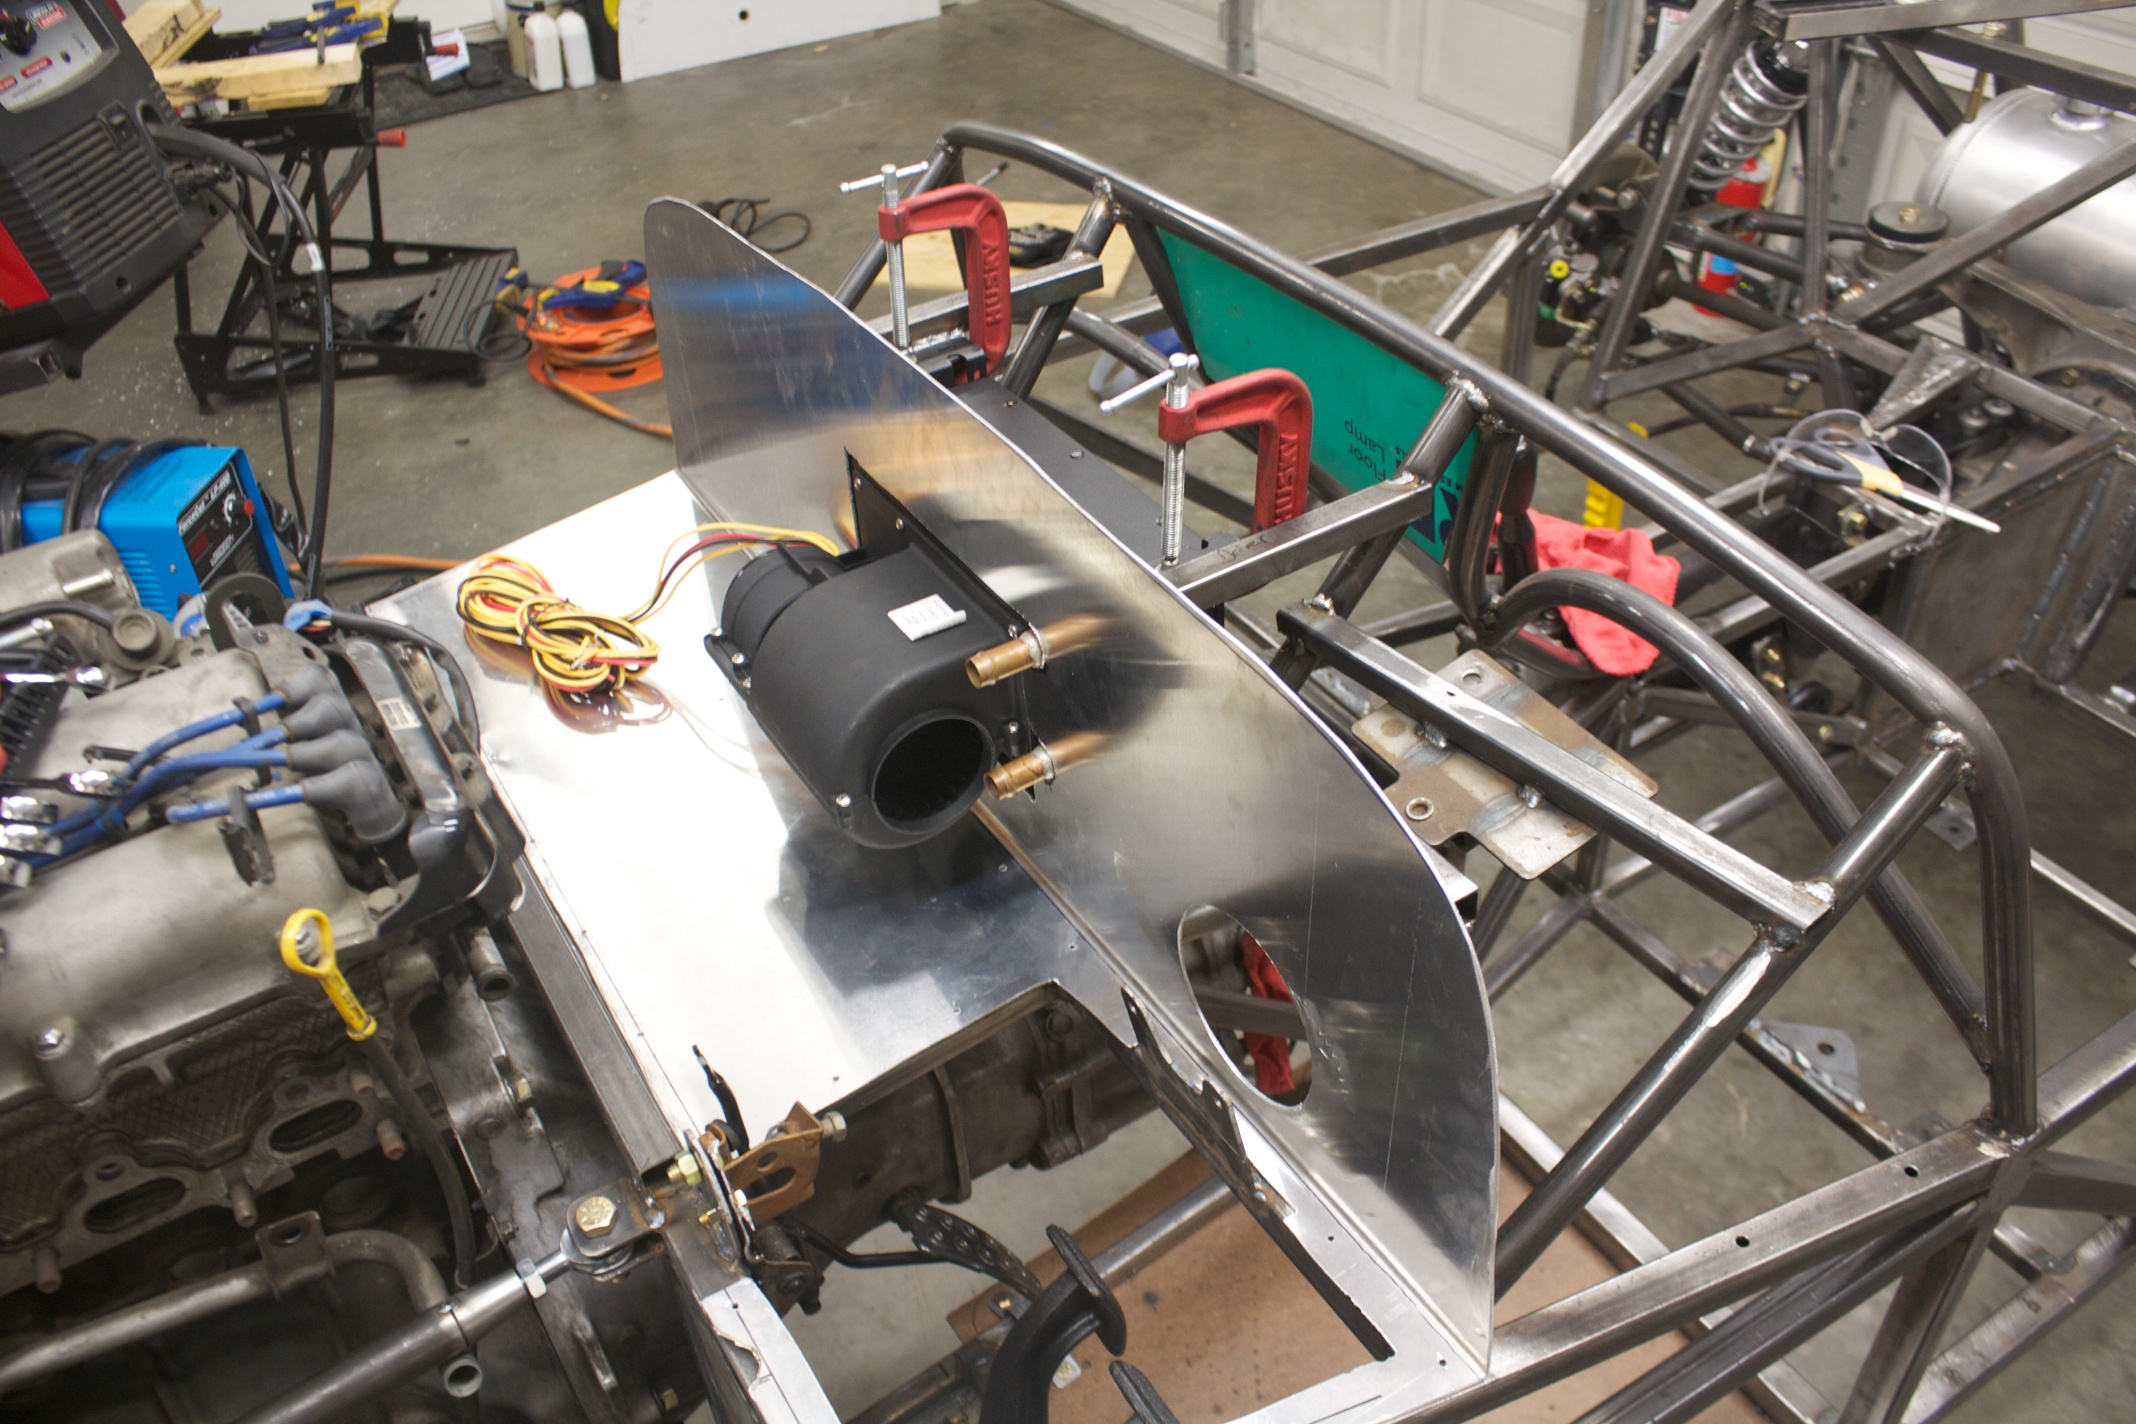
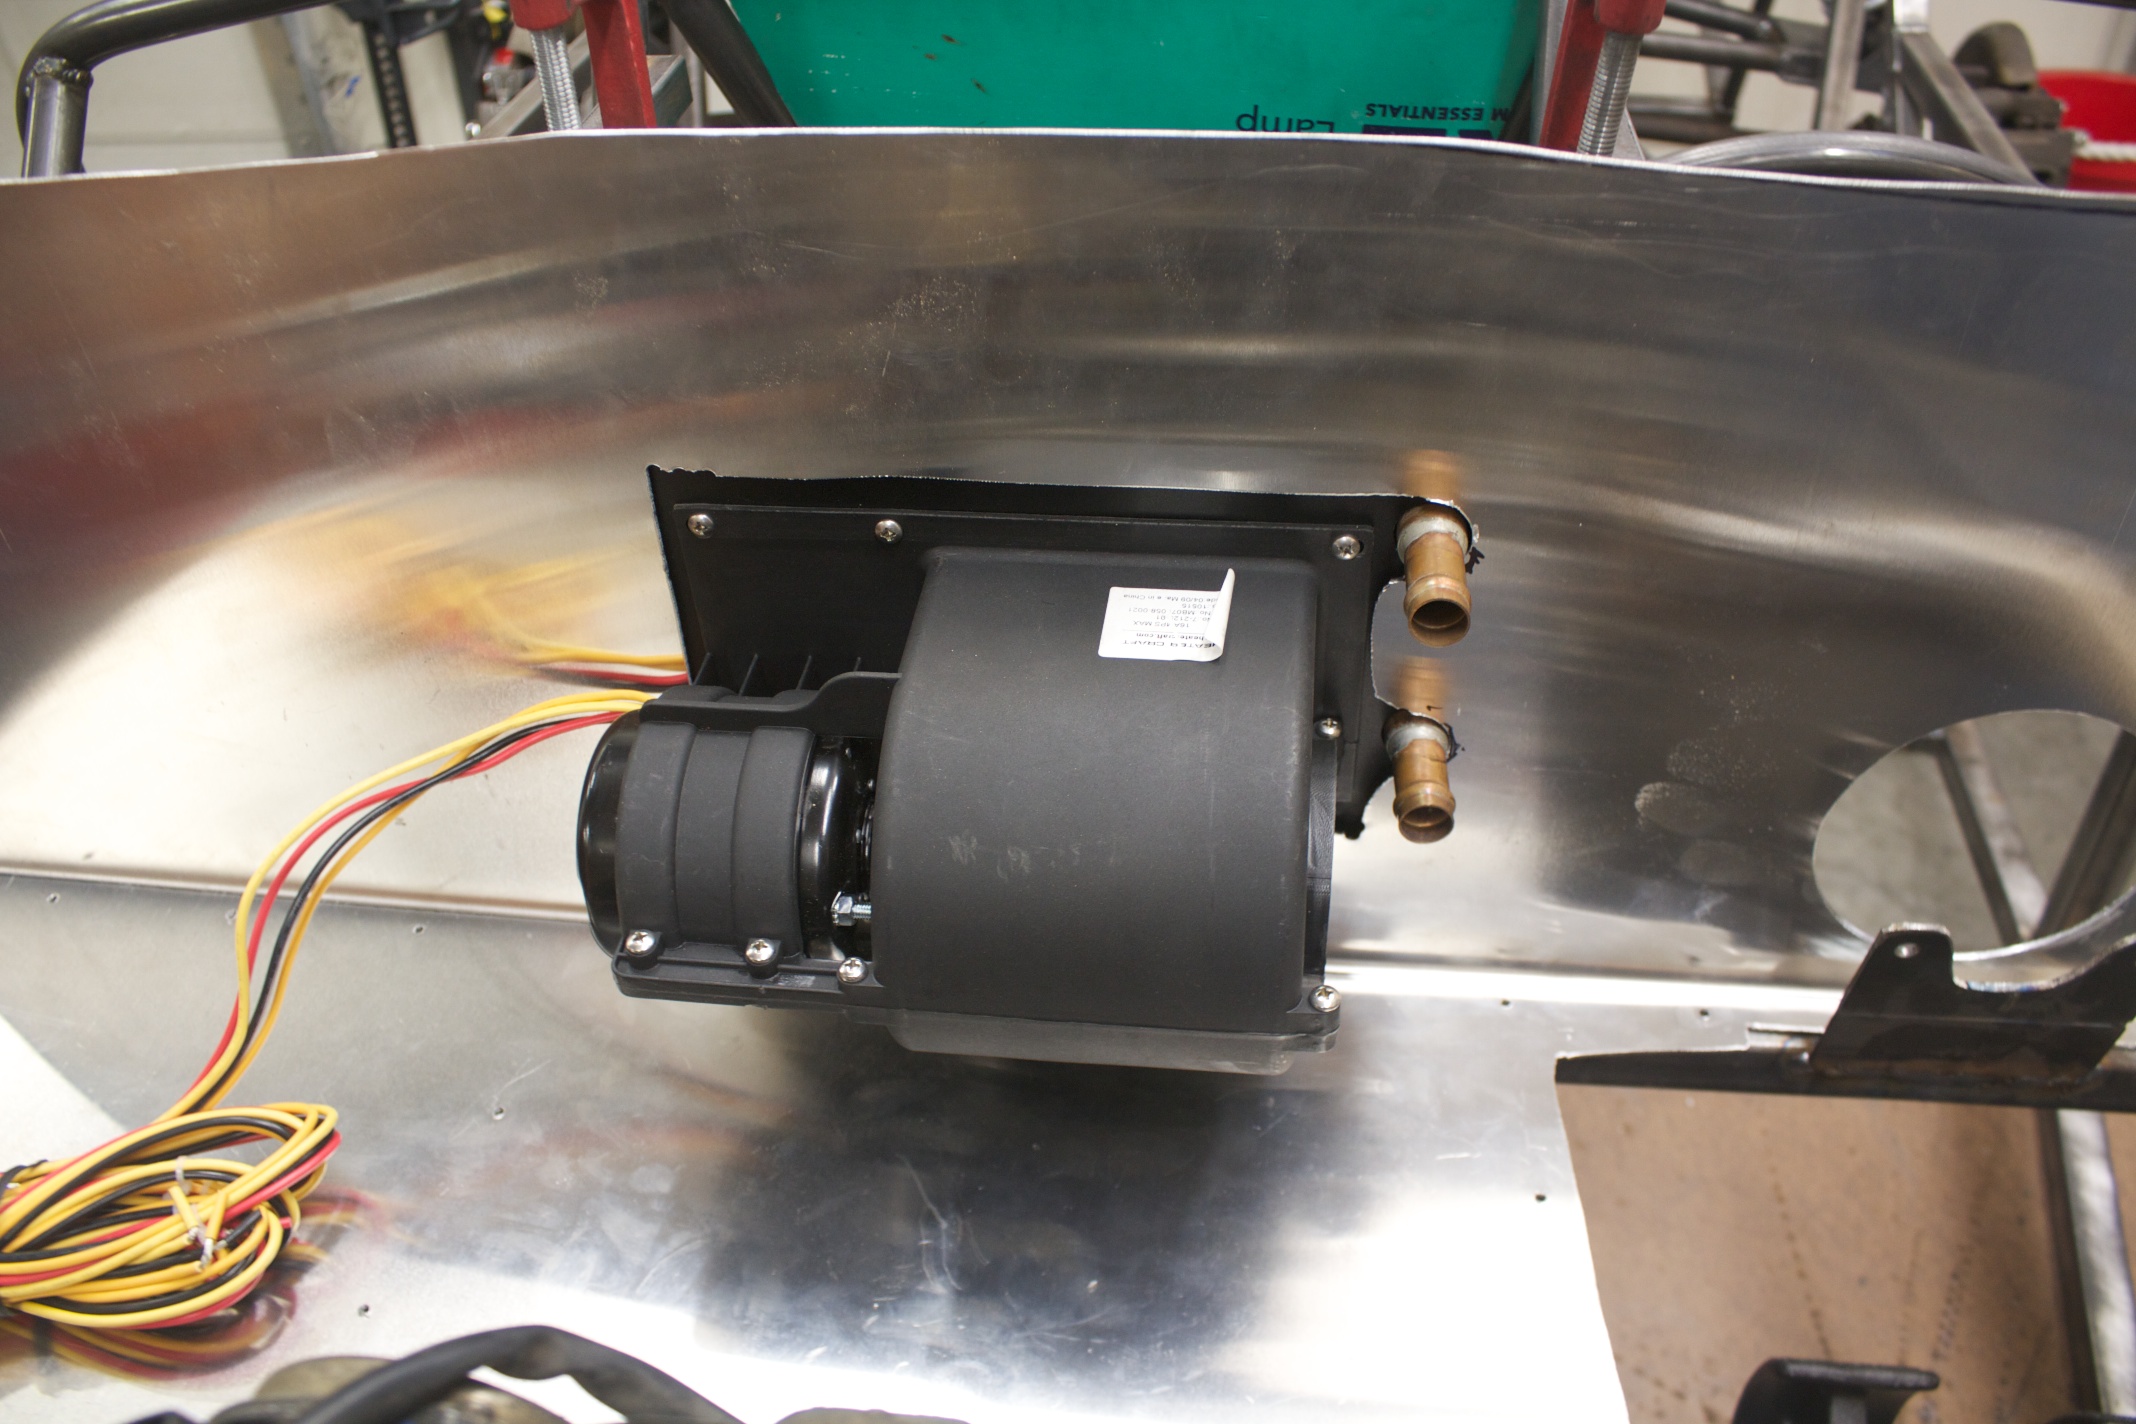
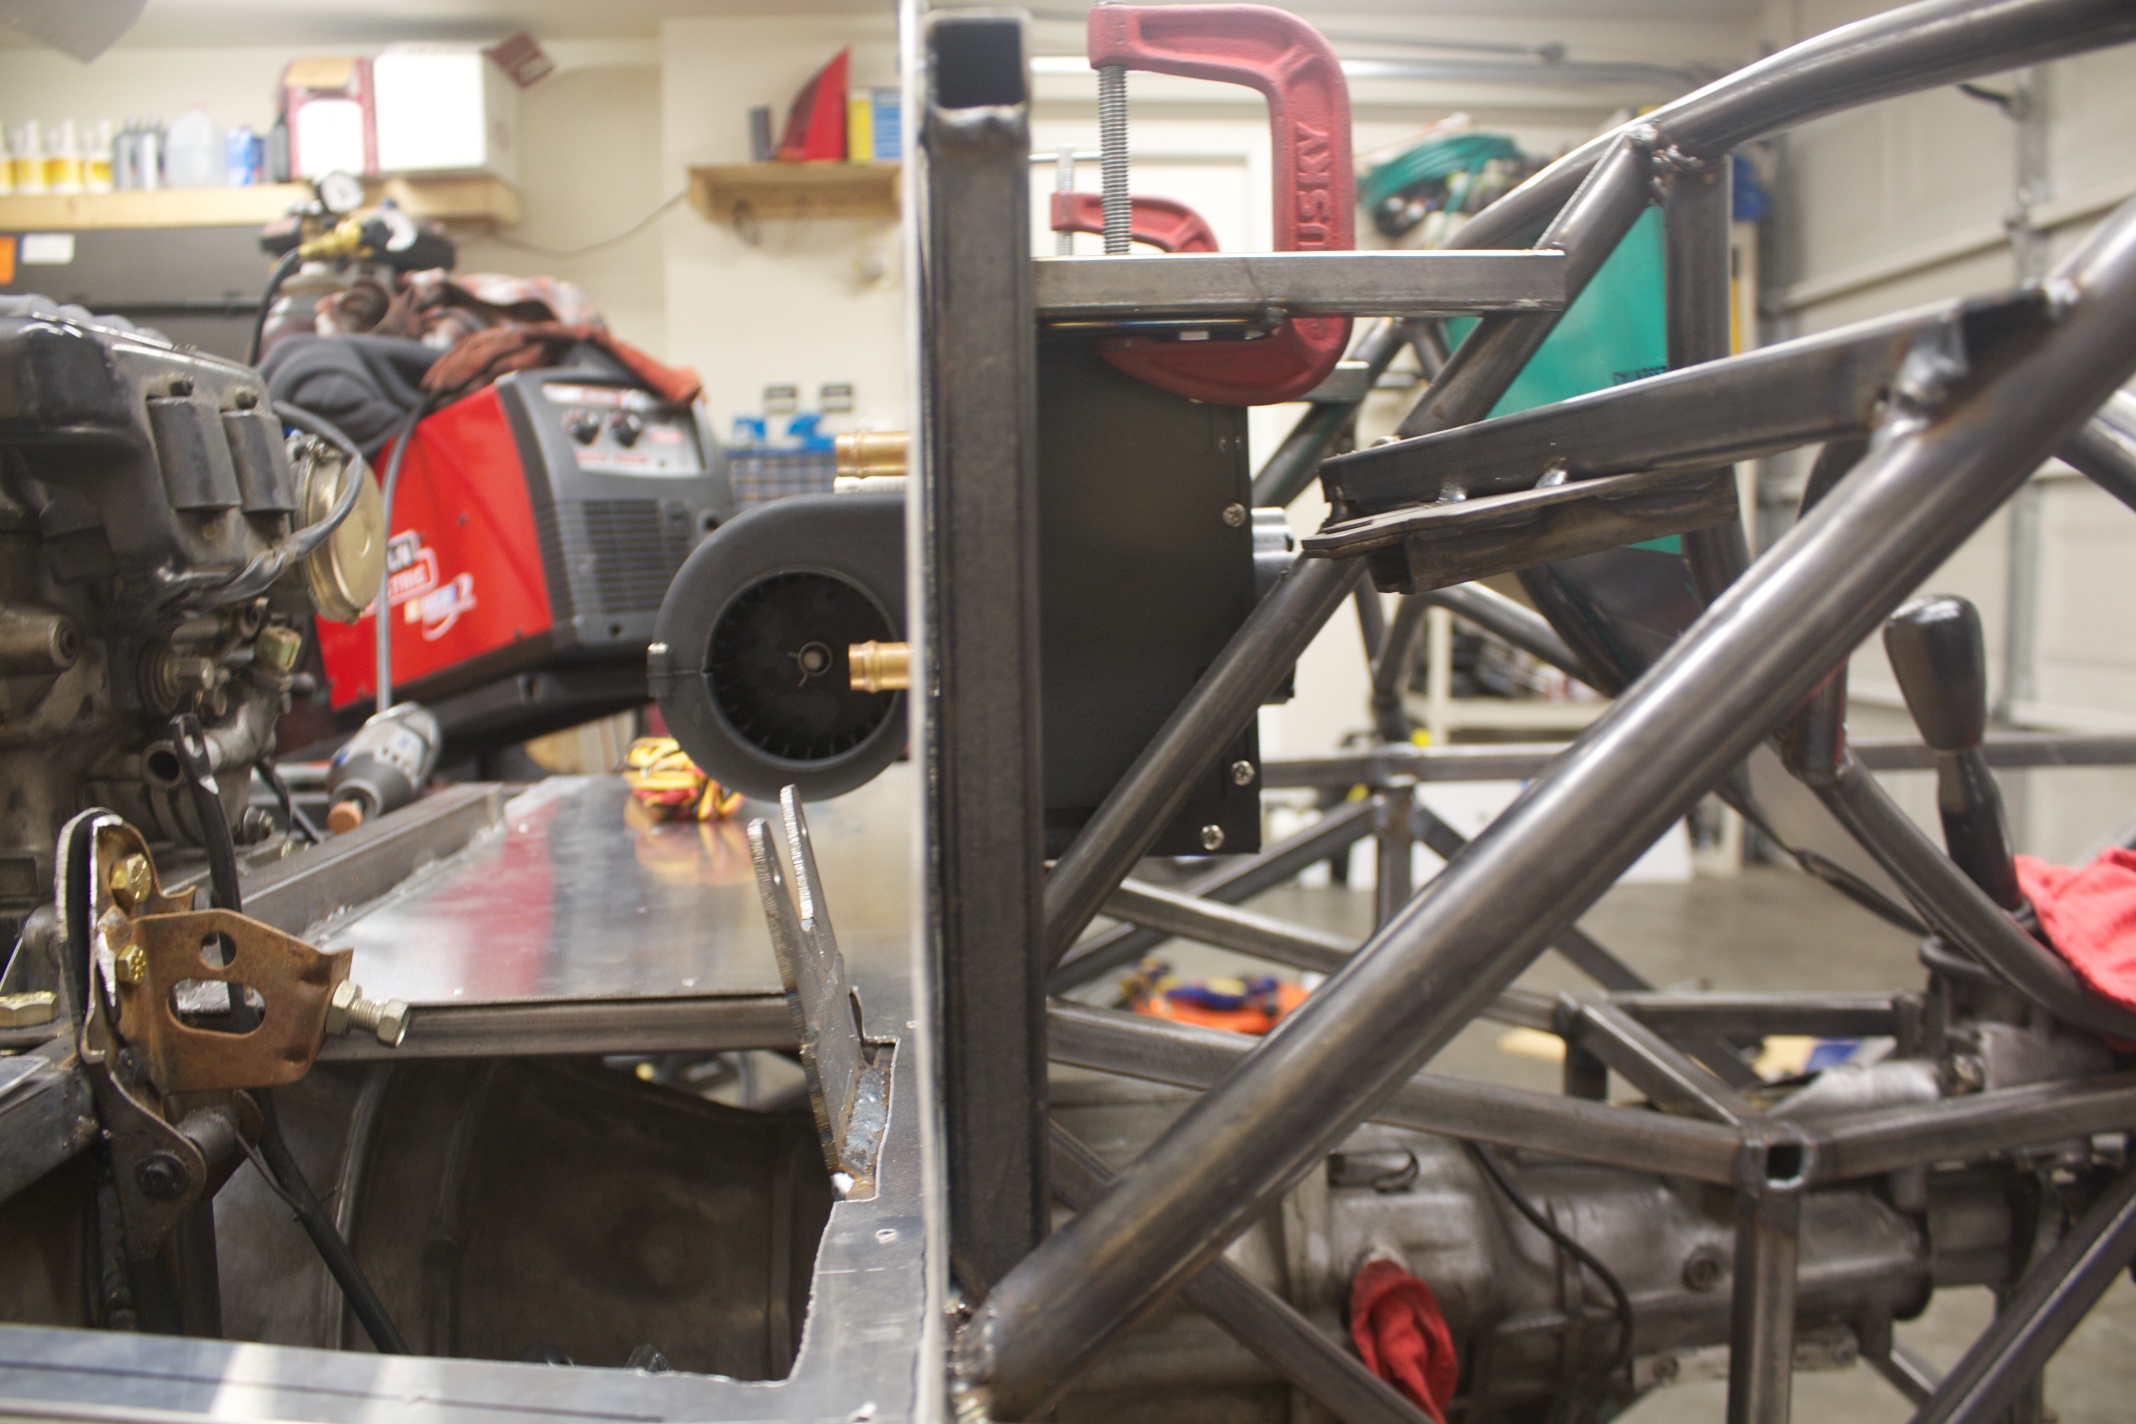
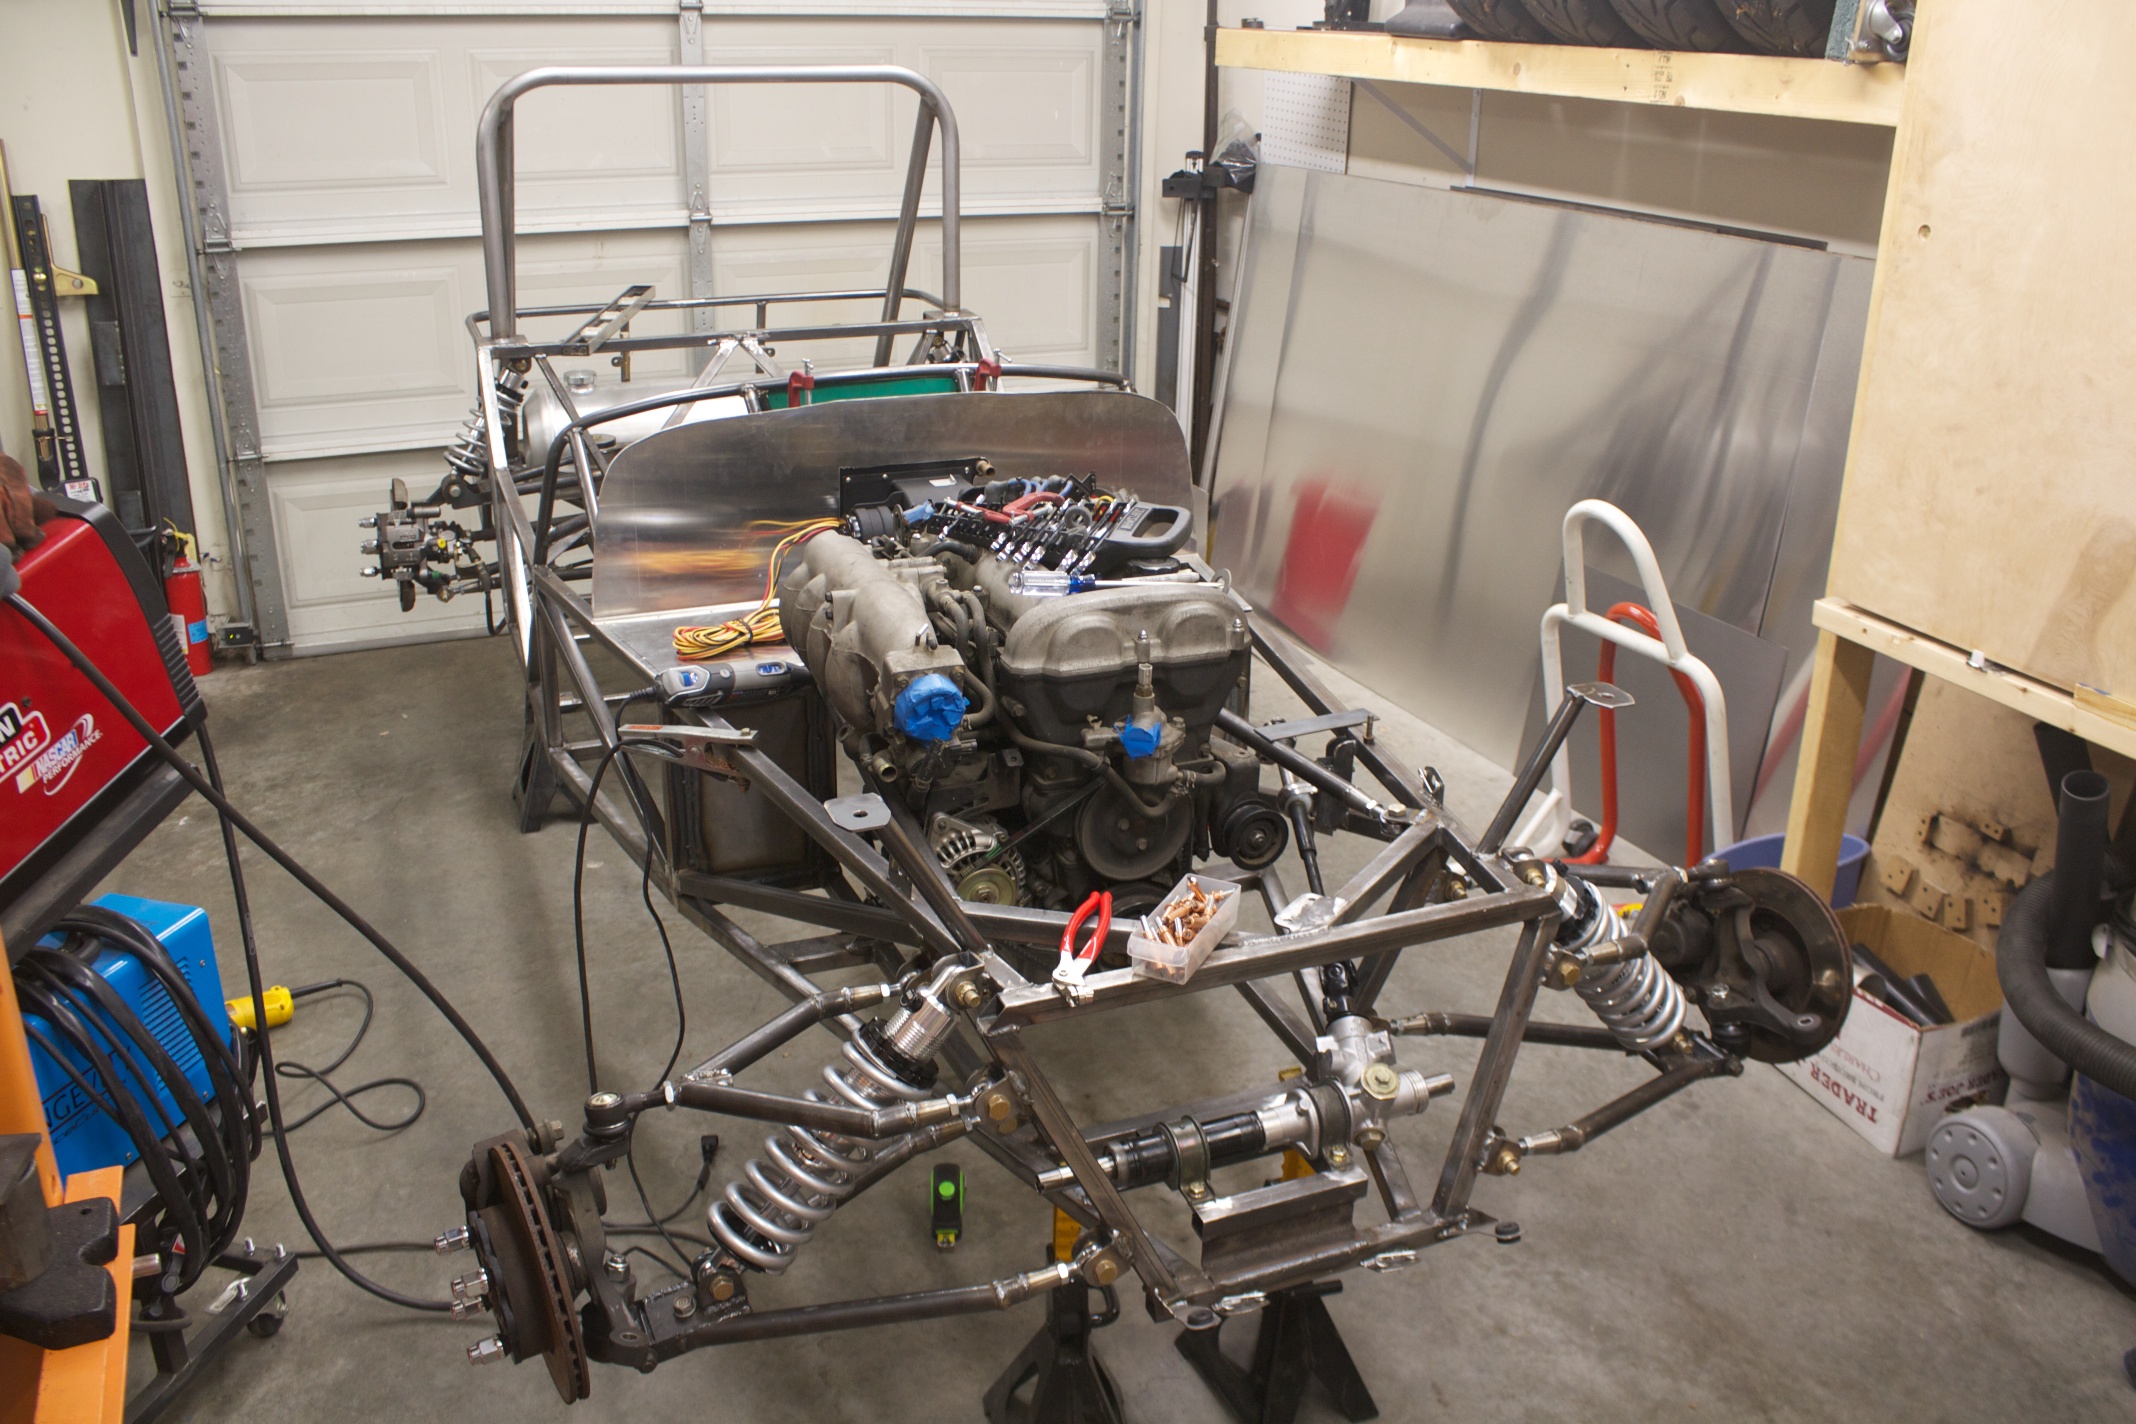
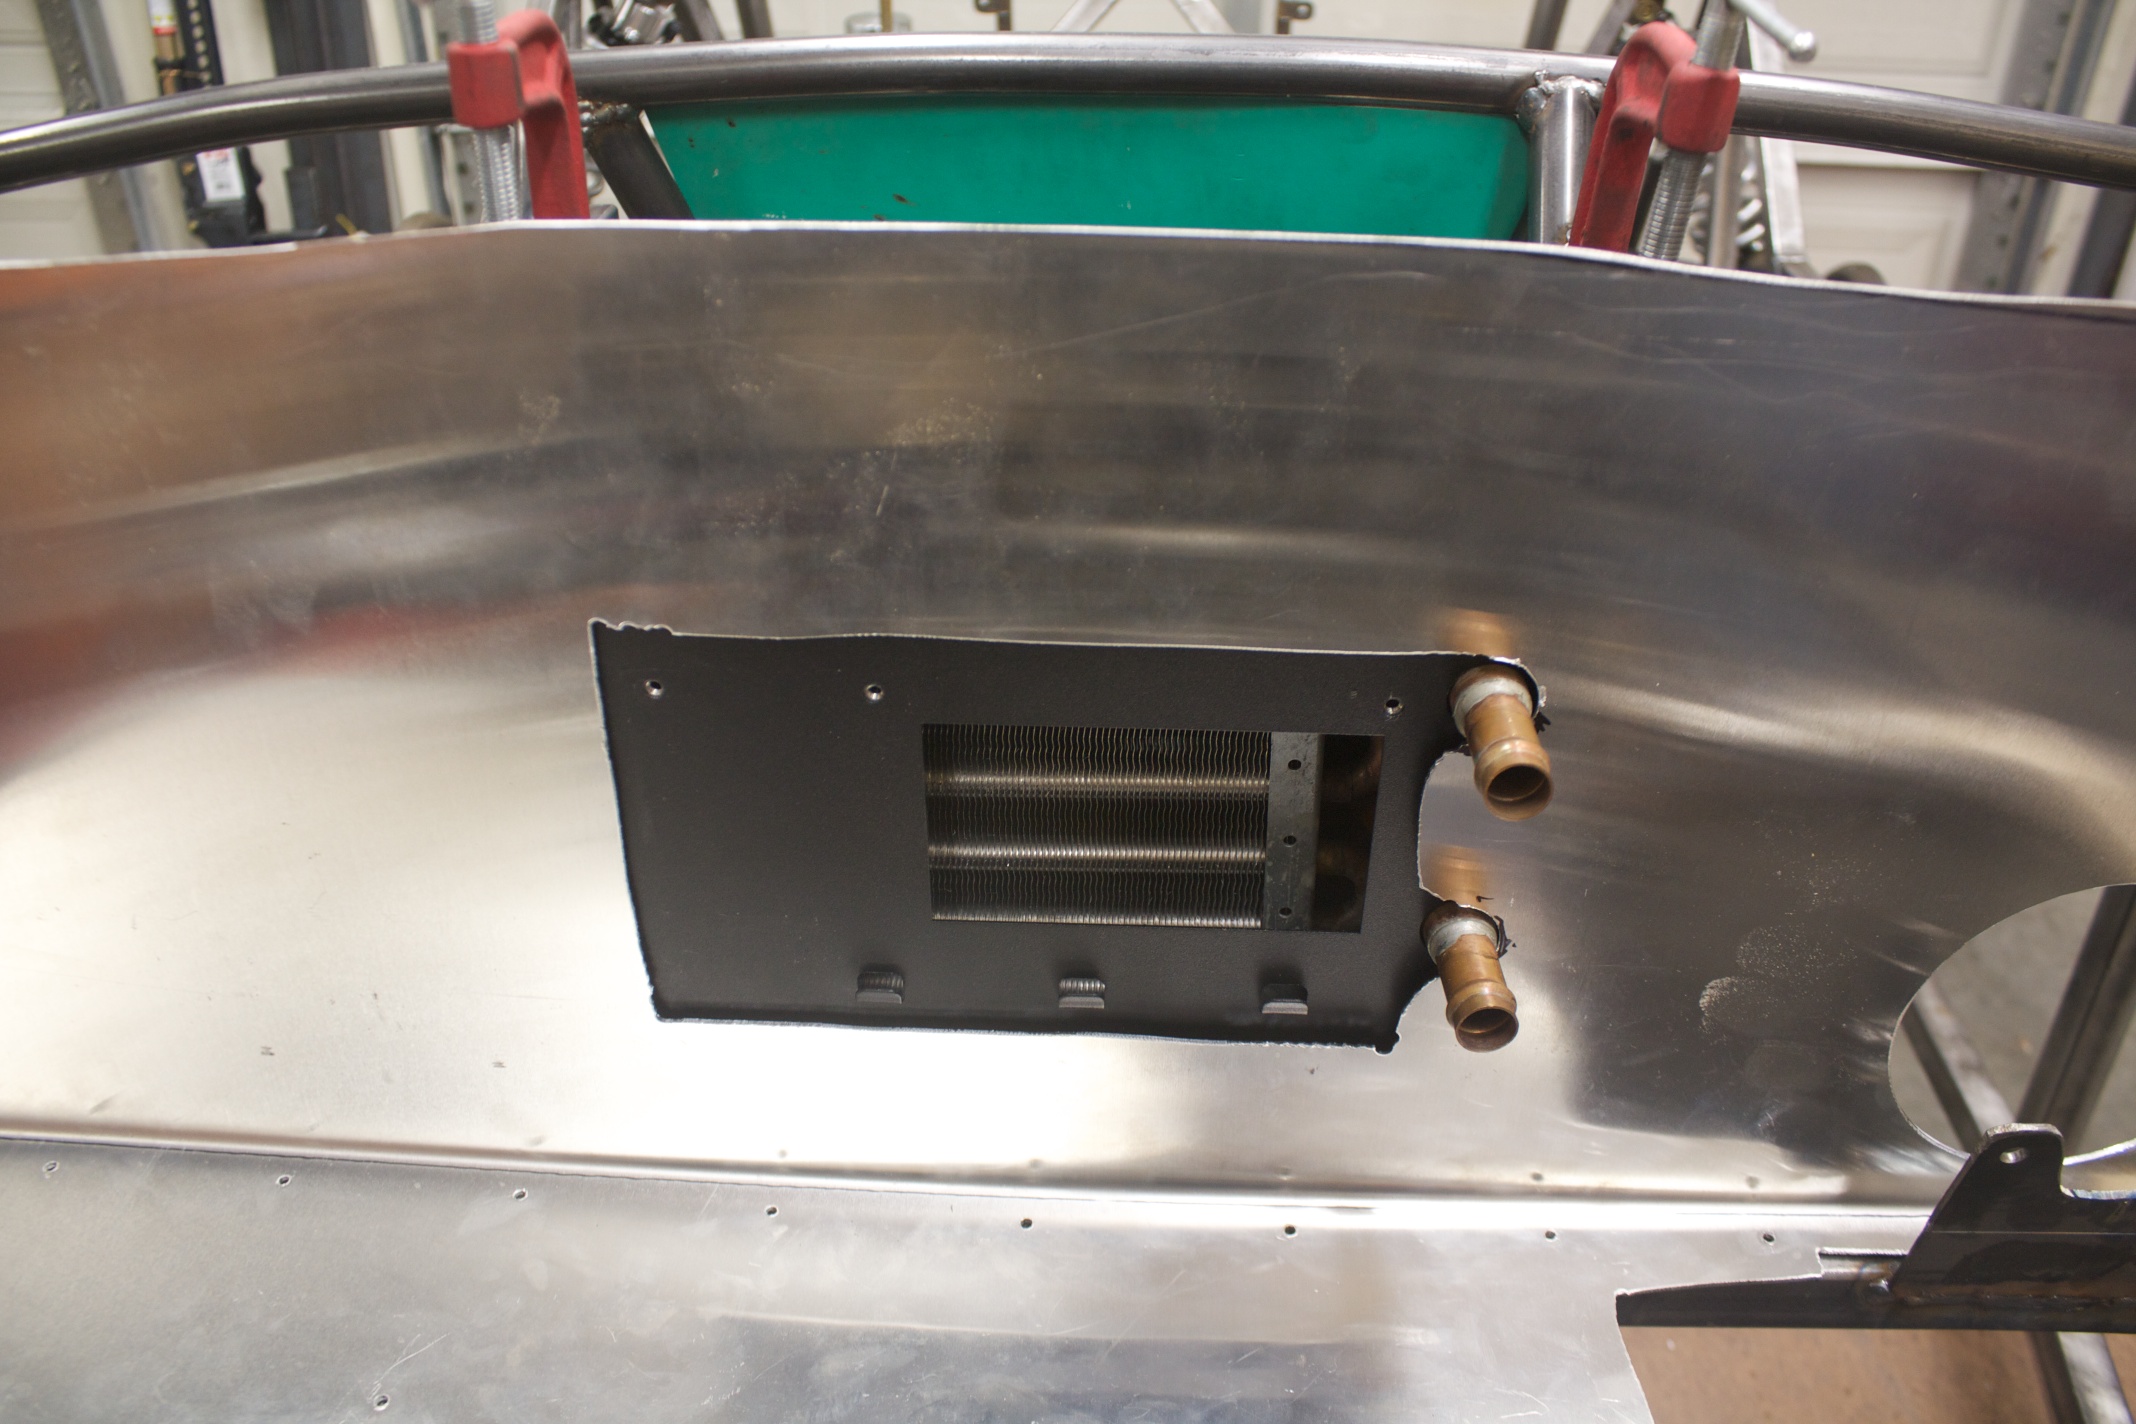
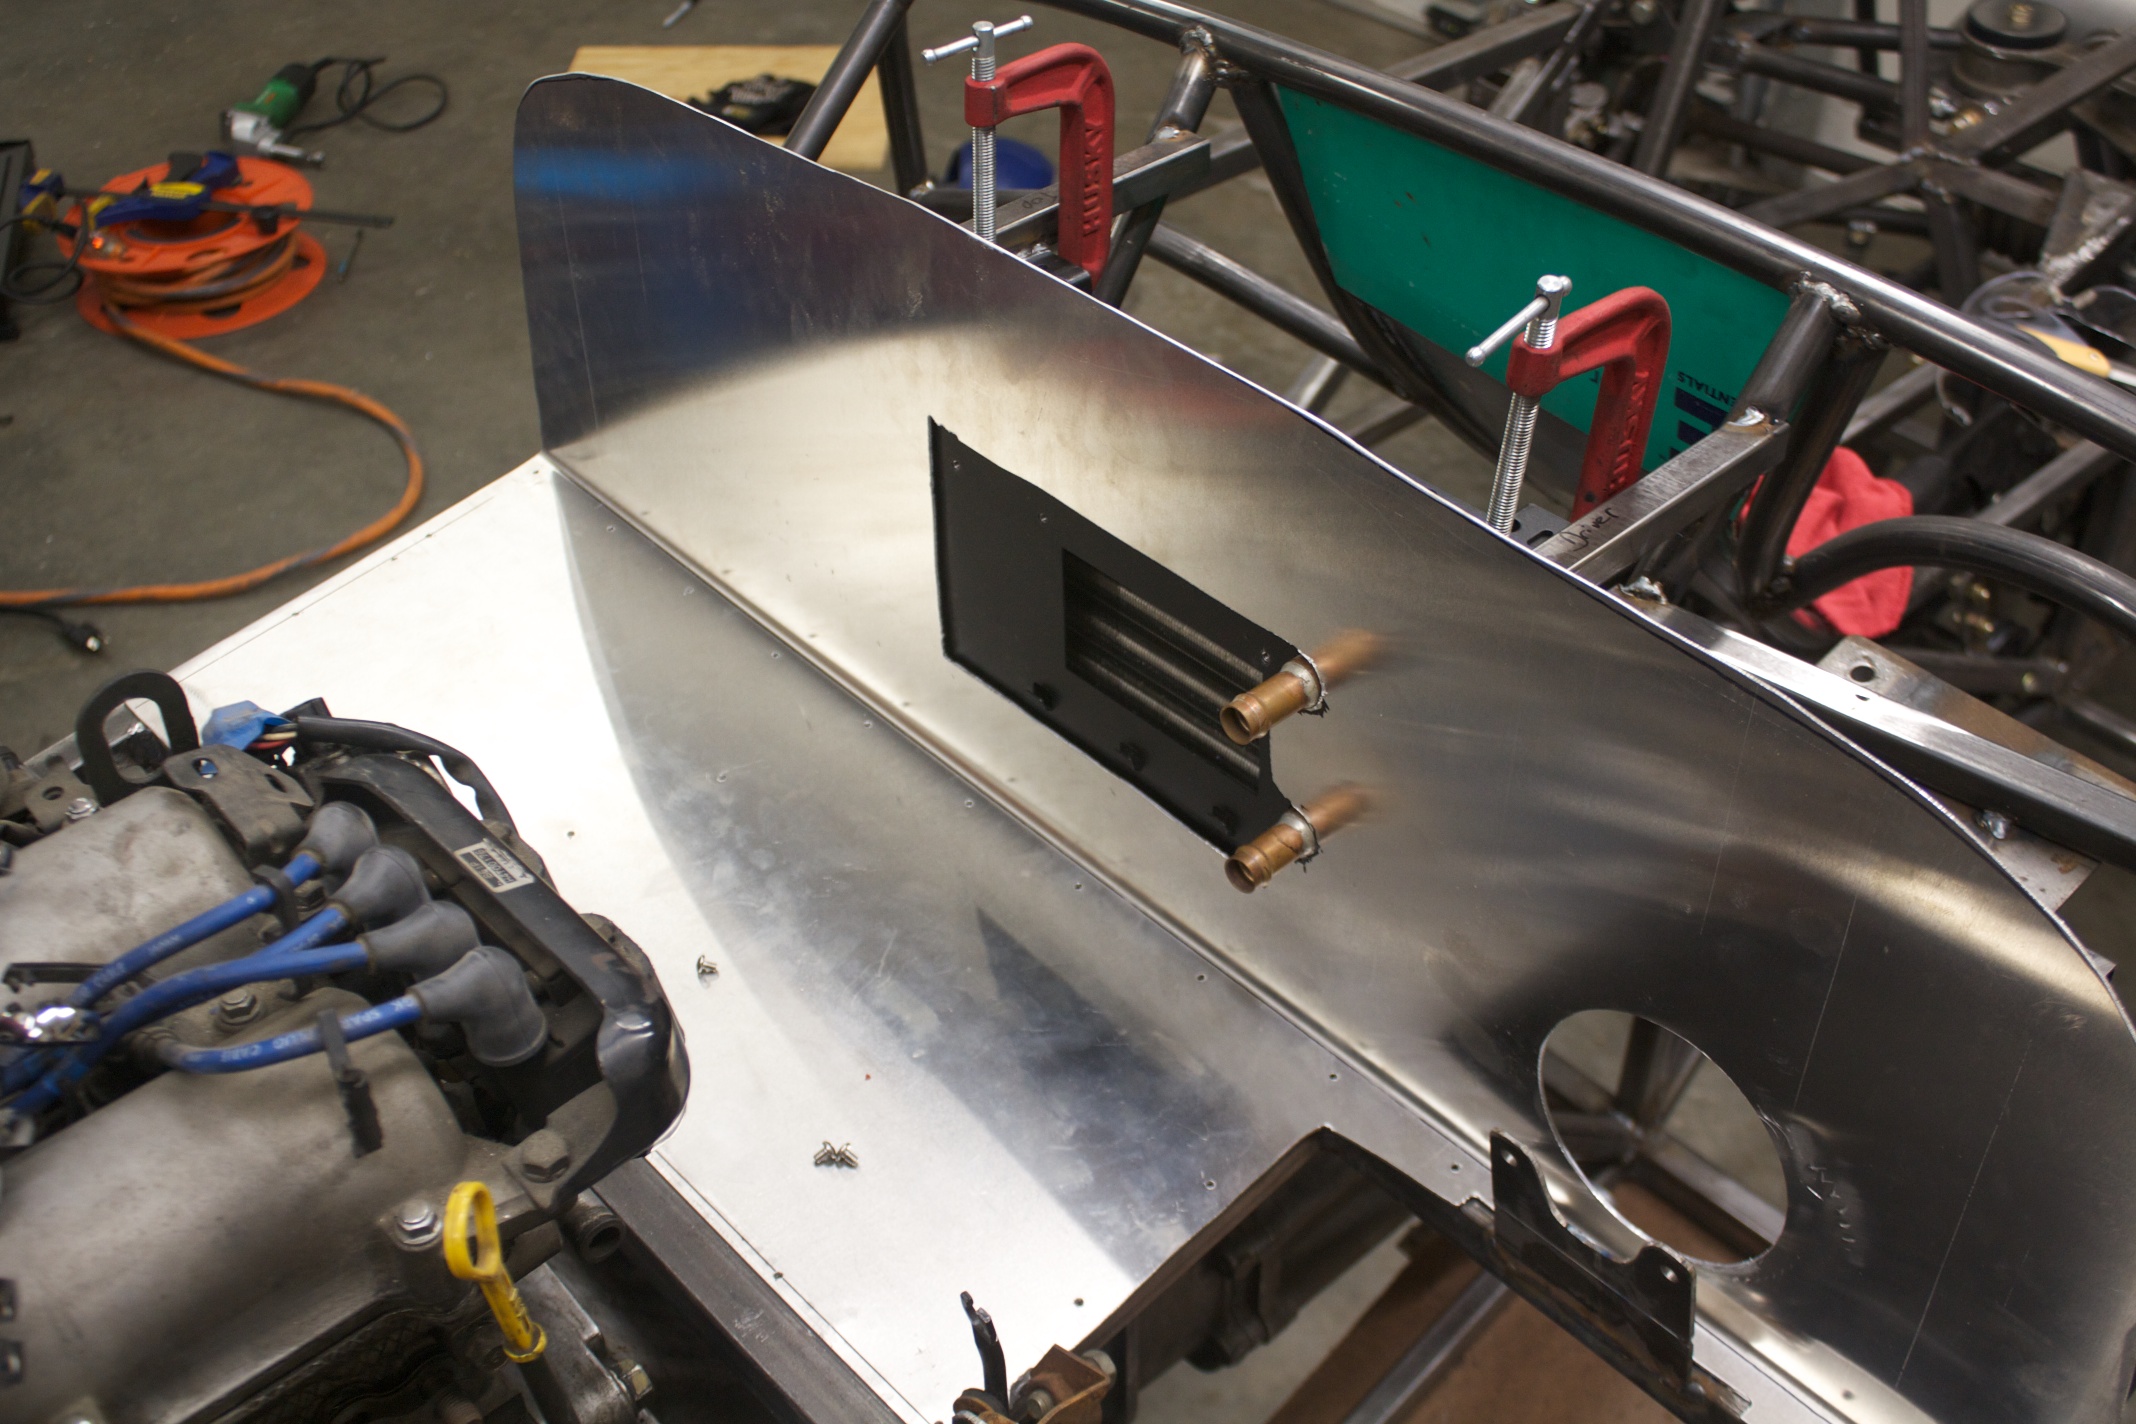
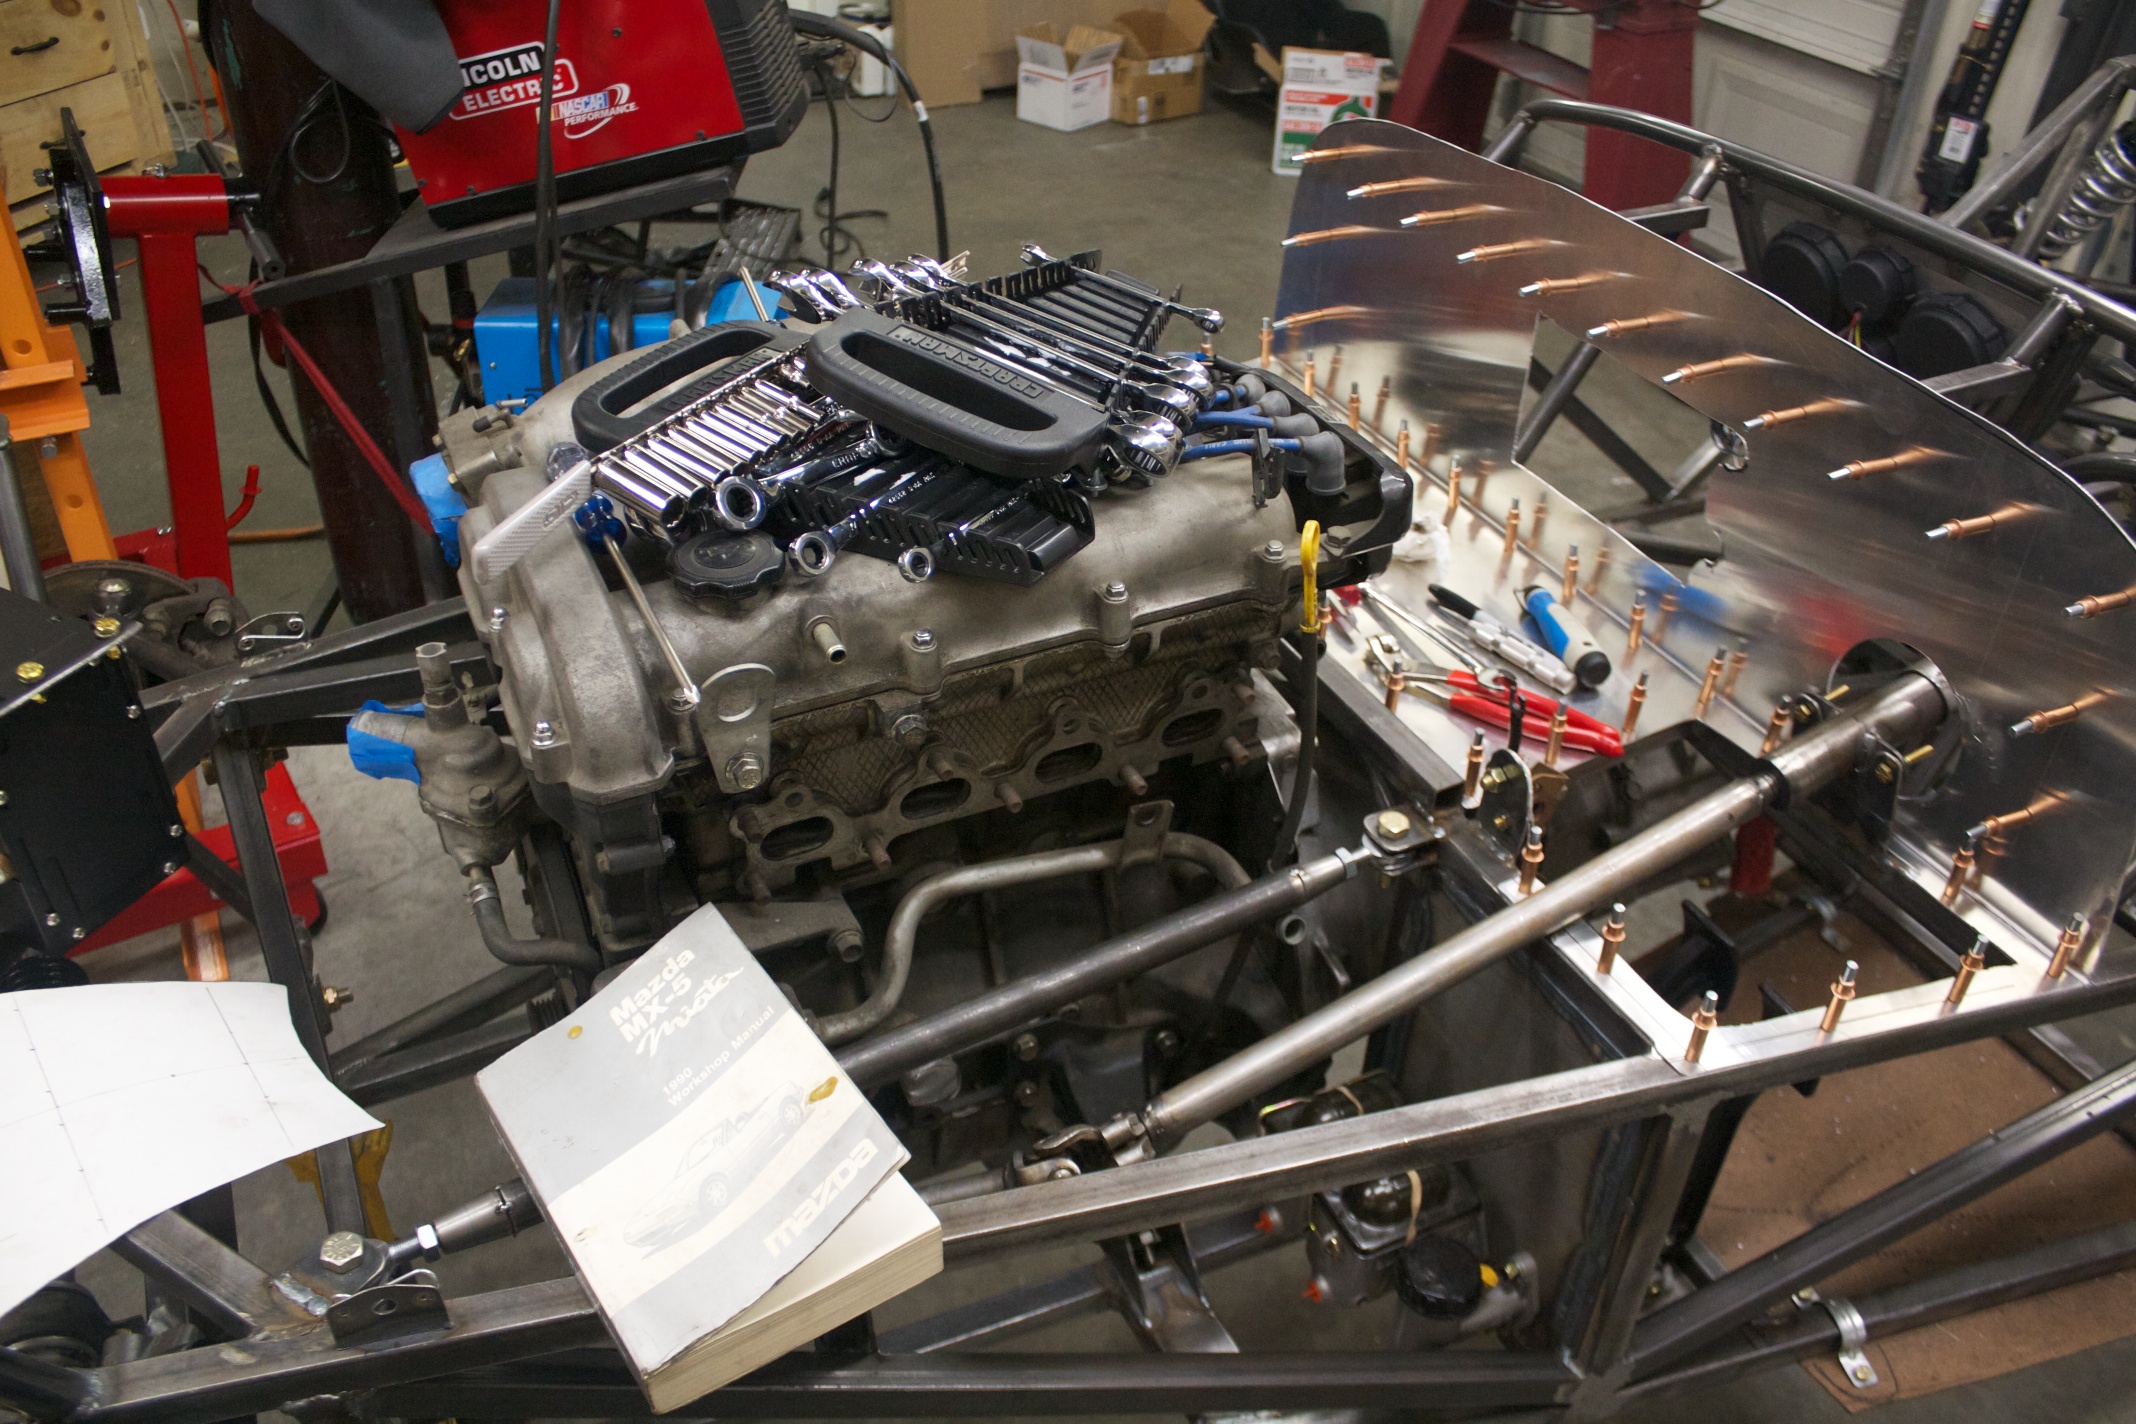
Another exciting development is that I mounted the heater, and in doing so finished the mounting for the firewall aluminum. I created a vertical hoop using 3/4″ tubing that serves to support the aluminum and also to provide support for the brackets which the heater mounts to. On the aluminum side, this makes the firewall nice and sturdy should I decide to mount the car’s computer on this panel. The most challenging part in all of this was cutting the firewall correctly for the heater, as it is a two piece arrangement with one piece on the inner side of the firewall, and the other piece (the fan) on the engine side of the firewall. The pictures speak for themselves.
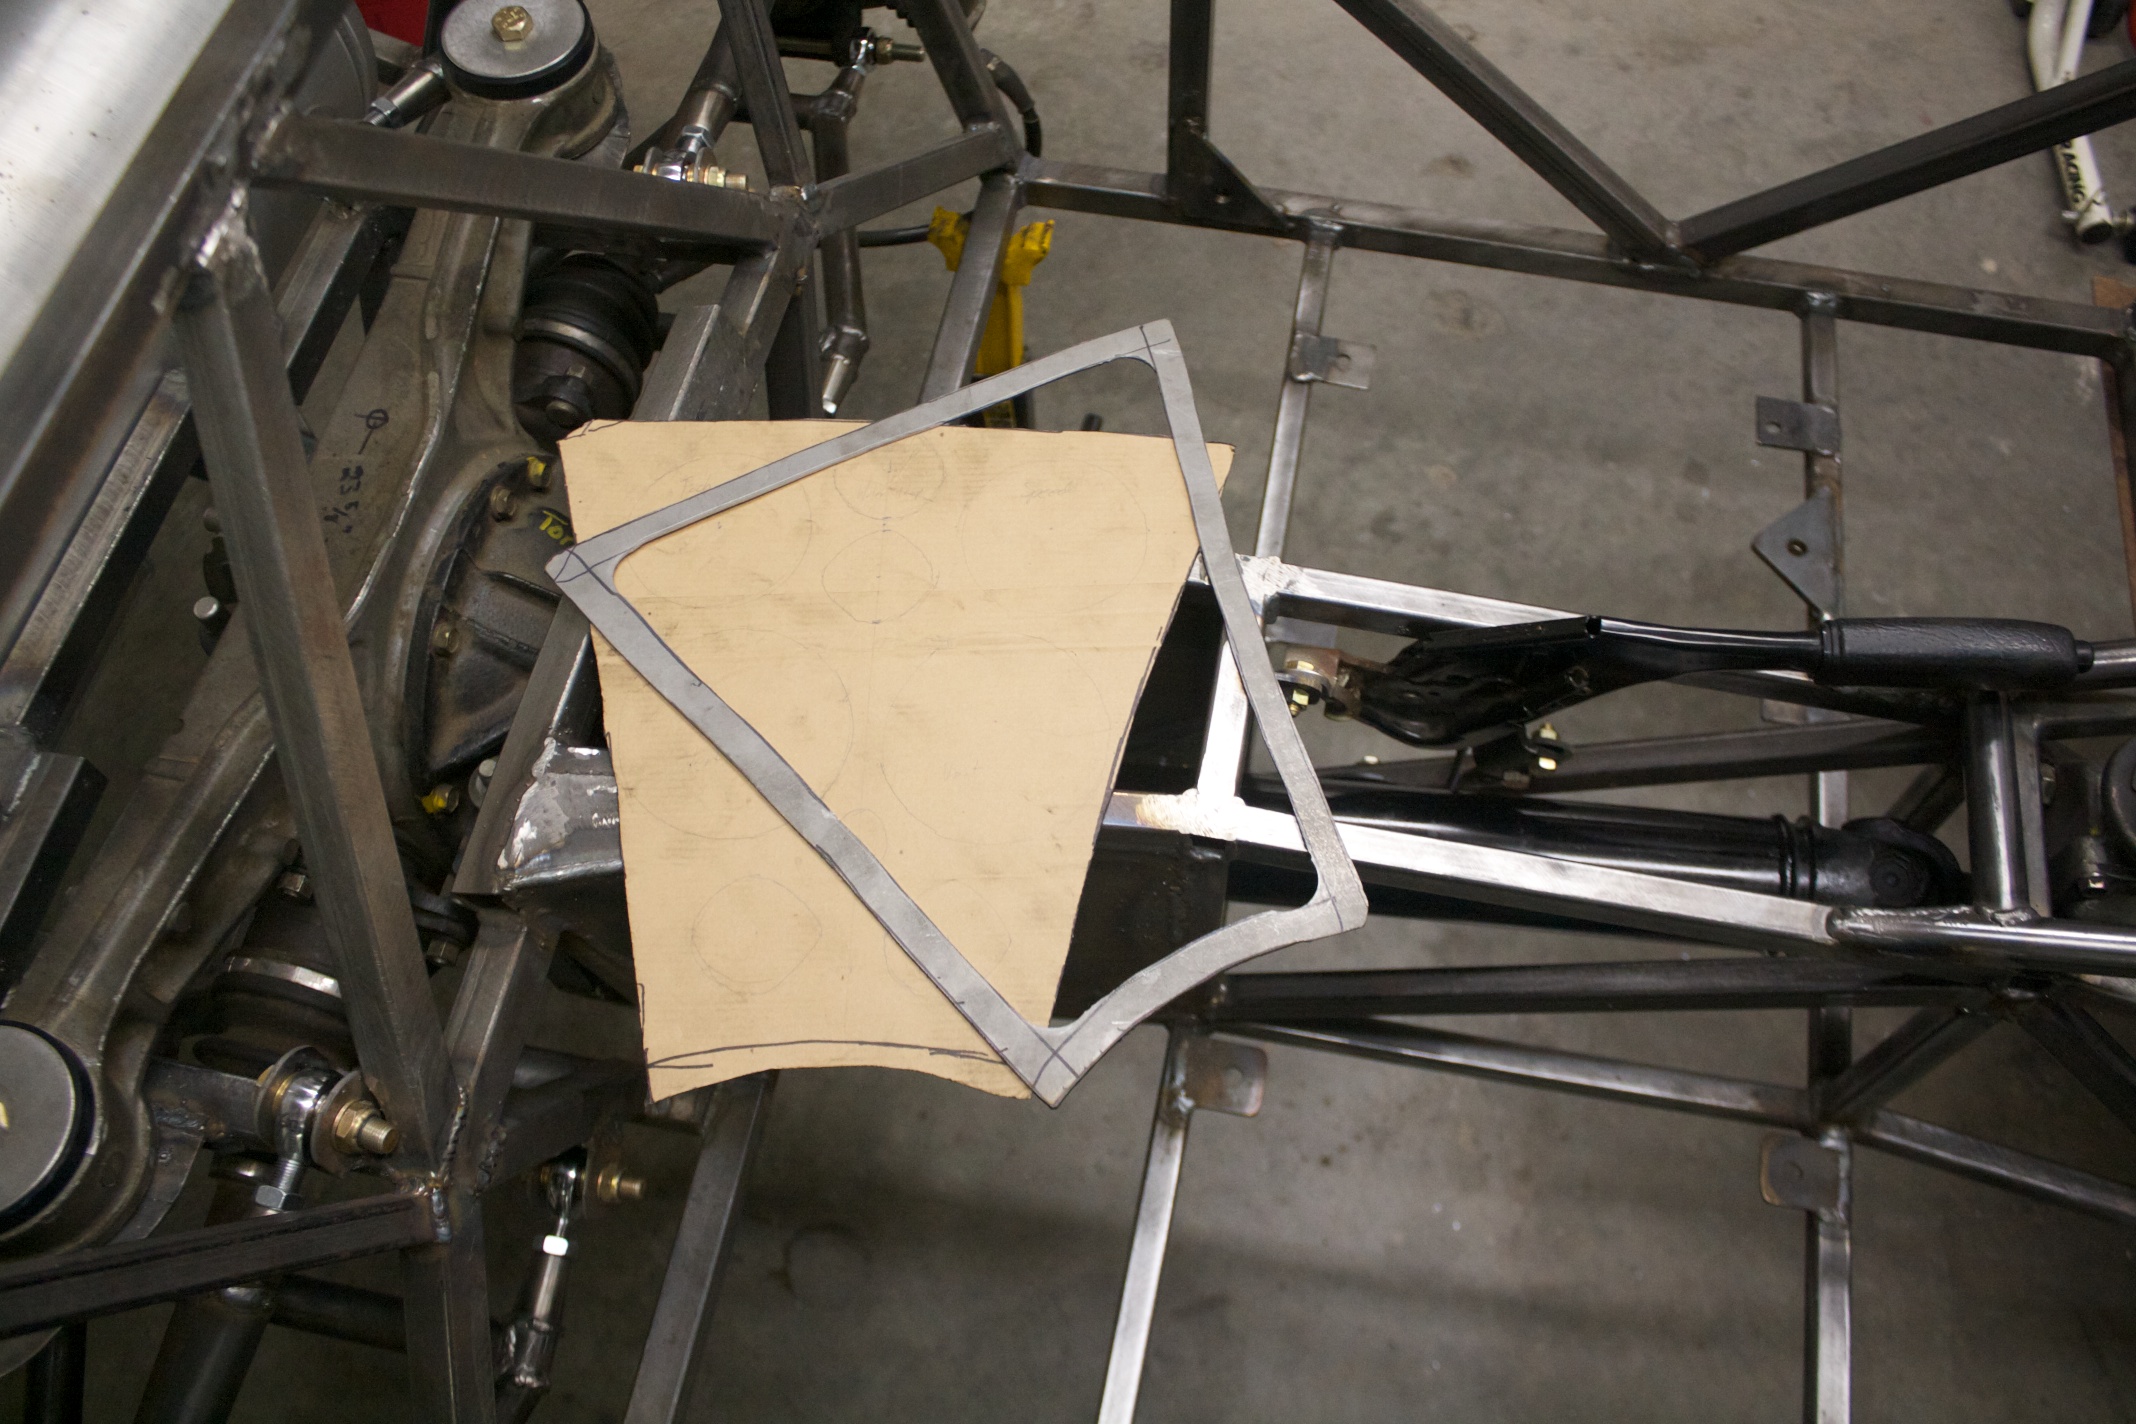
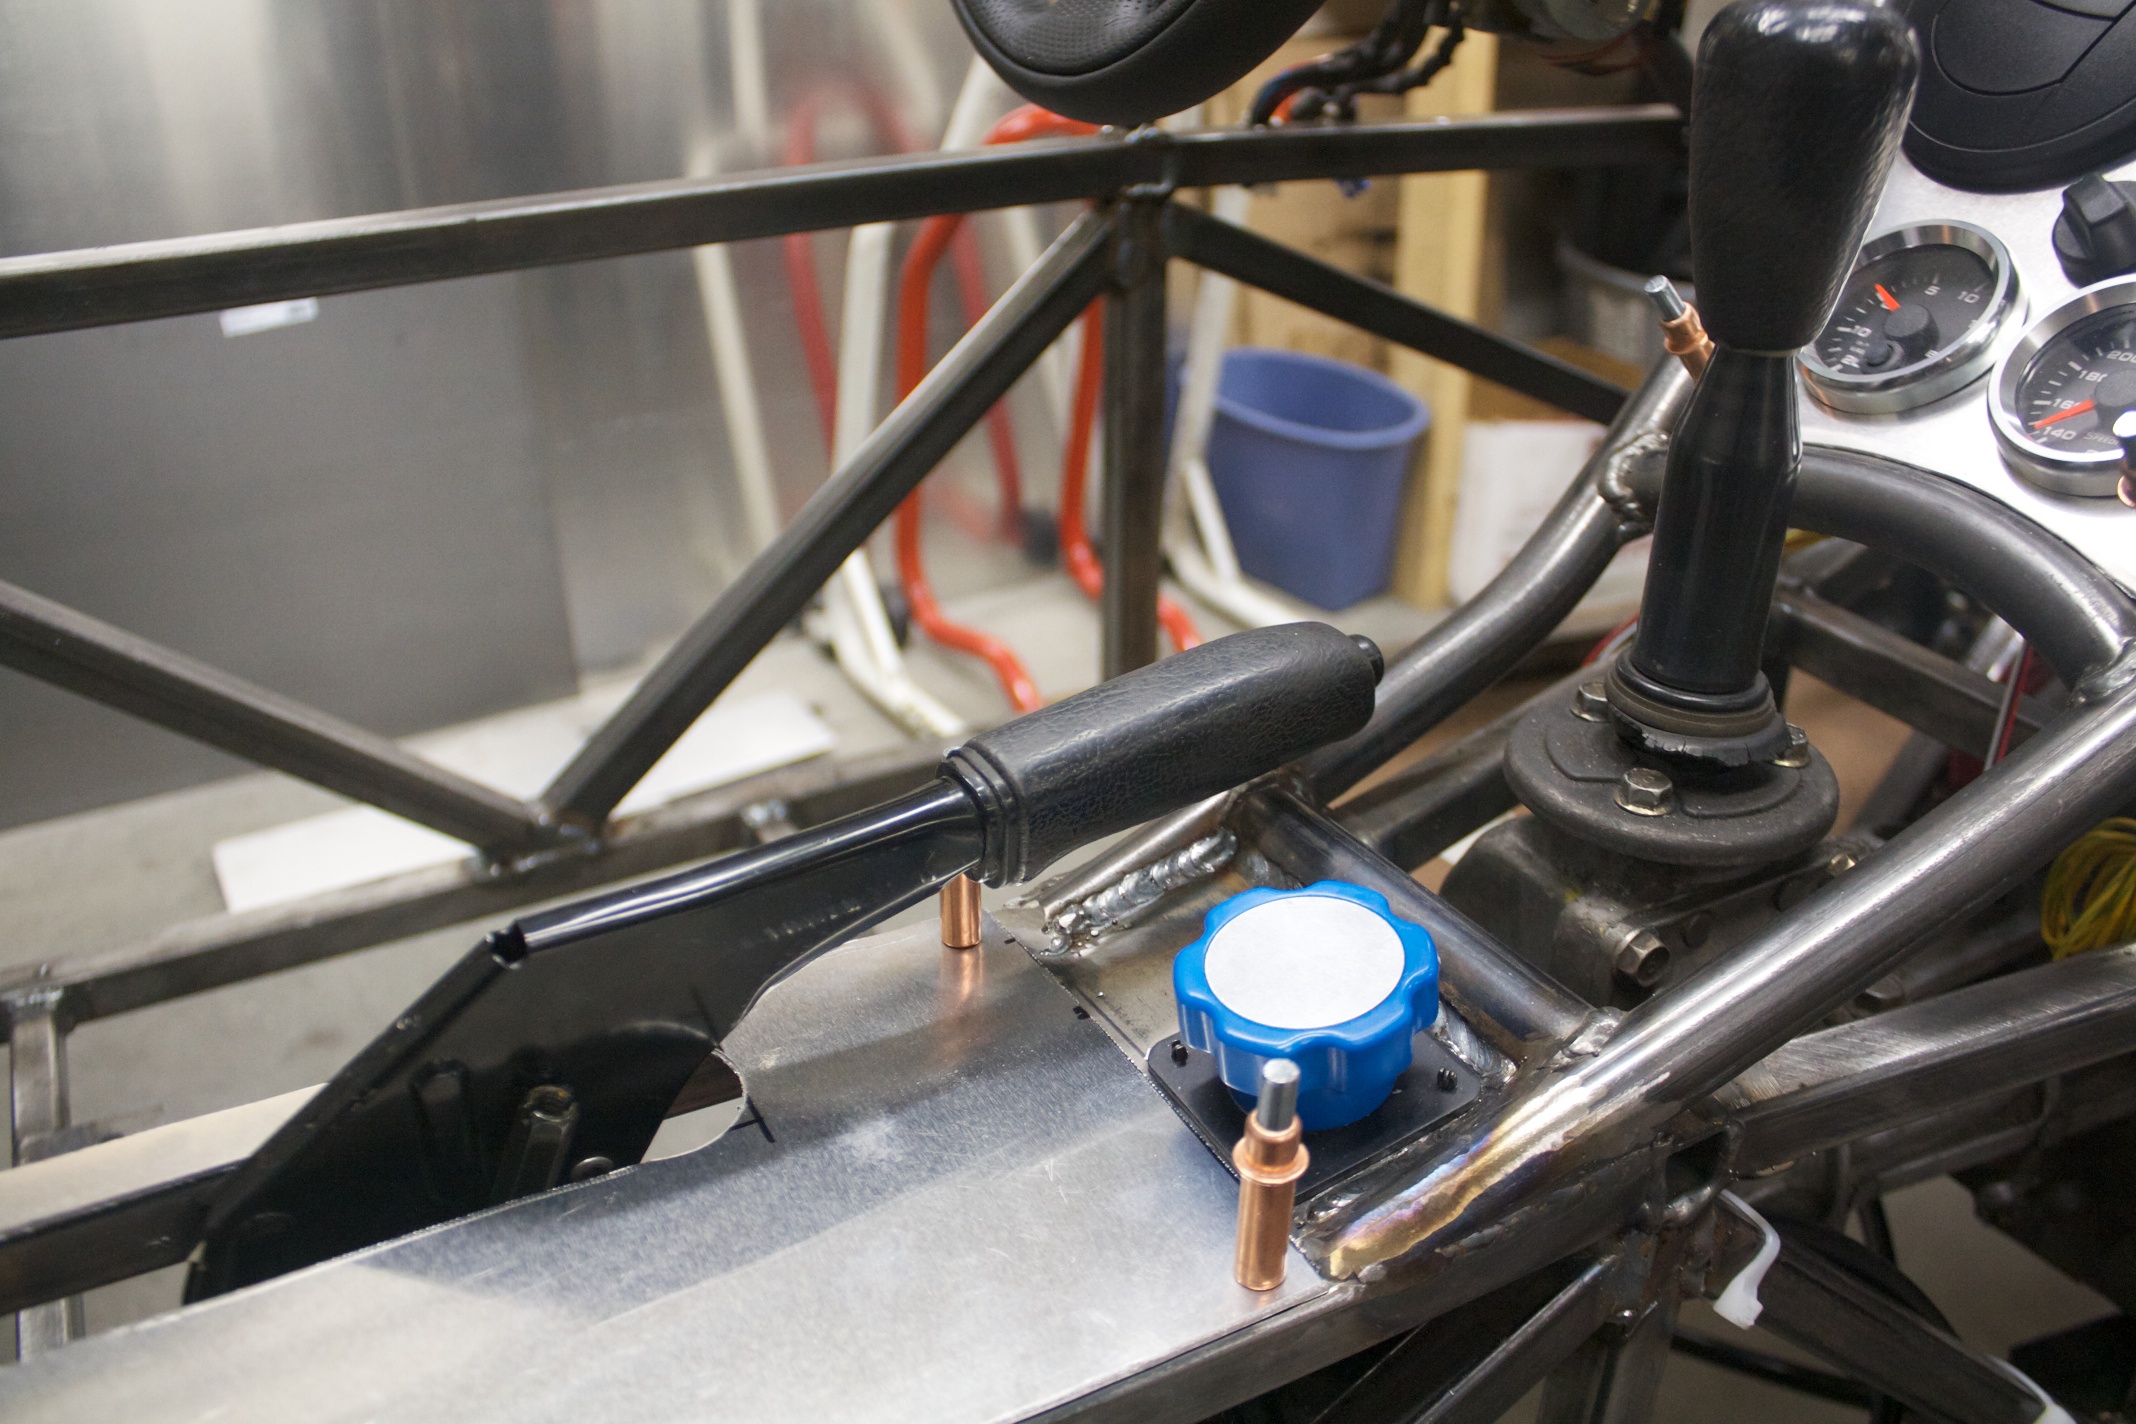
Lastly I mounted the brake bias adjuster and also created/mounted the center console panel. Both items will be removable with screws. Originally I was planning on having the brake bias adjuster mounted on the center console panel, but my dad made the suggestion to mount it in such a way that removing the center console aluminum panel would not necessitate bothering with the bias adjuster knob.. After some head-scratching I figured out a way to do this that wouldn’t interfere with the transmission below. For my non-gear-head audience, a bias adjuster lets you control how much force is applied to the brakes on the front relative to the rear and visa versa. Ideally it would be adjusted such that all four tires lock up (if at all) at the same time, rather than the front tires locking up while the rears still have plenty of room for more braking force.
The next order of business is to do the brake and fuel lines, and complete those systems 100%. Next time I post I’ll likely have bled the clutch and brake lines and have actual use of those pedals.
Pictures below. Enjoy.